

Table of Contents
A keychain doesn’t have to be plain or store bought to look good. With a few simple materials, you can turn small handmade details into accessories that feel personal, polished, and fun to carry.
These DIY keychain ideas bring together modern colors, playful shapes, interesting textures, and simple techniques. Some take only a few minutes, while others give you more room to experiment with your own style.
Whether you’re making one for yourself, creating a small gift, or simply want a creative weekend project, there’s plenty of room to make these designs your own. The best part is that many can be made with materials you already have at home.
A Fresh Mix of Modern Handmade DIY Keychain Ideas
This collection covers a variety of styles, from colorful bead combinations and graphic clay designs to soft felt shapes, braided cords, tassels, and personalized charms. Each idea keeps the finished look stylish and approachable, so you can choose a design that fits your taste without needing complicated crafting skills.
1. Create a Color Block Bead Keychain With a Modern Finish
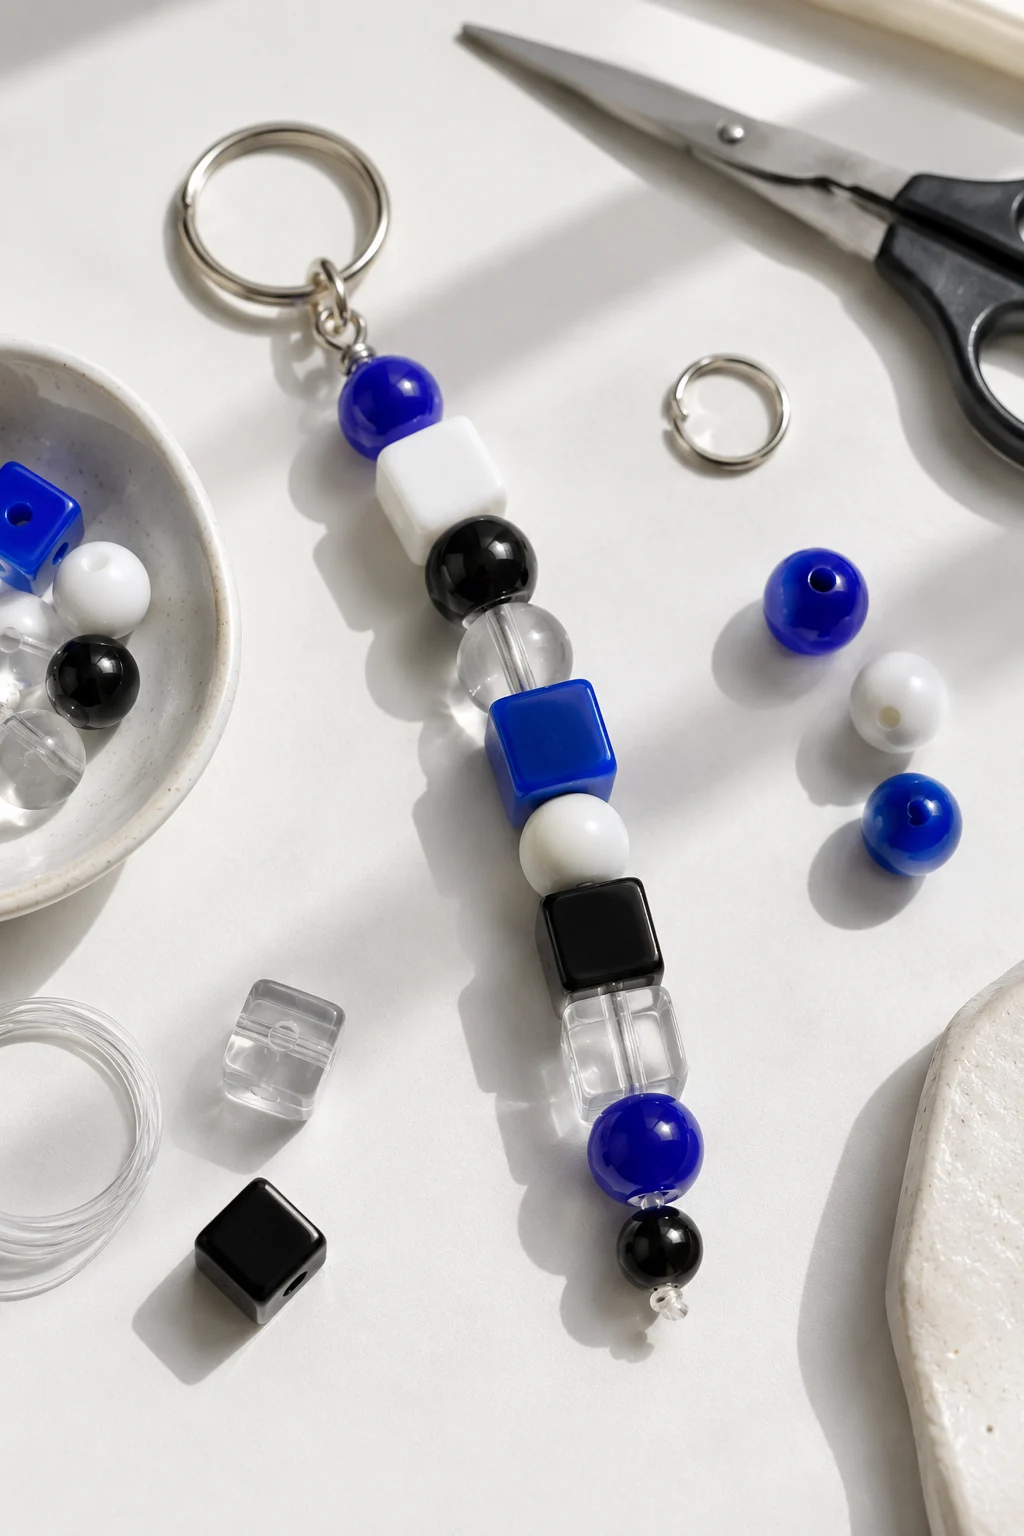
A color block bead keychain is an easy way to turn simple beads into a stylish everyday accessory. The combination of cobalt blue, white, black, and clear beads gives this design a clean modern look without making it feel overly decorative.
To make one, arrange your beads in a pattern before threading them onto strong clear cord. Mix round and square beads to create more visual interest, then secure the ends tightly and connect the finished strand to a sturdy metal keyring. The design is simple enough for beginners to recreate at home.
You can also change the colors to suit your own style or make several versions as small handmade gifts. Keeping the palette limited makes the finished keychain look more polished, while different bead shapes let you create a design that feels completely your own.
Pro Tip: Combine two bead shapes with three or four coordinated colors. It creates a more intentional, magazine-worthy look without making the project complicated.
2. Turn an Air-Dry Clay Initial Into a Personalized Keychain
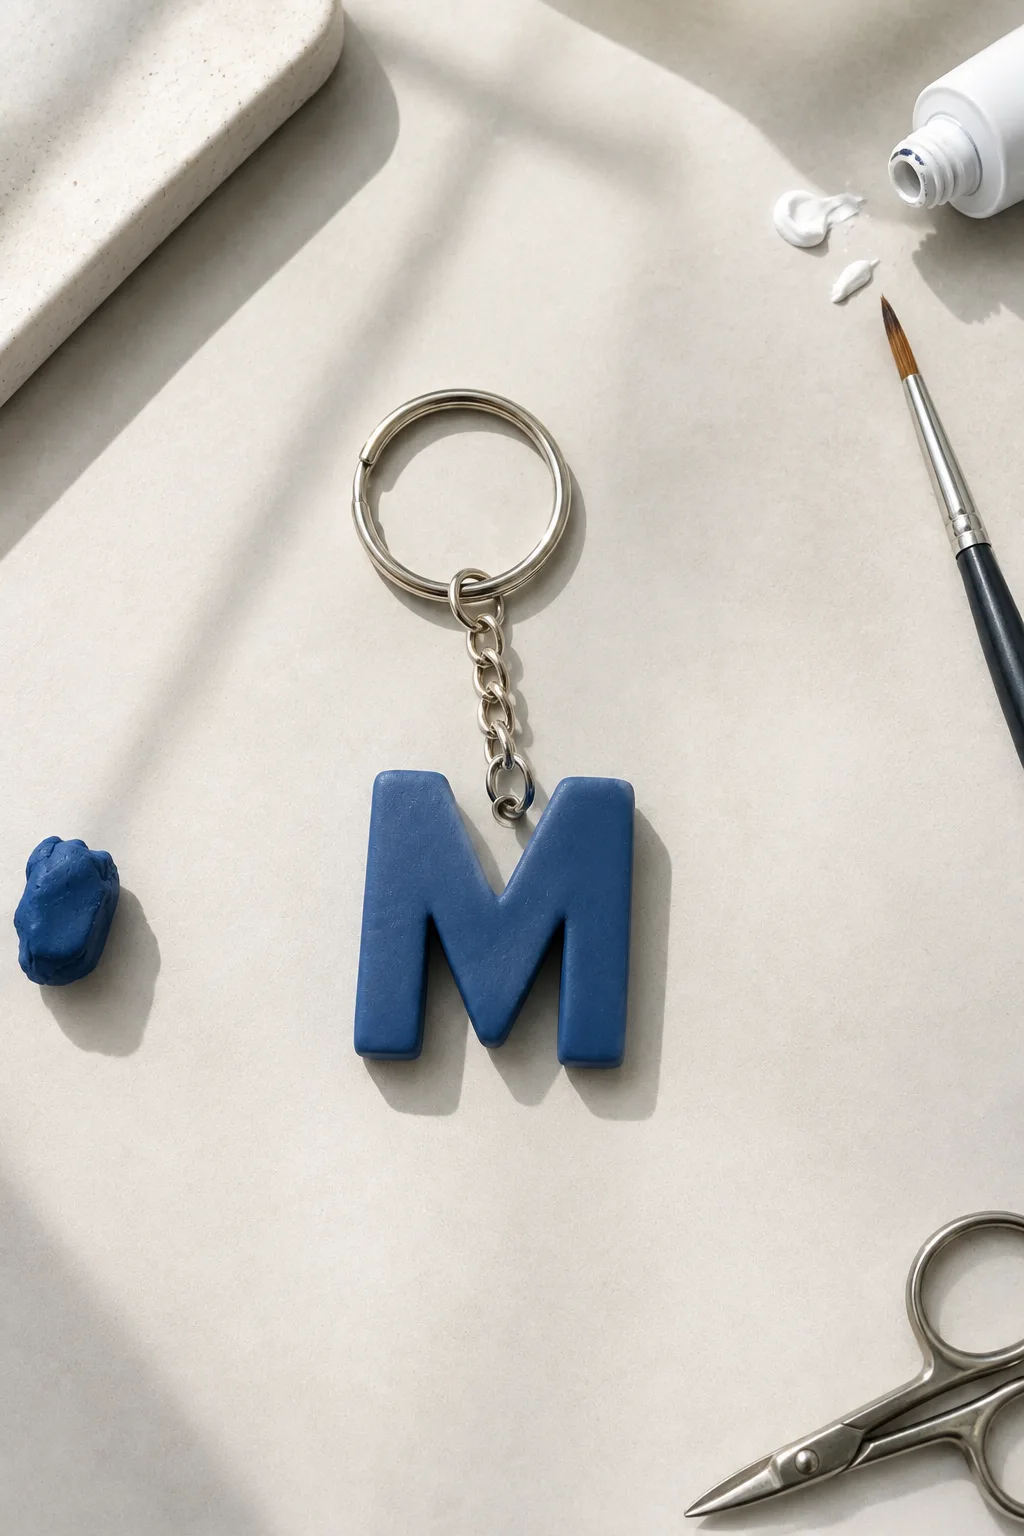
A personalized initial keychain is a simple way to make something that feels more special than a basic charm. Air-dry clay makes it easy to shape a bold letter at home, and you can choose any initial you like. A rich color such as navy blue, cobalt, forest green, or black gives the finished piece a clean modern appearance.
Start by rolling the clay evenly and cutting out your chosen letter with a small template or sharp craft knife. Smooth the edges with your fingers before leaving the letter to dry completely. Once it has hardened, add a small hole near the top and connect it to a short chain and metal keyring.
You can keep the design completely solid for a minimalist look or add small painted details once the clay has dried. Making initials for friends and family also turns this idea into an easy personalized gift. Since the shape is simple, you can create several letters while using the same basic materials and technique.
Pro Tip: Keep the letter thick enough to handle everyday use, and smooth the edges carefully before drying. A clean silhouette will make the finished keychain look much more polished.
3. Make a Two-Tone Pom-Pom Keychain With Soft Texture
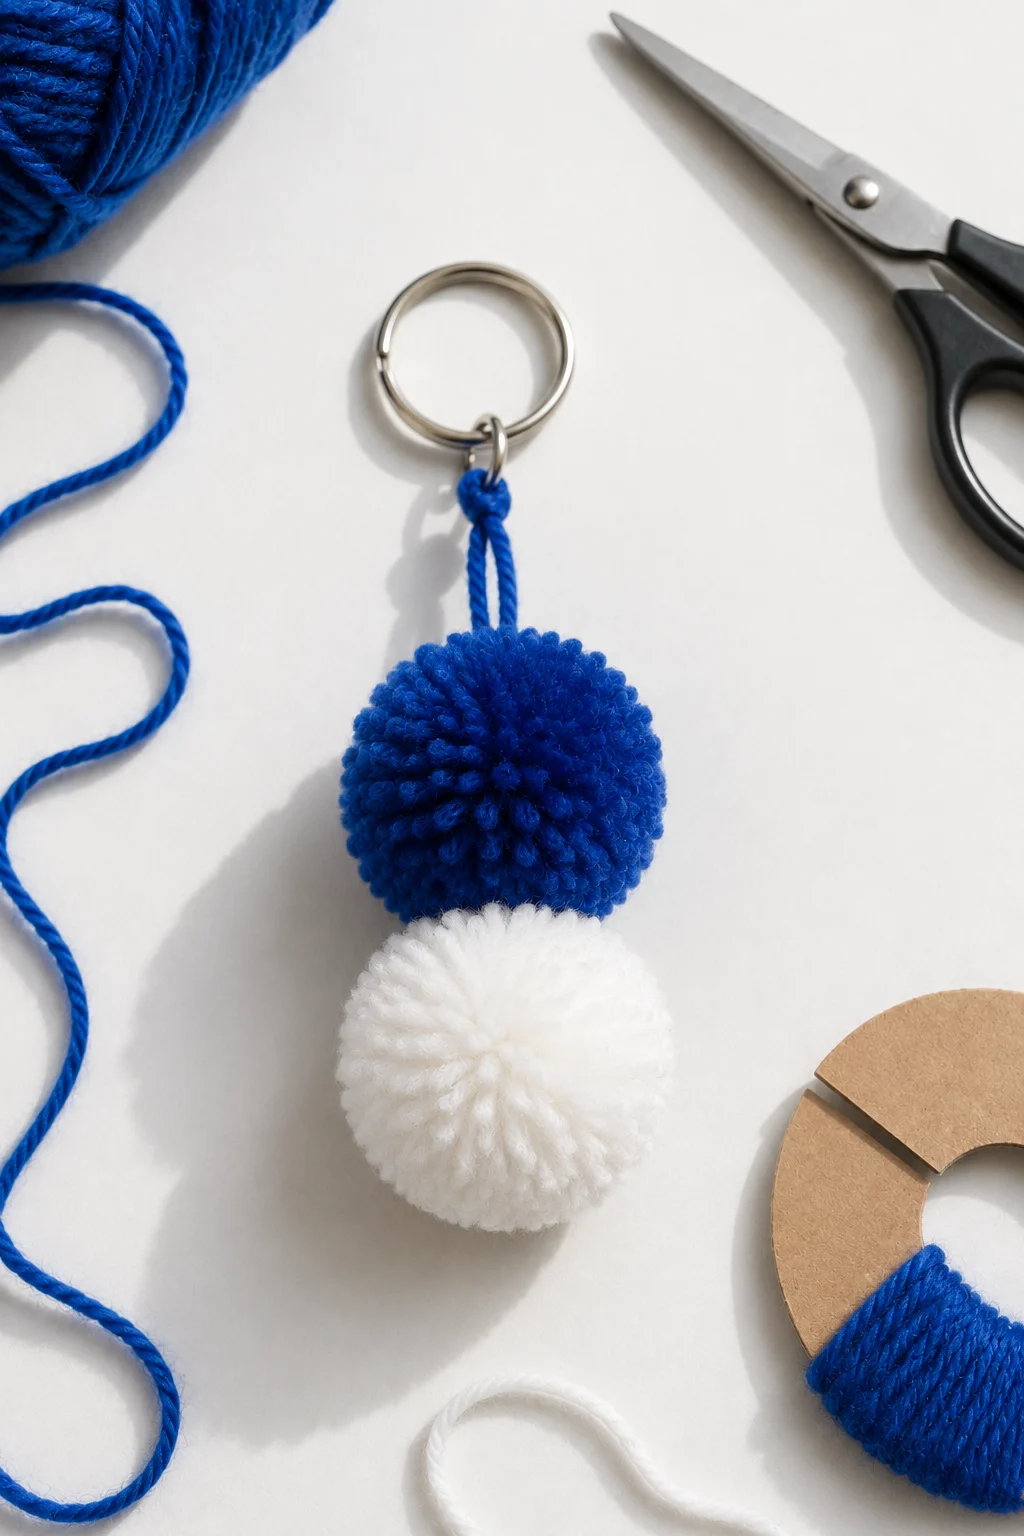
A pom-pom keychain is one of the easiest ways to create a soft, playful accessory with very few supplies. Using two contrasting colors, such as royal blue and white, gives the finished design a cleaner and more modern look. The fluffy texture also adds a fun detail without making the keychain feel overly decorative.
To make it, wrap yarn around a small piece of cardboard or a pom-pom maker until you have a thick bundle. Tie the center tightly, cut through the loops, and trim the yarn into a neat round shape. Repeat with a second color if you want two pom-poms, then connect them securely with strong thread or cord before attaching the metal keyring.
You can change the size and colors to create a completely different finish. Smaller pom-poms create a subtle everyday accessory, while larger ones make a more noticeable statement. Try combinations such as black and white, navy and gray, or emerald and cream for a polished look that works for different styles.
Pro Tip: Trim the pom-poms gradually instead of cutting away too much yarn at once. This makes it easier to achieve a smooth, even shape without accidentally making them too small.
4. Braid a Colorful Cord Keychain for a Sleek Everyday Look
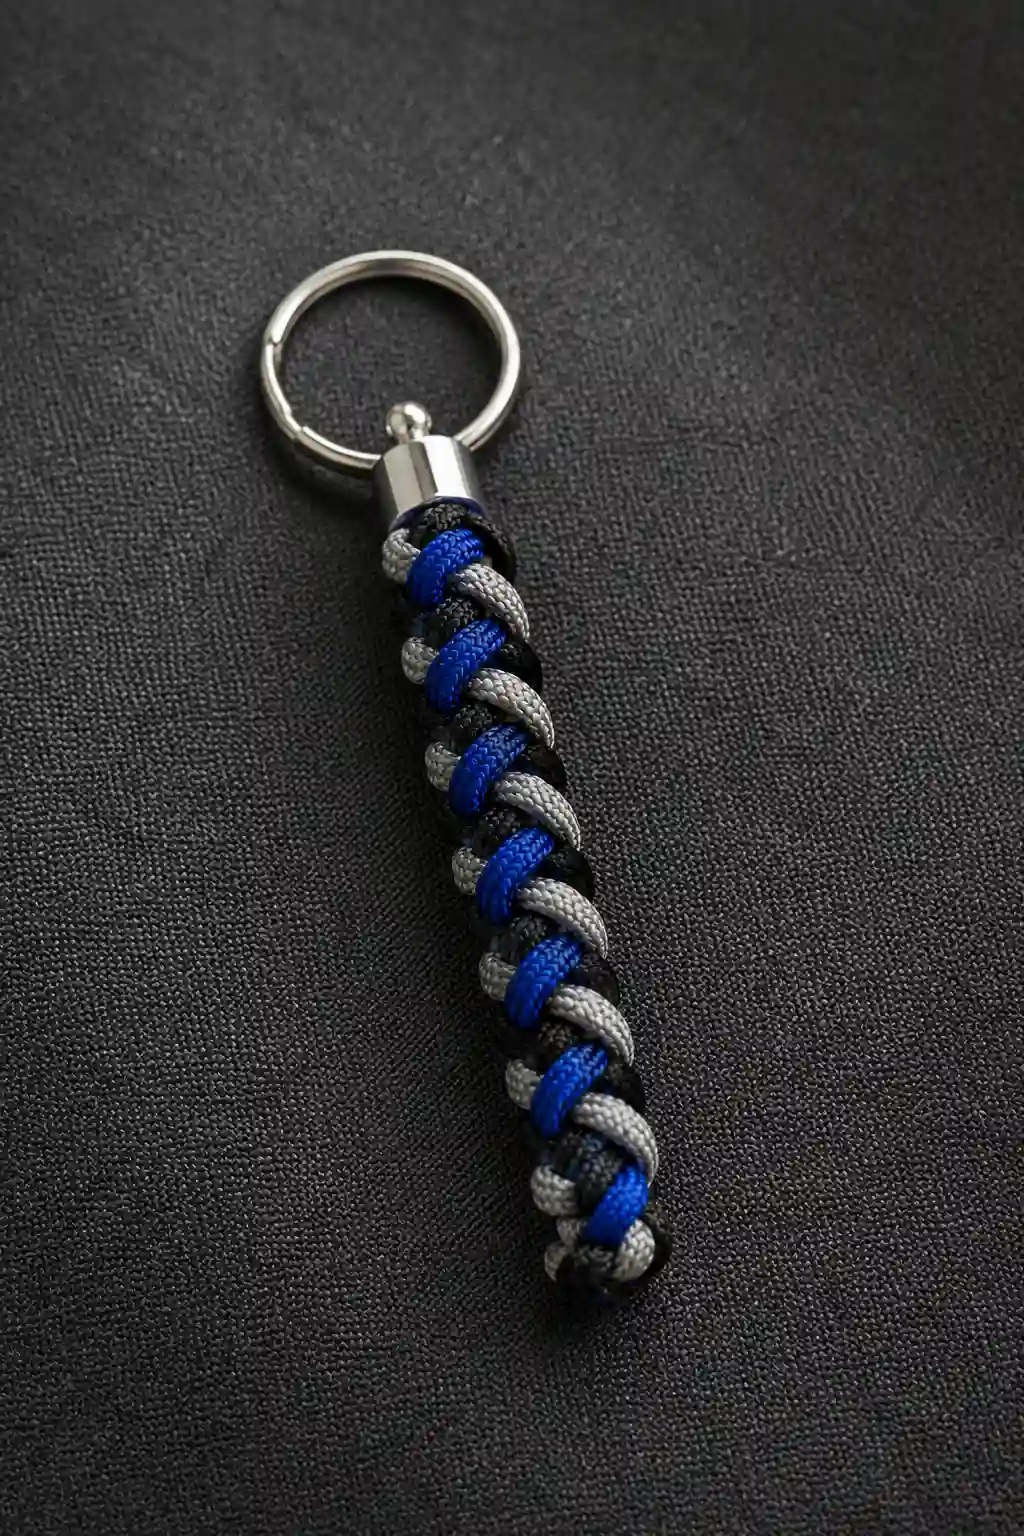
A braided cord keychain is a great choice when you want something simple, durable, and stylish without relying on beads or decorative charms. Combining black, cobalt blue, and silver-gray cord creates a strong contrast that gives this handmade accessory a clean, contemporary finish.
To make the keychain, cut several equal lengths of strong cord and secure one end before starting the braid. Work slowly so each section stays tight and even as you move toward the bottom. Once the braid reaches your preferred length, secure the loose ends and connect the finished braid to a metal keyring using a small connector or end cap.
The design is easy to customize, too. You can use two colors for a subtle finish or mix three contrasting shades for something bolder. Thicker cord creates a chunkier look, while thinner cord produces a more refined keychain that takes up less space in your bag or pocket.
Pro Tip: Keep consistent tension throughout the braid. Even, tightly packed sections will make the finished keychain look cleaner and help it hold its shape with regular use.
5. Stack Coordinated Buttons for a Minimal Handmade Keychain
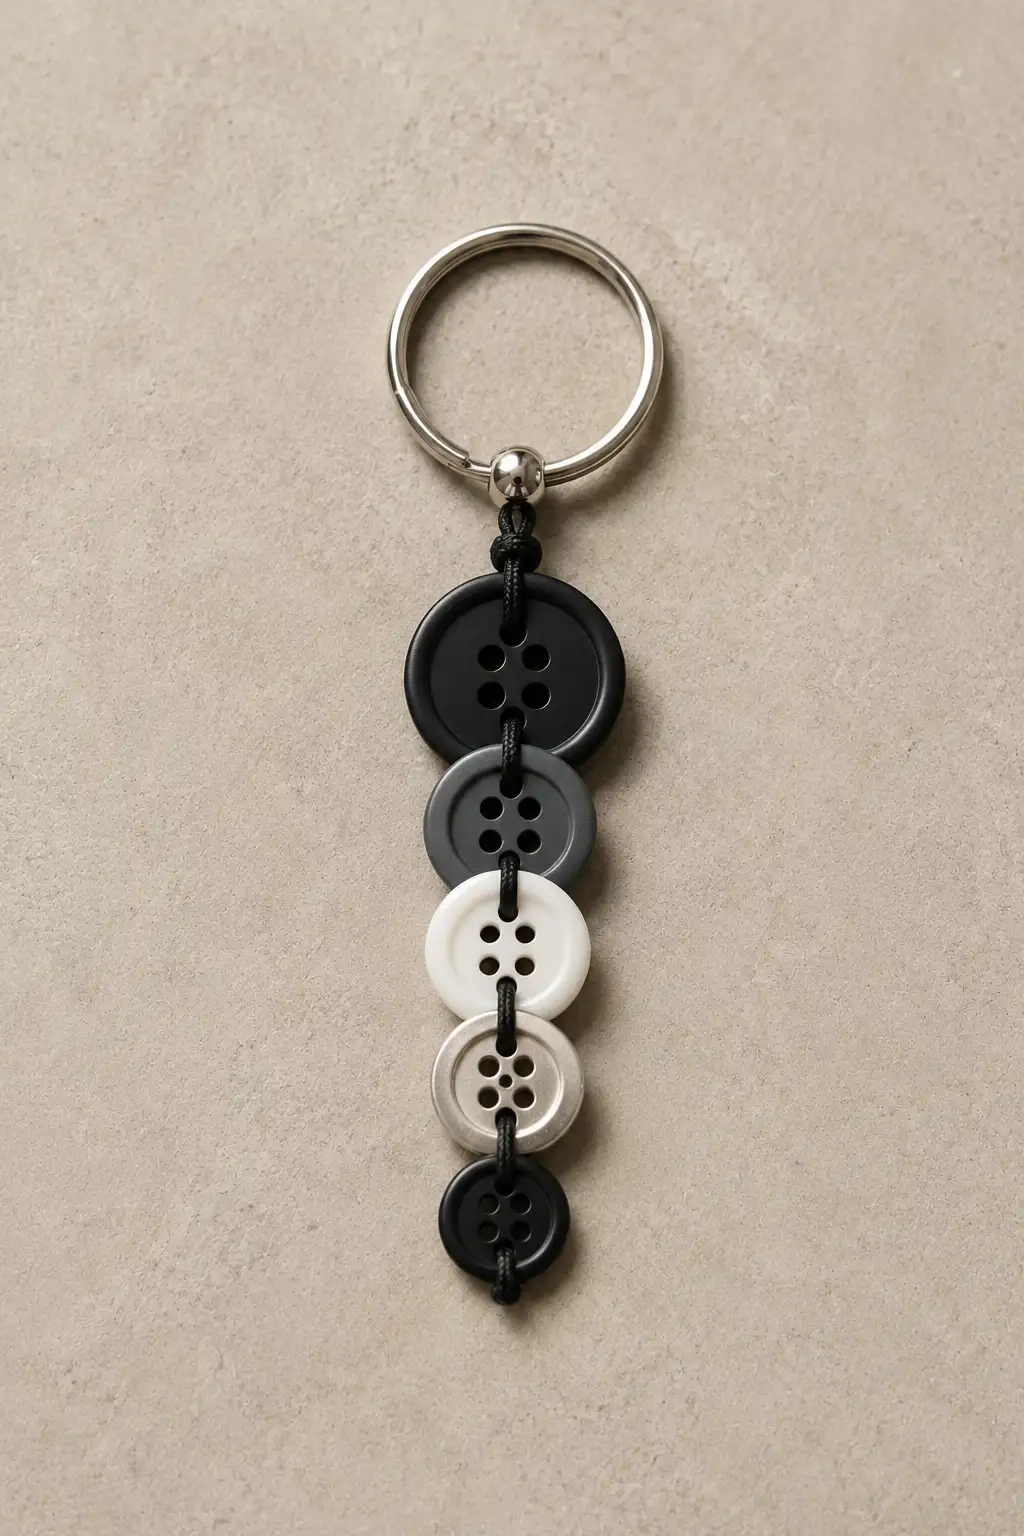
A button keychain can turn a handful of spare buttons into a surprisingly polished accessory. Instead of mixing bright colors and random shapes, this version uses black, charcoal, white, and silver for a clean layered effect. The different button sizes give the design some depth while keeping the overall look simple.
Choose several buttons that have a similar shape but different sizes, then arrange them from largest to smallest. Thread strong black cord through the button holes and leave enough length at the top to create a secure connection to the metal keyring. Tie the bottom firmly so the buttons stay aligned without sliding around too much.
This idea is also a handy way to reuse buttons from old clothing or sewing projects. You can switch the colors to create a brighter version or use matching buttons for a more understated finish. A mix of matte and glossy surfaces can add another subtle layer of detail.
Pro Tip: Arrange the buttons by size before threading them. Starting with the largest button and gradually reducing the size creates a balanced shape that looks more intentional.
Also Read: 15 Design-Forward Home Decor Finds Under $50 Worth Knowing
6. Shape a Sleek Ribbon Bow Keychain With a Polished Finish
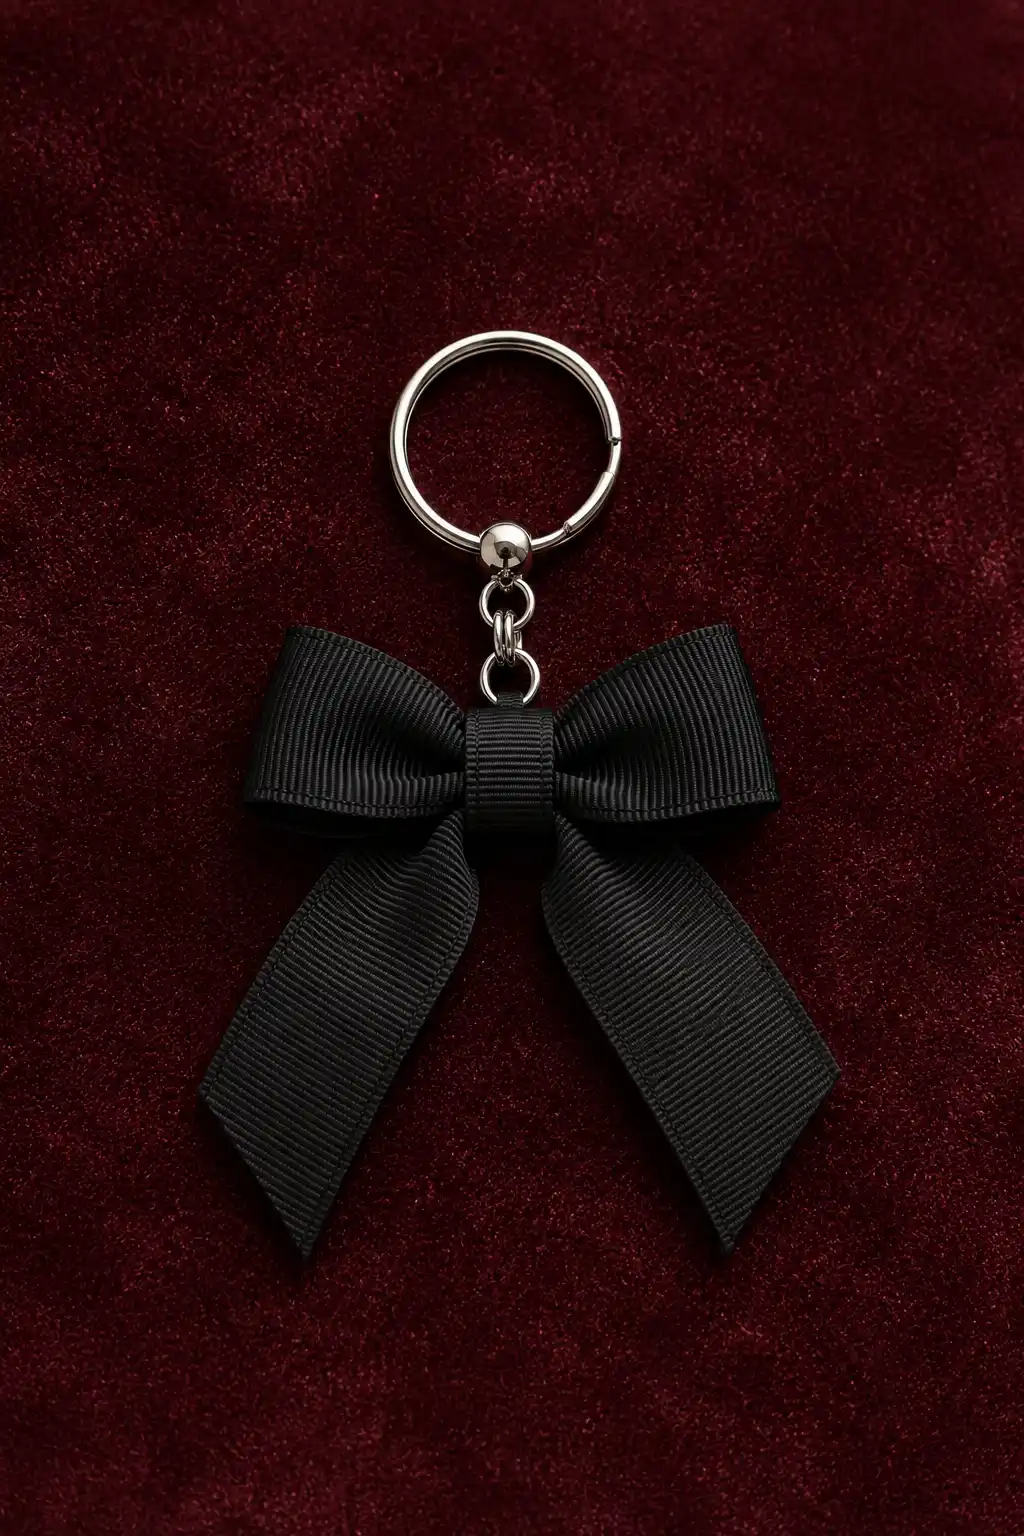
A ribbon bow keychain can add a stylish detail to your everyday accessories without requiring complicated crafting skills. Using a structured grosgrain ribbon in black gives this design a sleek appearance, while the soft folds of the bow keep it from looking too plain.
Start by cutting your ribbon to the desired length and folding it into two even loops. Pinch the center tightly and wrap a smaller piece of ribbon around it to create the finished bow shape. Secure the center firmly, then attach the bow to a short chain and metal keyring so it stays balanced when carried.
You can easily change the mood of this project by switching the ribbon color or texture. Navy, burgundy, emerald, or even a two-tone combination can create a completely different result. For a more understated accessory, keep the bow compact and choose a ribbon with a matte finish.
Pro Tip: Use grosgrain or another structured ribbon that holds its shape well. It will help the bow keep its crisp folds and give the finished keychain a more refined appearance.
7. Arrange Painted Wooden Beads for a Bold Color Block Keychain
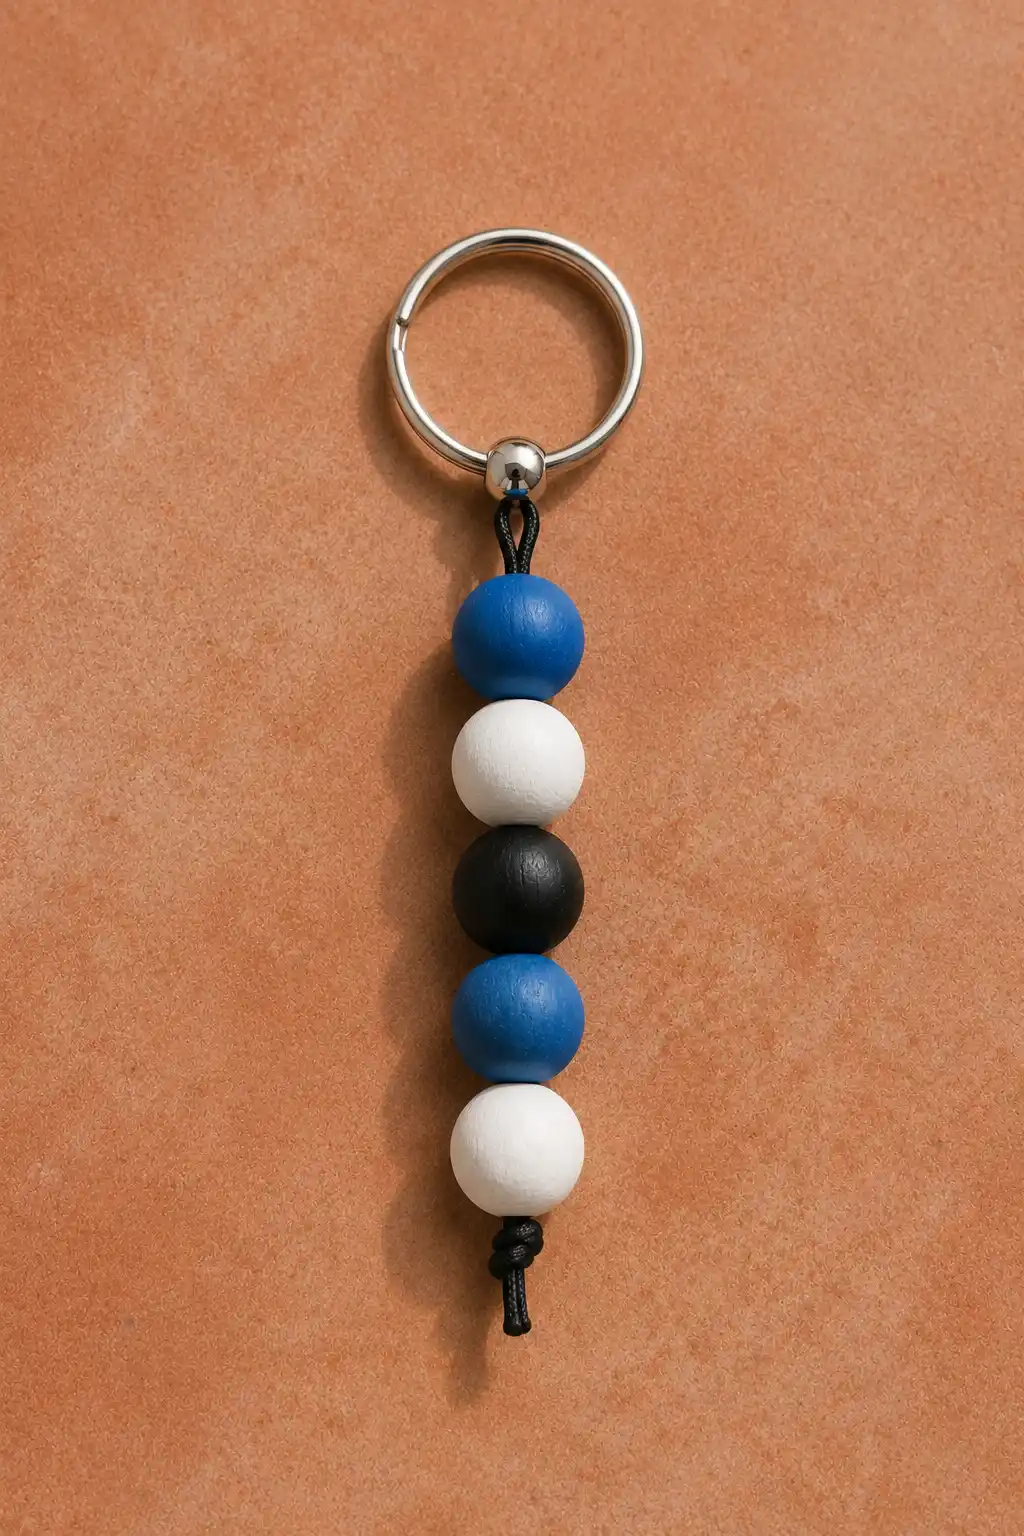
Painted wooden beads can turn a very simple keychain into a colorful handmade accessory with plenty of personality. Choose smooth round beads and give them a coordinated palette such as cobalt blue, white, and black. The natural texture of the wood keeps the design feeling handmade, while the bold colors give it a more modern finish.
Start by painting the beads individually and allowing them to dry completely before assembling the keychain. Once they’re ready, thread them onto strong black cord in a balanced sequence, leaving enough cord at the top to create a secure loop for the metal keyring. Tie the bottom firmly so the beads stay in place during everyday use.
You can make this idea your own by changing the bead sizes, colors, or arrangement. A combination of larger and smaller beads creates more movement, while a simple two-color palette gives the keychain a cleaner appearance. It’s also a practical project if you already have unfinished wooden beads left from another craft.
Pro Tip: Lightly sand the wooden beads before painting them. A smoother surface helps the paint apply more evenly and gives the finished keychain a cleaner, more professional appearance.
8. Turn a Recycled Bottle Cap Into a Playful Graphic Keychain
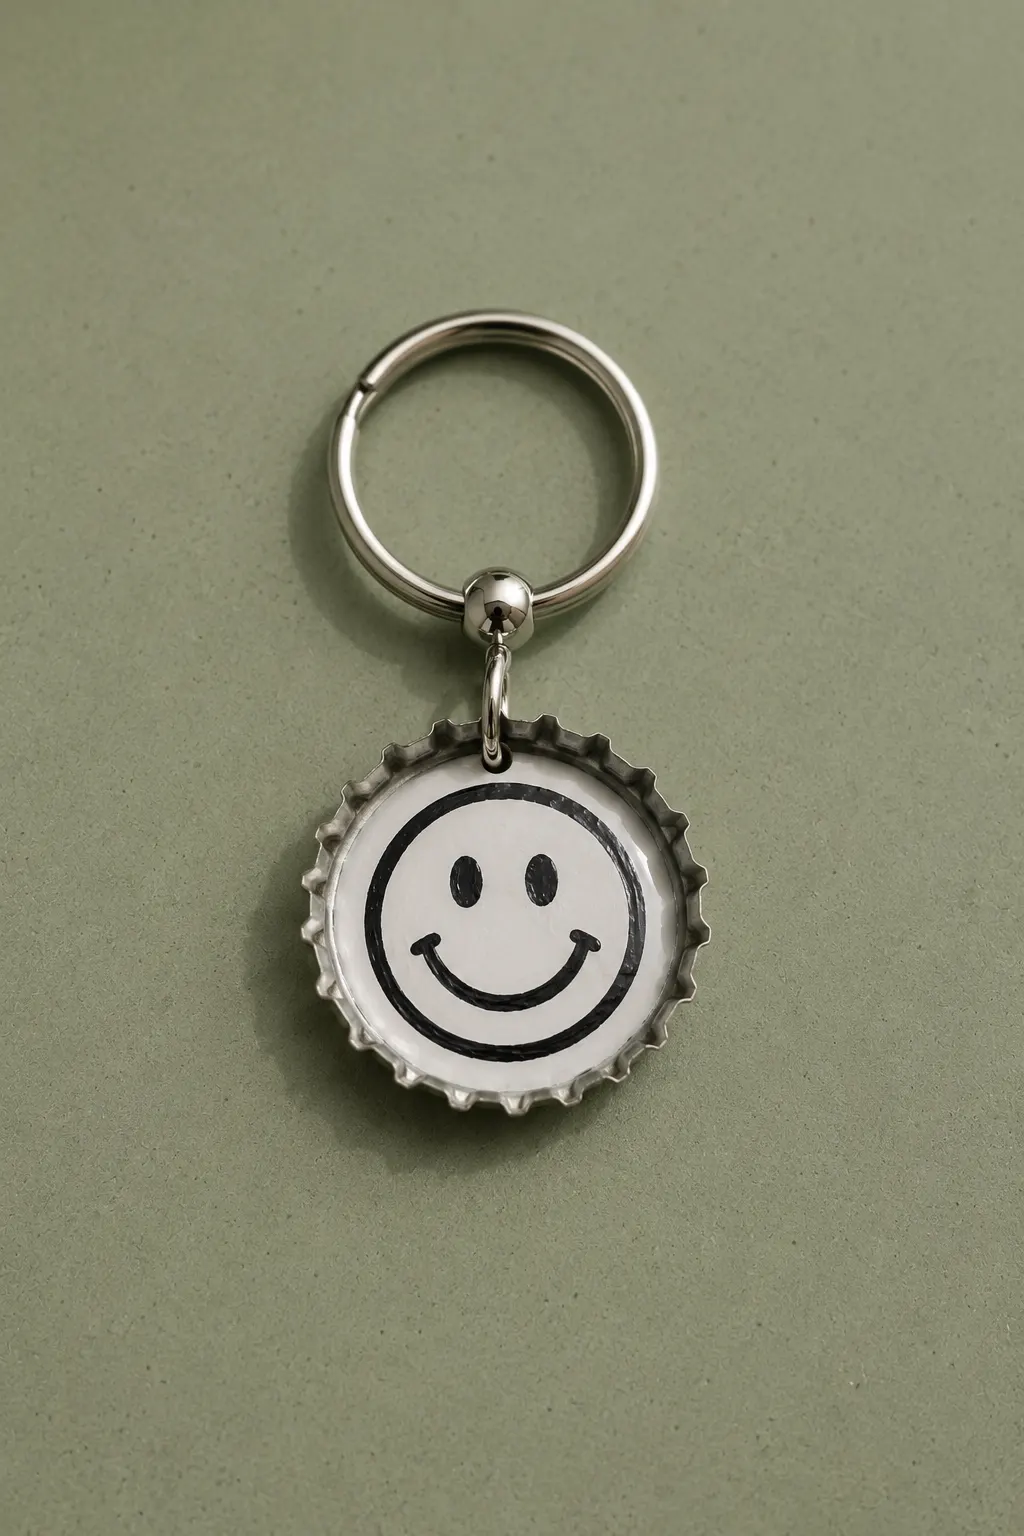
A recycled bottle cap can become a surprisingly stylish keychain when you give it a clean graphic treatment. This version uses a simple smiley face on a white center, creating a playful contrast against the natural metal edge. It’s an easy project that also gives an everyday leftover material a second life.
Start by cleaning and drying a bottle cap thoroughly before adding your design. Paint the inside with a light base color and let it dry completely, then draw a simple graphic such as a smiley, star, initial, or geometric shape. Once the design is finished, add a protective clear coating if suitable for your chosen materials and make a small opening near the top for the connector.
There’s plenty of room to personalize this idea without making it complicated. Try a bold blue symbol, a tiny initial, or a simple black-and-white pattern for a more graphic look. You can also experiment with different bottle-cap colors to create several versions that feel completely different.
Pro Tip: Keep the graphic bold and simple because the small surface area can make tiny details difficult to see. A clean symbol or shape will usually create a stronger finished design.
9. Make a Clear Graphic Keychain With a Clean Modern Design
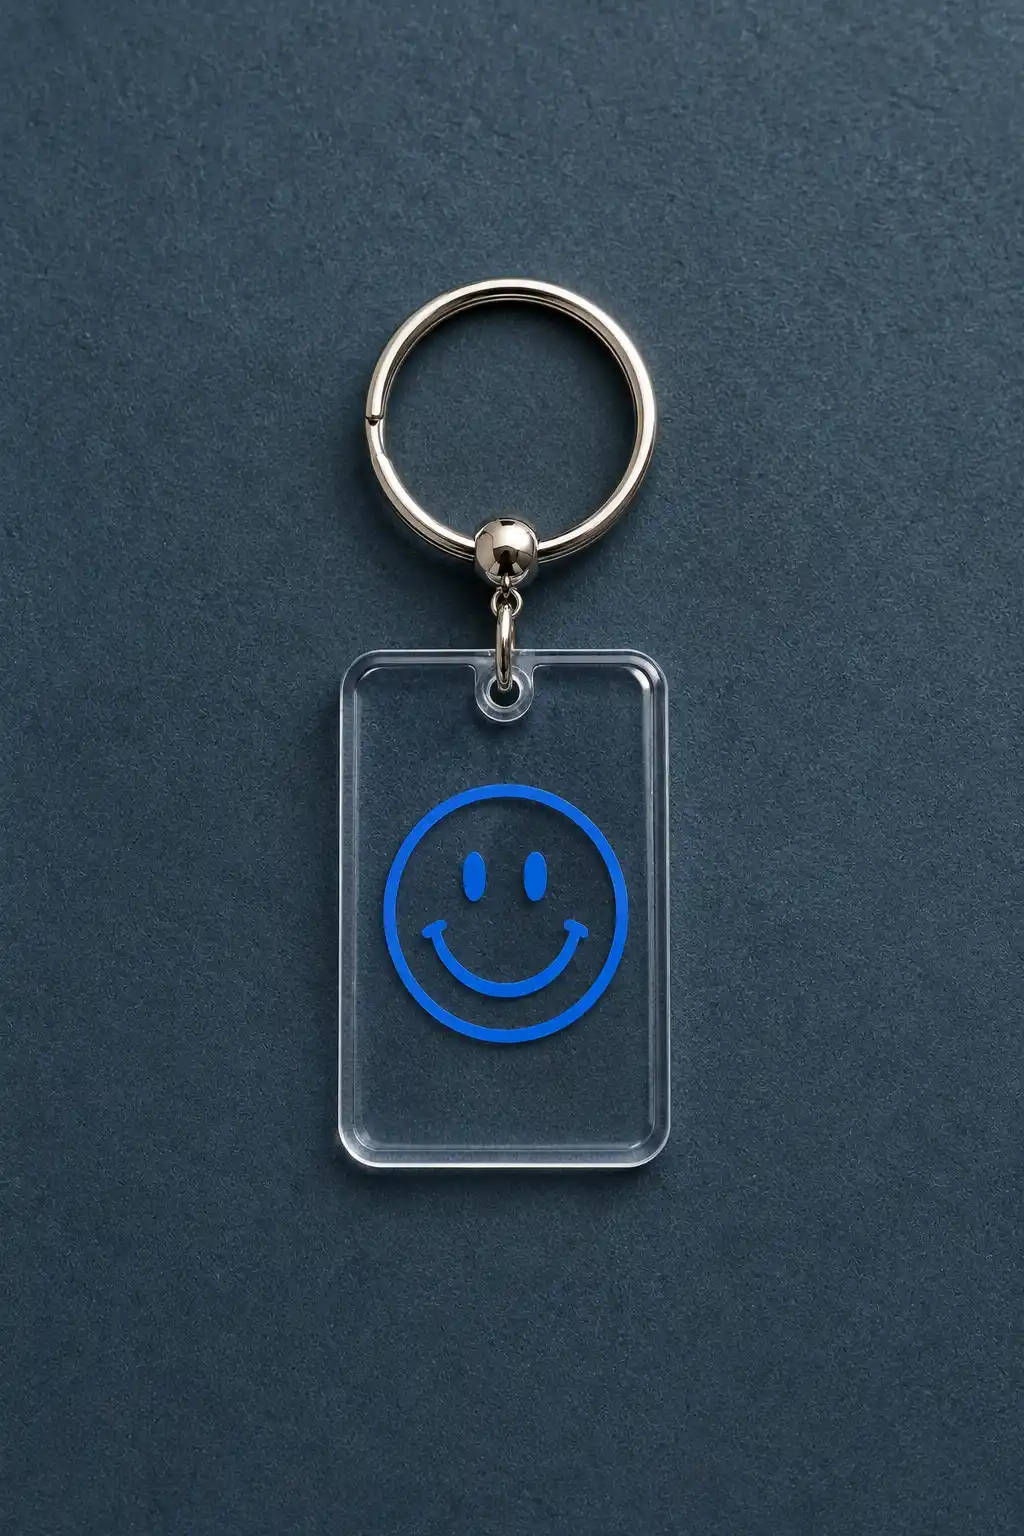
A clear graphic keychain is a great option when you want something that feels modern and a little different from traditional fabric or bead designs. A transparent rectangular charm keeps the overall look minimal, while a simple electric-blue smiley gives it just enough personality.
You can make the charm from suitable clear shrink plastic or another transparent craft material that can be safely shaped and finished. Add a small graphic, initial, symbol, or simple line drawing before creating the hole for the connector. Once the charm is ready, attach it to a short metal connector and sturdy keyring.
The transparent surface also gives you plenty of creative options. Try a lightning bolt, tiny flower, abstract symbol, or bold initial instead of the smiley. Keeping the artwork simple helps it remain easy to see through the clear material and gives the finished keychain a sleek everyday appearance.
Pro Tip: Use a bold graphic with clean lines rather than lots of tiny details. Simple artwork stands out much better against the transparent charm.
10. Turn a Hand-Drawn Shape Into a Bold Shrink Plastic Keychain
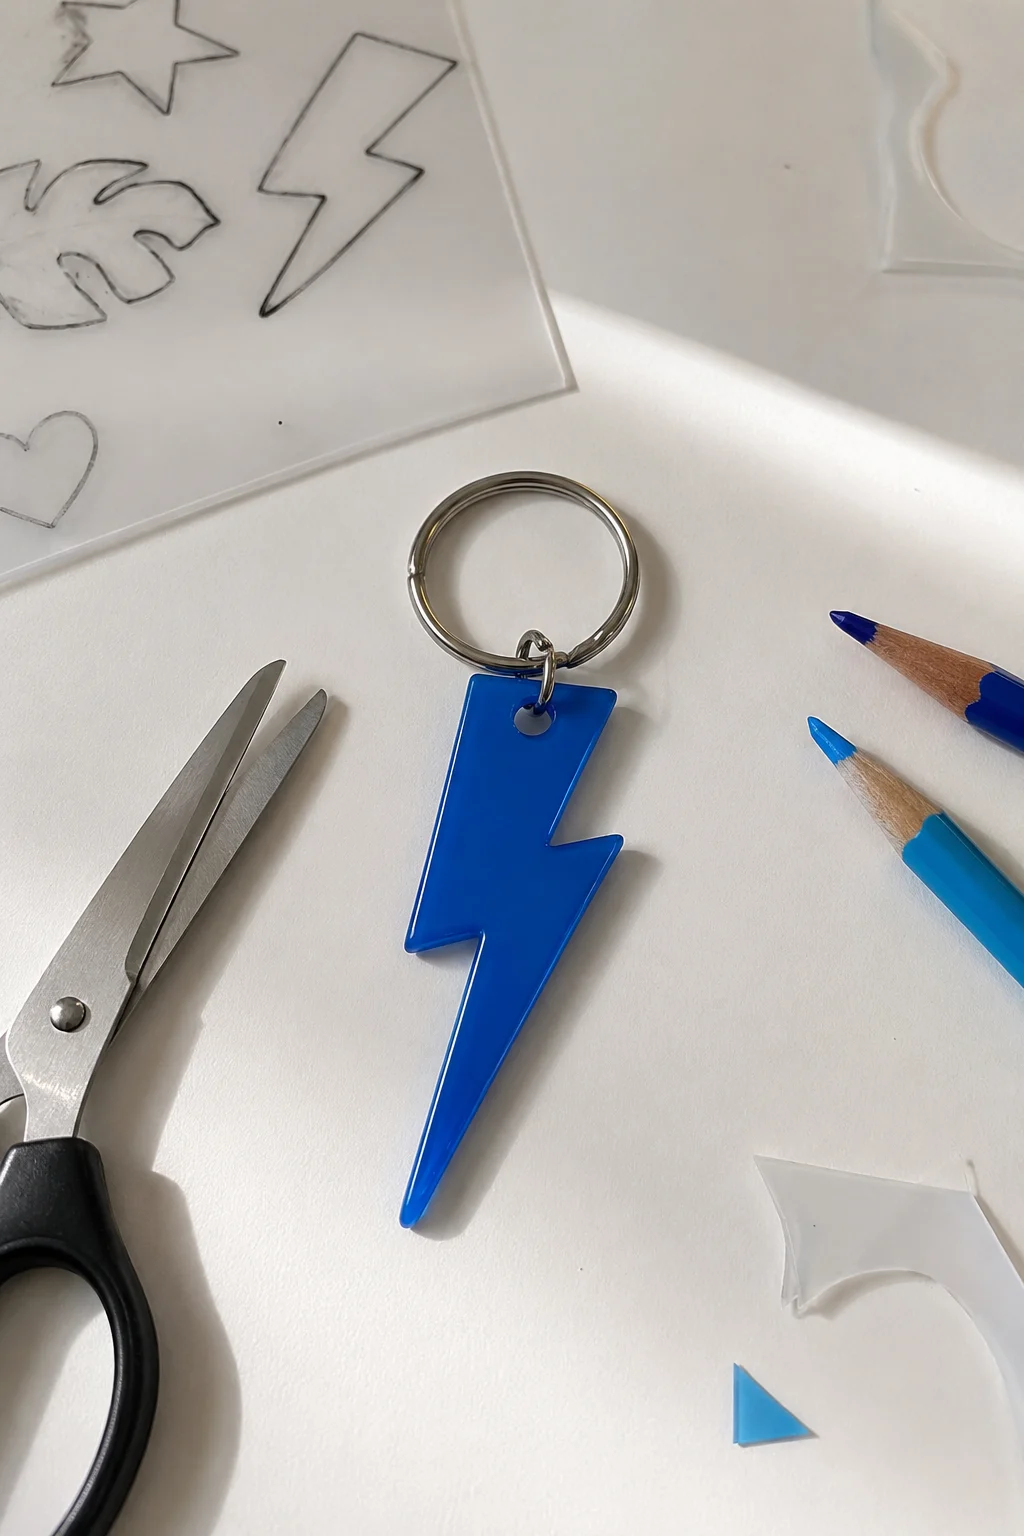
A shrink plastic keychain lets you turn simple drawings into a small, polished charm that feels completely custom. Lightning bolts, stars, hearts, initials, and simple geometric shapes all work well because their outlines remain easy to recognize after shrinking.
Start by tracing or drawing your chosen design onto suitable shrink plastic, then carefully cut around the outline and punch a small hole near the top before shrinking it. Once heated according to the material’s instructions, the plastic becomes smaller and thicker, turning the original drawing into a sturdy little charm. Attach it to a metal keyring after it has cooled completely.
Bright colors can make these charms playful, while a single bold shade can give them a more modern appearance. You can also create several shapes using the same color palette and turn them into a coordinated set. The process makes it easy to experiment with designs without needing advanced crafting skills.
Pro Tip: Remember that the design will shrink significantly, so make your original shape larger than you want the finished charm to be. Keep the outline bold and avoid very tiny details.
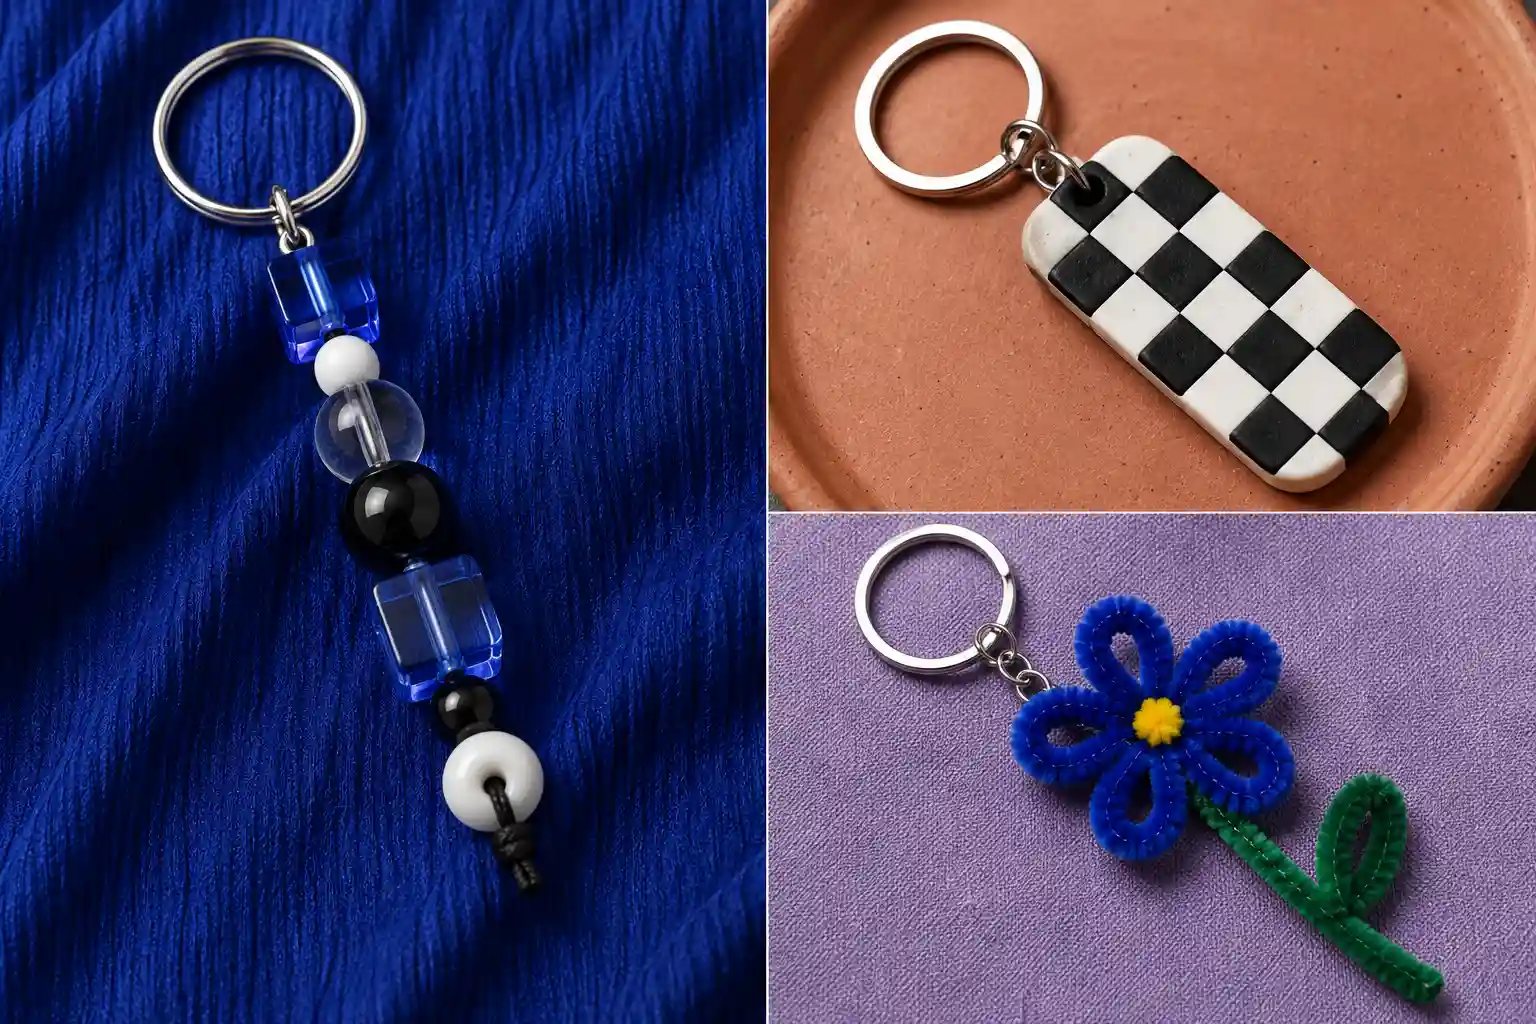
11. Shape a Checkerboard Clay Keychain With a Graphic Finish
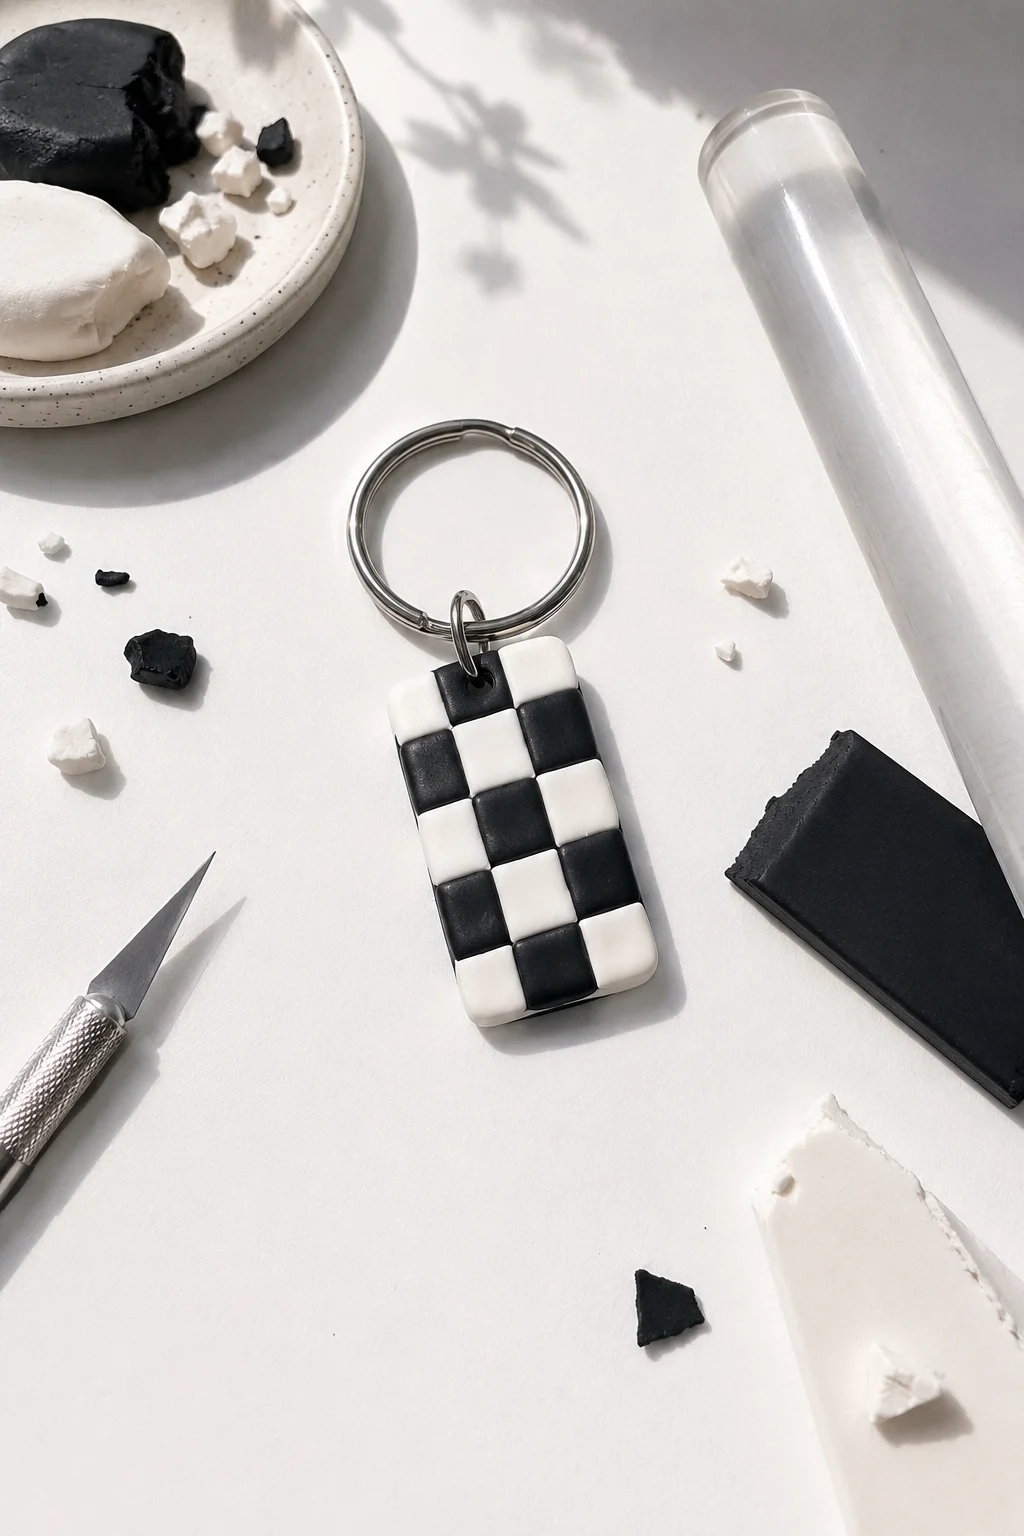
A checkerboard clay keychain brings a bold graphic pattern to a small everyday accessory. The classic black and white combination keeps the design clean and versatile, while the rounded rectangular shape gives it a polished finish. It’s a great option when you want something handmade that still feels modern.
Start by conditioning black and white polymer clay until it’s soft and easy to work with. Roll the colors into thin sections, cut small squares, and arrange them into an even checkerboard pattern. Gently press the pieces together, smooth the edges, shape the charm into a rounded rectangle, and create a small hole near the top before following the clay manufacturer’s baking instructions.
Once the charm has cooled, connect it to a metal keyring using a jump ring or short connector. You can also experiment with different color combinations such as cobalt blue and white or emerald green and black. Changing the palette while keeping the checkerboard pattern gives you a fresh look without changing the basic technique.
Pro Tip: Keep each checkerboard square as close to the same size as possible. Even spacing will make the pattern look crisp and give the finished charm a more professional appearance.
12. Stitch a Felt Strawberry Keychain With Handmade Detail
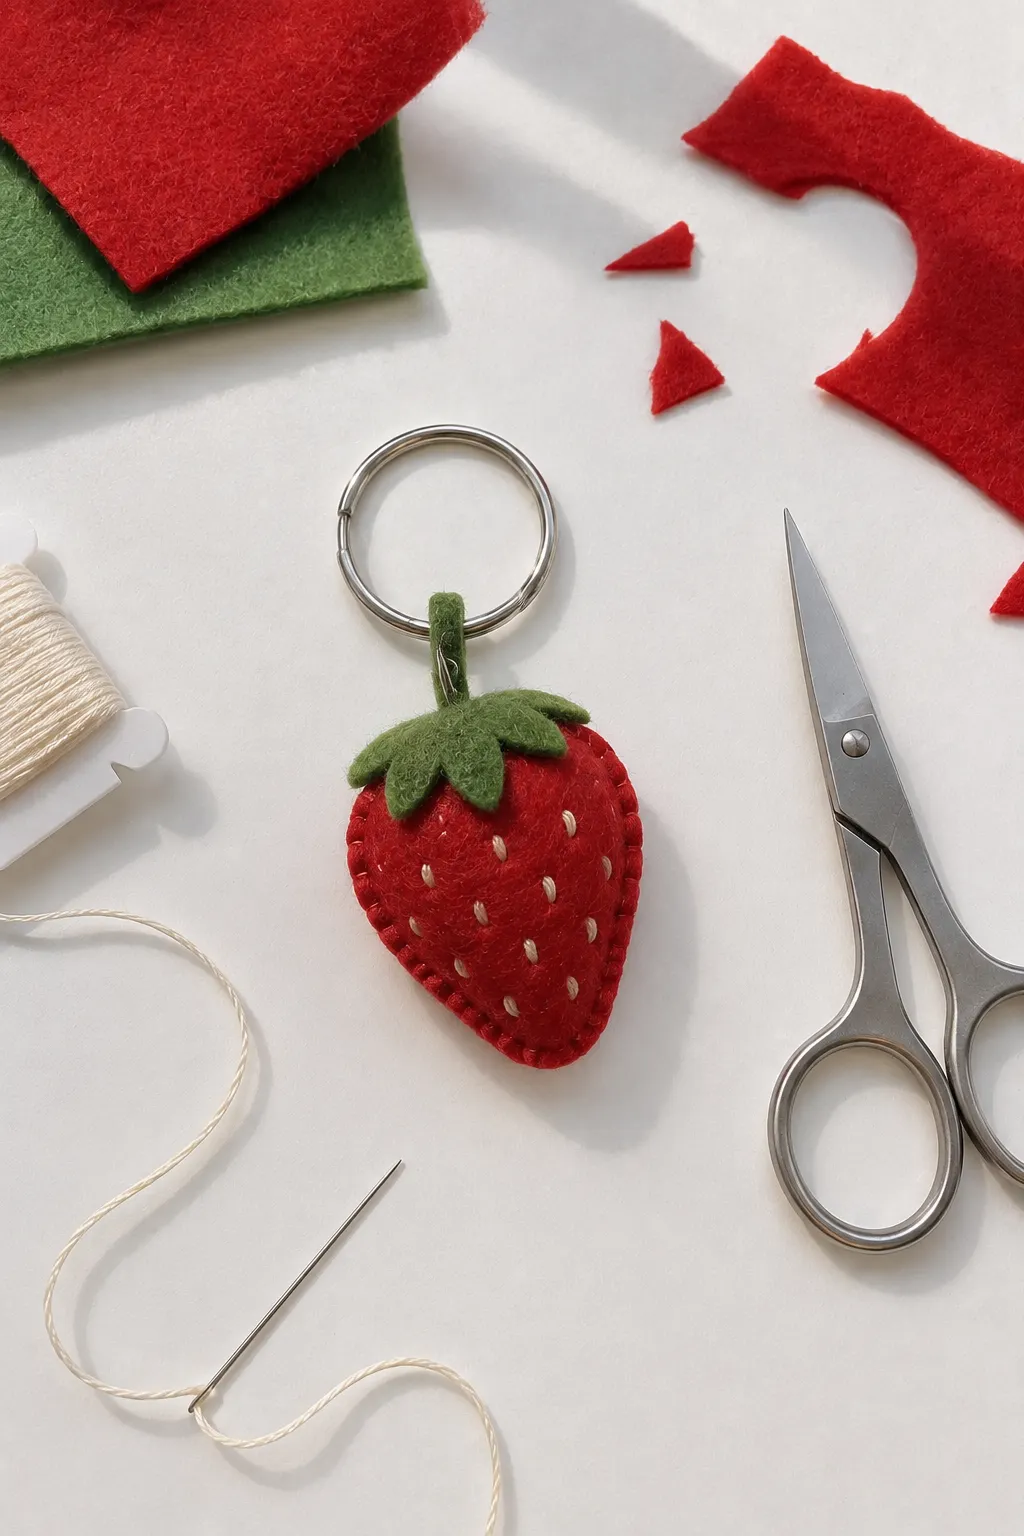
A felt strawberry keychain brings a soft, playful touch to your keys while still looking polished enough for an everyday accessory. The combination of bright red felt, green leaves, and small stitched seeds makes the shape instantly recognizable without requiring a complicated design.
Start by cutting two matching strawberry shapes from red felt and a small leafy top from green felt. Stitch the strawberry pieces together around the edges, leaving a small opening if you want to add a little stuffing for extra dimension. Add the cream-colored seeds with simple stitches, then secure the green leaves and a small loop at the top for the metal keyring.
You can use the same technique to create other simple felt shapes, such as cherries, lemons, stars, clouds, or flowers. Choosing clean shapes and a limited color palette keeps the finished keychain looking modern rather than overly crafty. It’s also a nice project for using small leftover pieces of felt.
Pro Tip: Add a small amount of stuffing before closing the felt shape. A lightly padded charm has more dimension and feels sturdier than a completely flat version.
13. Make a Deep Green Tassel Keychain With a Refined Finish
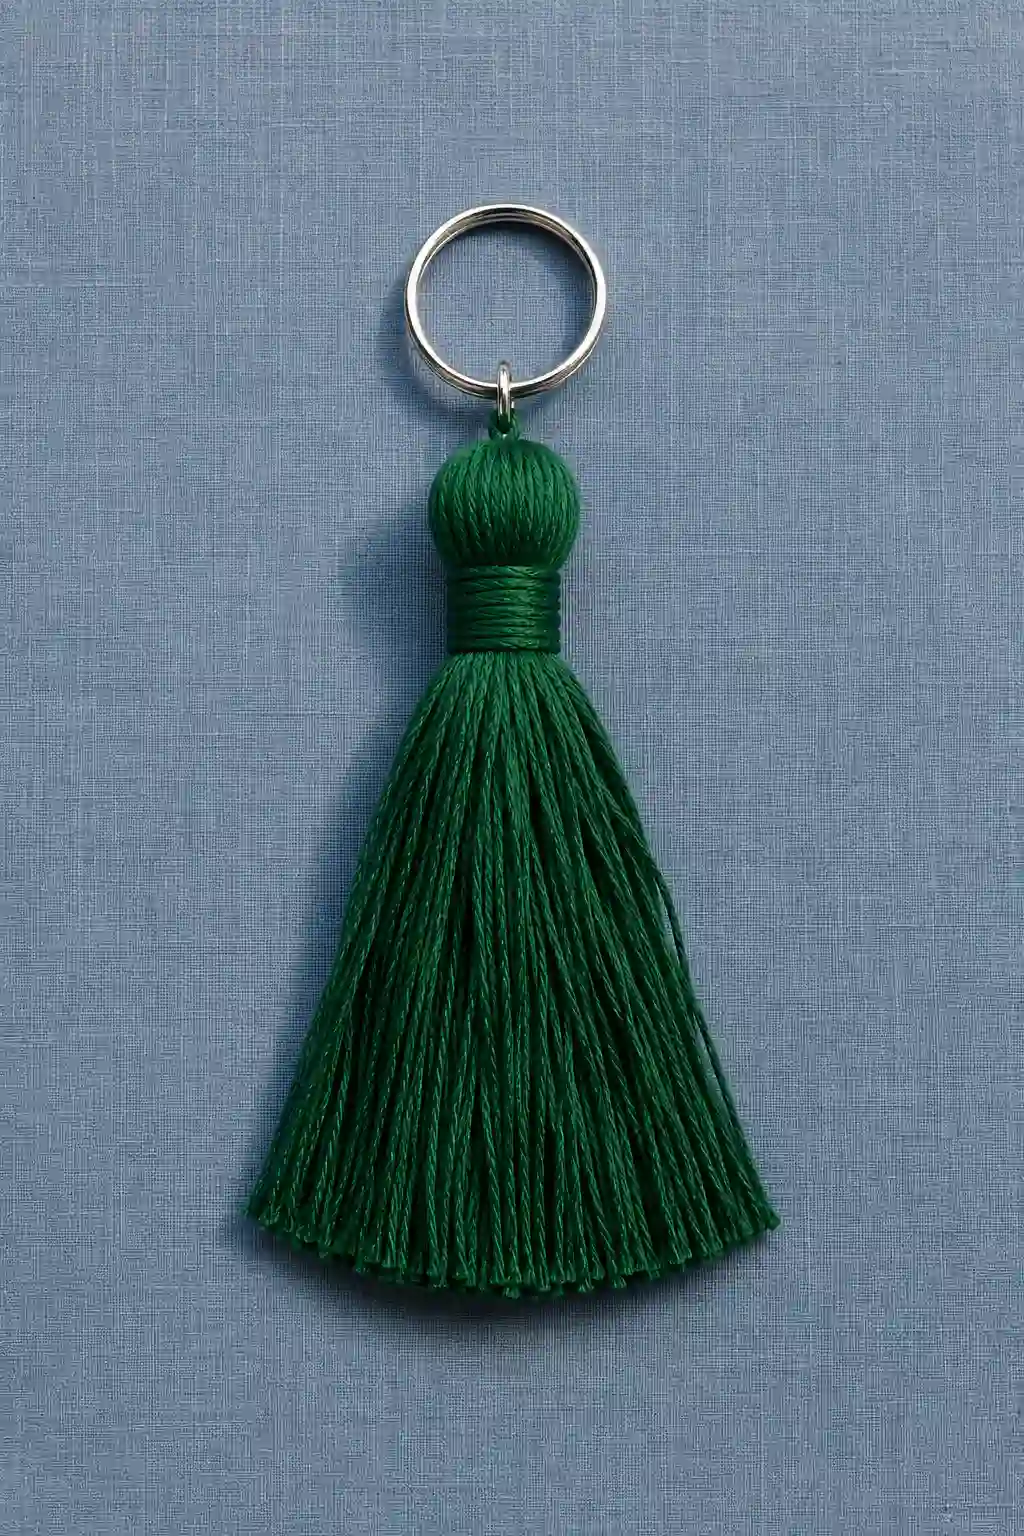
A tassel keychain is an easy project that can look surprisingly polished when you keep the shape neat and the color intentional. Deep emerald-green thread gives this version a rich finish, while the rounded top and carefully wrapped center make the tassel feel more like a finished accessory than a simple craft.
To make one, wrap embroidery thread or fine cotton cord around a small piece of cardboard until you have enough strands for a full tassel. Secure the top tightly, cut the lower loops, and wrap another piece of thread around the upper section to create the narrow center. Trim the ends evenly, then attach the finished tassel to a metal keyring using a small connector loop.
You can easily change the character of this design by switching the thread color or adjusting the length. Navy, burgundy, cobalt blue, black, and cream can all create different looks, while a shorter tassel gives you a more compact everyday accessory. Using high-quality thread also makes the strands look smoother and helps the finished piece hold its shape.
Pro Tip: Place a small piece of clear glue inside the wrapped center before finishing it. This helps keep the thread bundle secure and prevents the tassel from loosening with regular use.
14. Build a Pixel Lightning Keychain From Colorful Fuse Beads
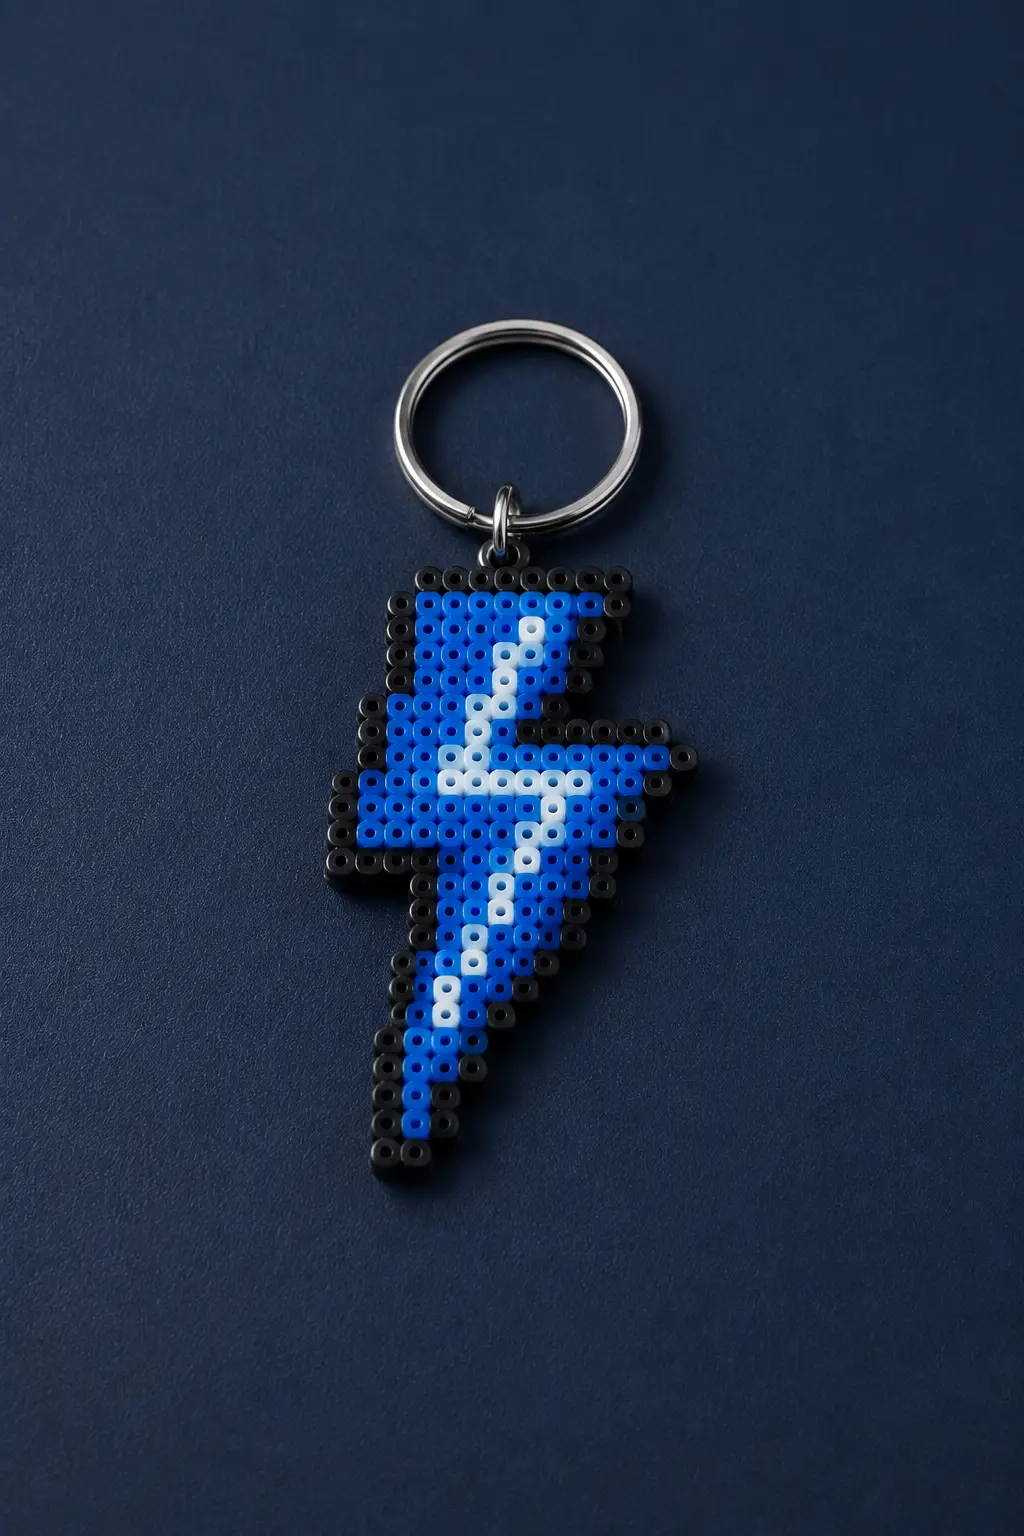
A pixel-style keychain is a fun way to turn tiny fuse beads into a bold graphic accessory. This lightning bolt design uses electric blue, white, and black to create a crisp pattern that feels modern rather than overly childish. The small square beads also give the finished charm a distinctive textured look.
Start by arranging your fuse beads on a pegboard to create the lightning bolt shape. Use a simple pattern with a dark outline and a few contrasting colors inside the design. Once the arrangement is complete, carefully fuse the beads according to the instructions for your specific beads, let the piece cool, and attach it to a sturdy metal keyring.
You can use the same technique to make stars, hearts, initials, smiley faces, game-inspired shapes, or simple geometric designs. Changing the color combination can completely transform the finished accessory, so you can make one that matches your favorite colors. It’s also a good project for creating matching keychains as small handmade gifts.
Pro Tip: Use a dark outline around the design to make the shape easier to recognize. A strong border also helps the smaller colored sections stand out once the beads are fused.
15. Weave a Two-Tone Paracord Keychain With a Geometric Knot
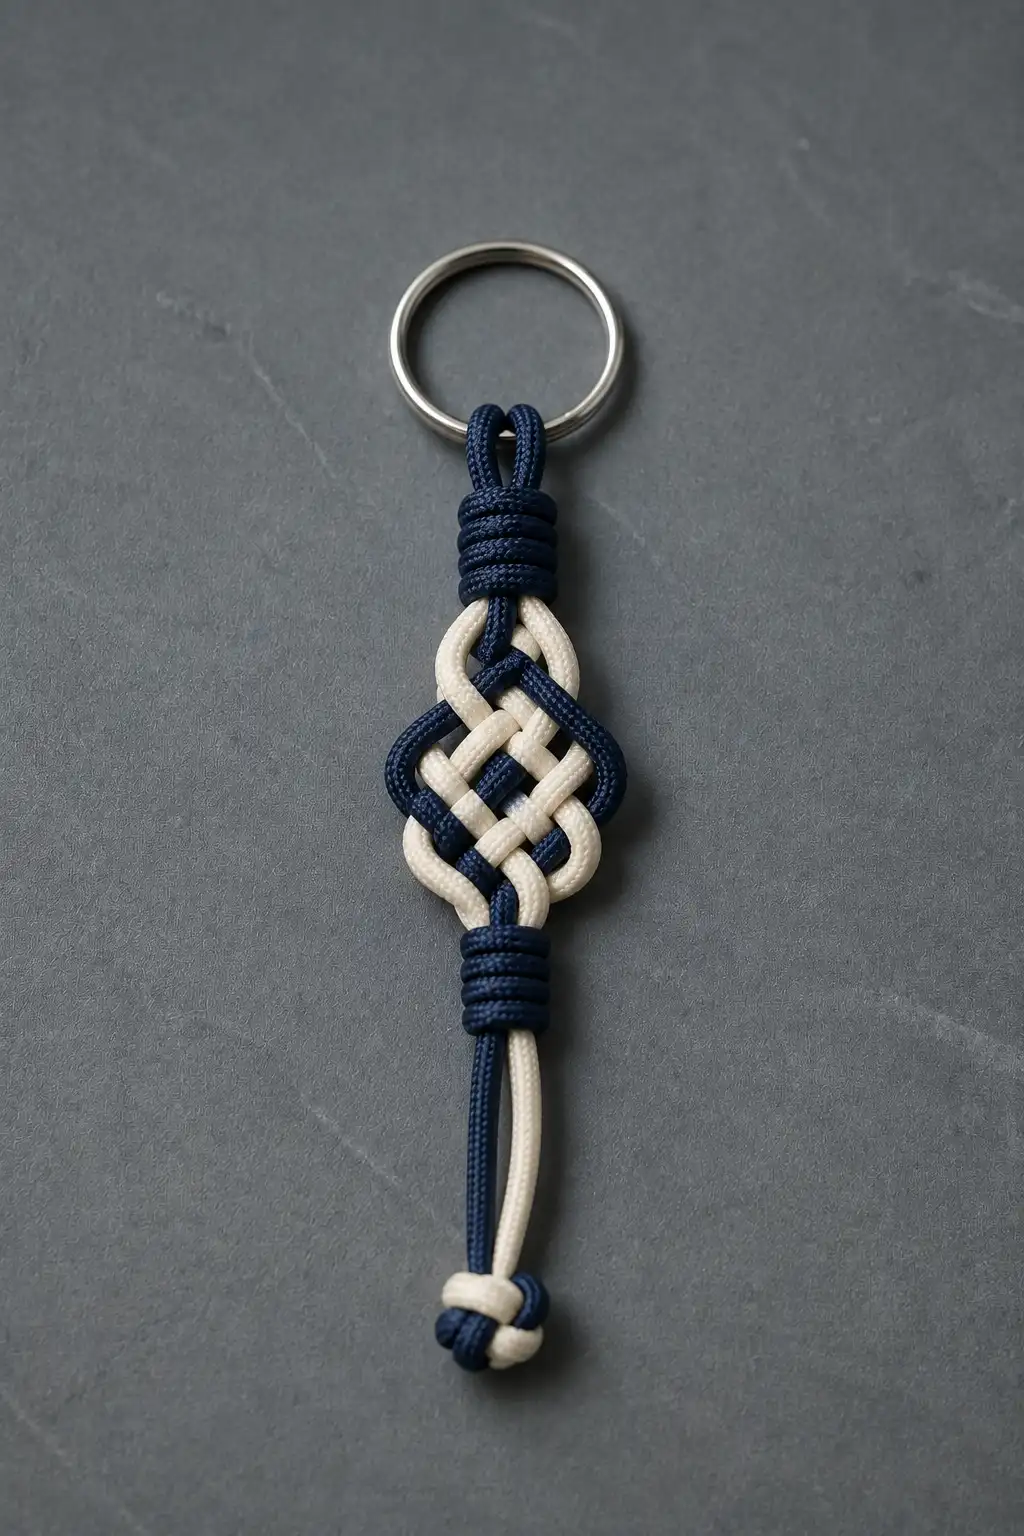
A two-tone paracord keychain is a strong choice when you want something durable with a more structured appearance. Navy blue and cream cord create a clean contrast, while the woven center gives the finished accessory an interesting geometric pattern.
Start by cutting equal lengths of paracord and securing them to a sturdy metal keyring. Follow a simple decorative knot pattern, keeping the blue and cream strands arranged evenly as you weave. Tighten each section as you go, then finish the bottom with a secure knot so the entire keychain stays compact and holds its shape.
You can change the look by using two contrasting colors or choosing shades from the same color family. Black and gray, navy and white, or burgundy and black can all create a more understated finish. Because paracord is strong and lightweight, this style works especially well for an everyday keychain that needs to handle regular use.
Pro Tip: Pull each knot firmly before moving to the next section. Consistent tension keeps the woven pattern symmetrical and gives the finished keychain a cleaner, more professional appearance.
16. Sew a Denim Loop Keychain With a Clean Structured Shape
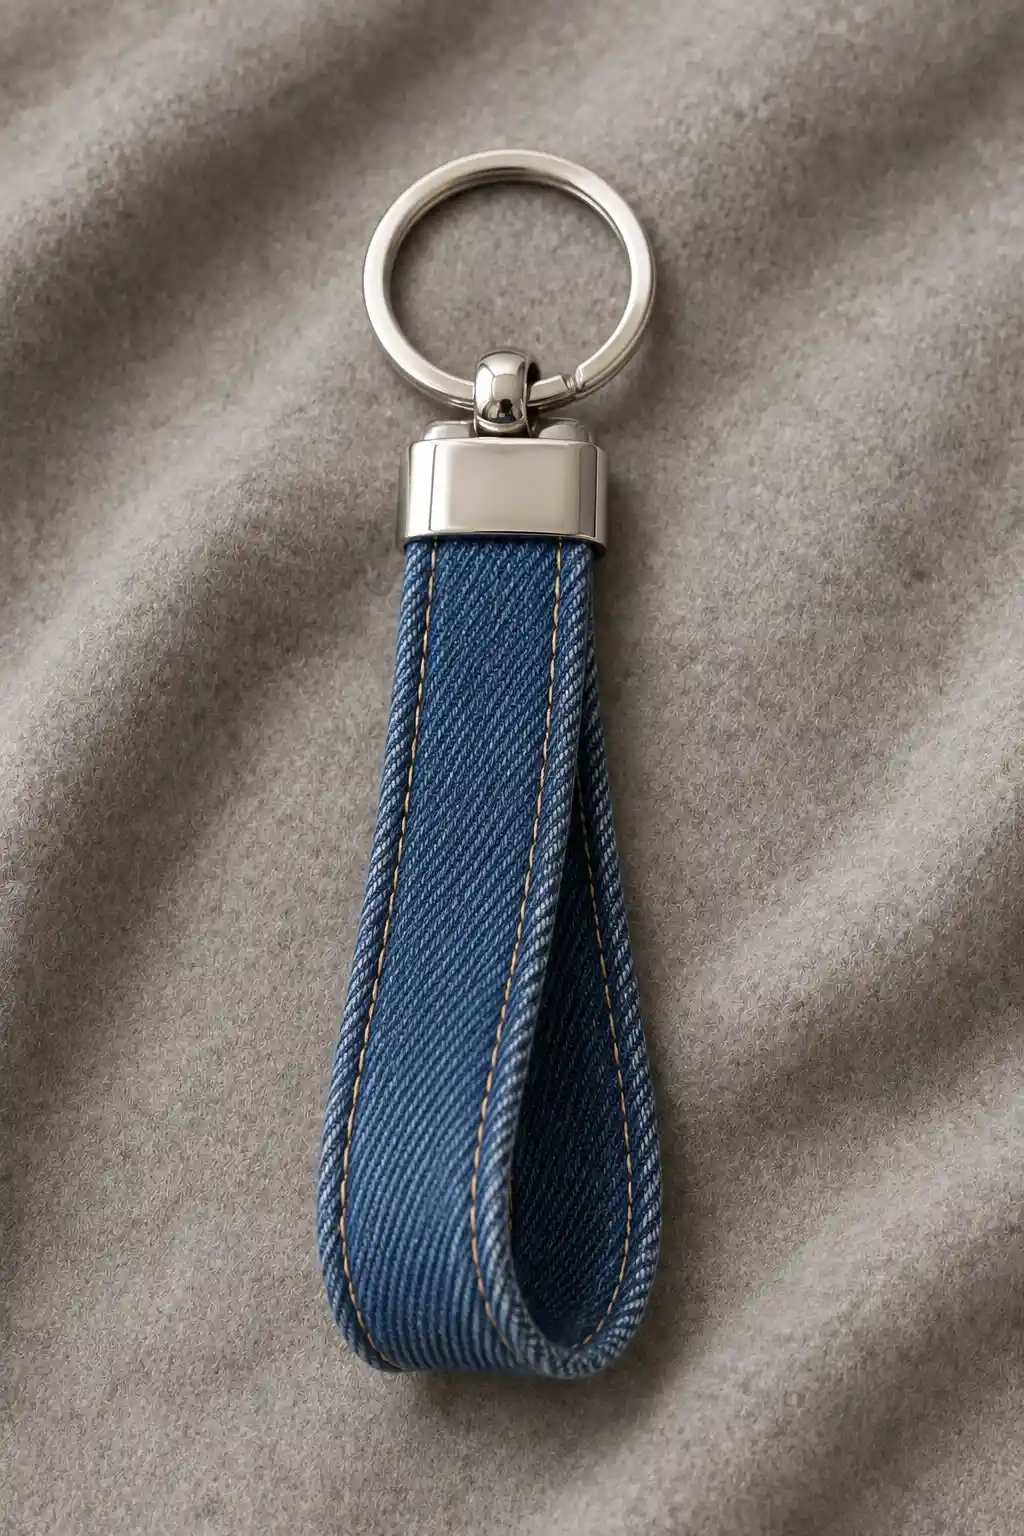
A denim loop keychain is a practical way to reuse a small piece of old jeans while creating something that looks neat and durable. The blue denim gives it a familiar everyday feel, while the folded construction and metal cap create a more structured finish than a basic fabric loop.
Start by cutting a narrow strip of sturdy denim and folding it into a long loop. Stitch the edges securely, then fold the top around a metal keyring and reinforce the connection with several rows of strong stitching. If you have a suitable metal end cap, you can use it to cover the top seam and give the finished keychain a cleaner appearance.
You can experiment with different denim washes to change the final look. Dark indigo feels more refined, while lighter denim creates a casual accessory. Adding a small contrasting stitch along the edges can also give the loop more definition without making the design overly complicated.
Pro Tip: Use a strong denim seam or reinforce the attachment point with multiple rows of stitching. This is the area that receives the most pulling force when the keychain is used every day.
17. Shape a Bright Pipe-Cleaner Flower Into a Cute Keychain
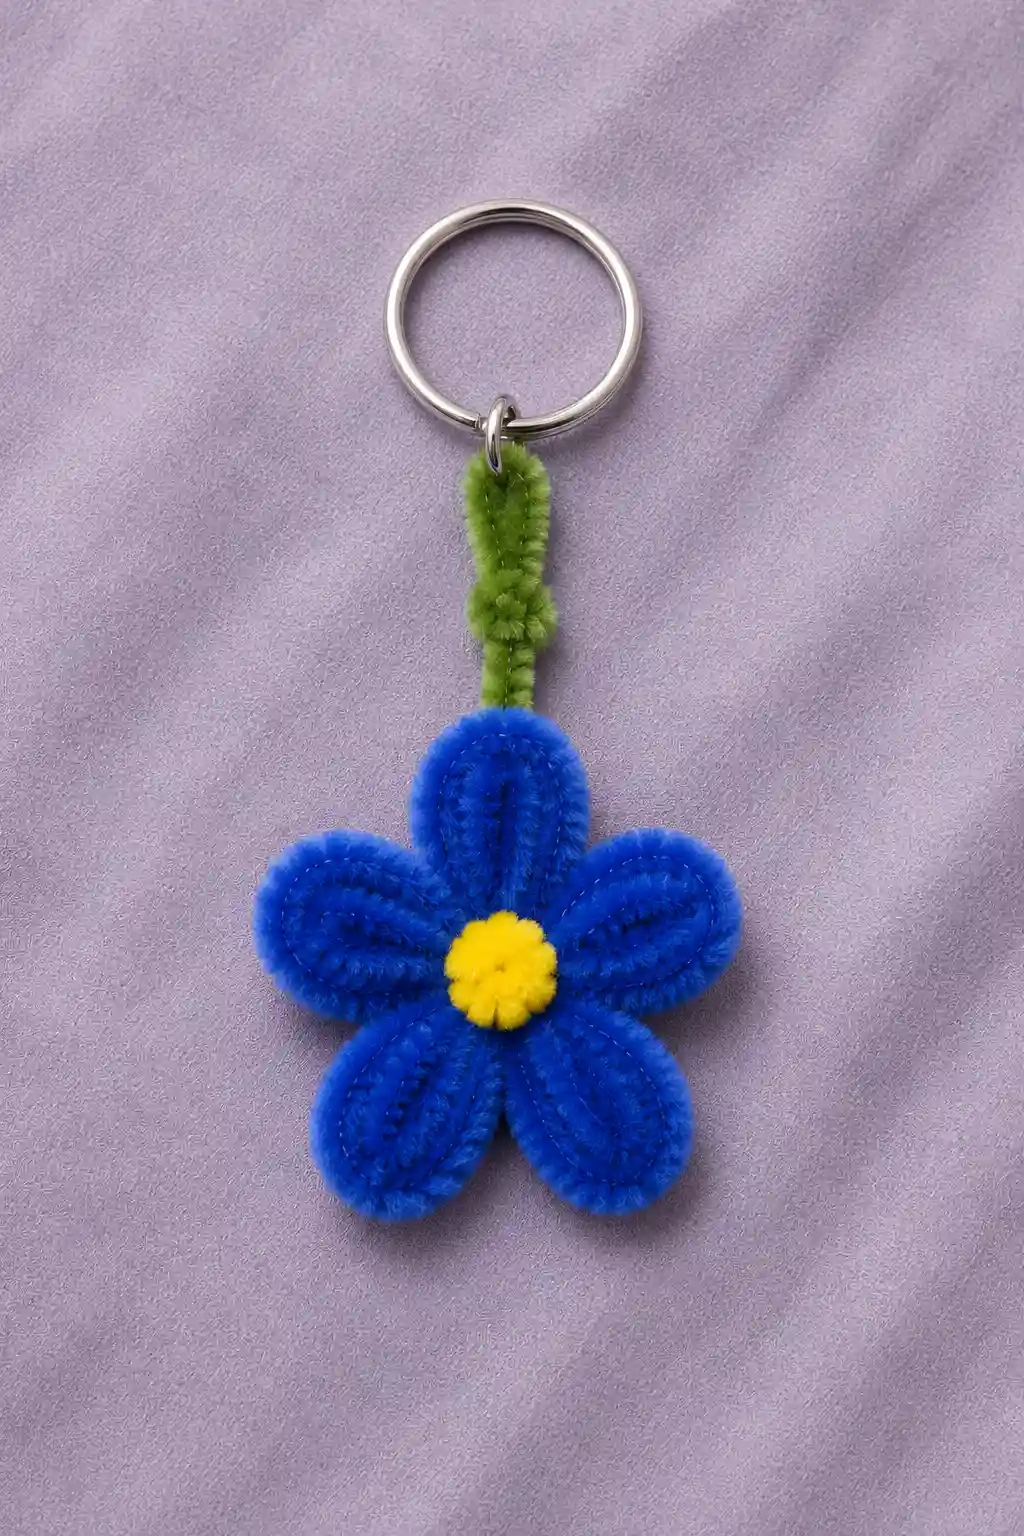
A pipe-cleaner flower keychain is a simple way to create a colorful handmade accessory with very little material. This version uses bright blue chenille stems with a small yellow center, creating a cheerful design that feels playful while still looking neat and modern.
Start by shaping one pipe cleaner into several evenly sized loops to form the flower petals. Twist the center securely so the petals stay together, then add a small yellow piece in the middle for contrast. Use a green pipe cleaner to create a short stem and loop at the top, making sure the connection is tight before attaching the metal keyring.
You can easily change the flower’s personality by experimenting with different petal colors and center shades. Try blue with yellow, purple with white, red with pink, or even a simple black-and-white combination. Making several flowers in different colors is also an easy way to create matching keychains for friends or family.
Pro Tip: Shape each petal to roughly the same size before tightening the center. Even petals will make the flower look balanced and give the finished keychain a much cleaner appearance.
Final Thoughts
These DIY keychain ideas show just how many different styles you can create with simple materials at home. From colorful beads and soft yarn to clay, denim, felt, ribbon, and recycled pieces, there’s an option for almost every skill level and personal style. The key is to keep the shapes clean, choose colors that work well together, and make the finished piece sturdy enough for everyday use.
Whether you want a personalized initial, a playful flower, a graphic charm, or a more understated cord design, these projects are easy to adapt. You can change the colors, shapes, textures, and materials to make each keychain feel like your own. With a few basic supplies and a little creativity, even a simple keyring can become a stylish handmade accessory.