

Table of Contents
A bathroom remodel tends to succeed or fail based on a handful of decisions made early, the shower layout, the vanity style, the lighting plan, rather than any single finishing touch added at the end. Getting those foundational choices right is what separates a bathroom that looks expensive from one that simply looks new.
Below are 14 bathroom remodel ideas, each explained in detail along with what it takes to actually execute it well, followed by a few planning tips worth keeping in mind before any work begins.
What Actually Makes a Bathroom Remodel Ideas Feel High-End
The bathrooms that read as genuinely high-end rarely rely on one expensive feature alone. They tend to layer a handful of smart decisions together, larger tile with minimal grout, mixed metal finishes used intentionally, lighting planned in layers rather than a single overhead fixture, so that no individual choice has to carry the whole room on its own.
The ideas below cover everything from major structural changes like a walk-in shower to smaller, lower-cost swaps like warmer lighting or a new mirror style, so the list works whether the plan is a full gut renovation or a staged, budget-friendly refresh.
1. Walk-In Shower with Frameless Glass
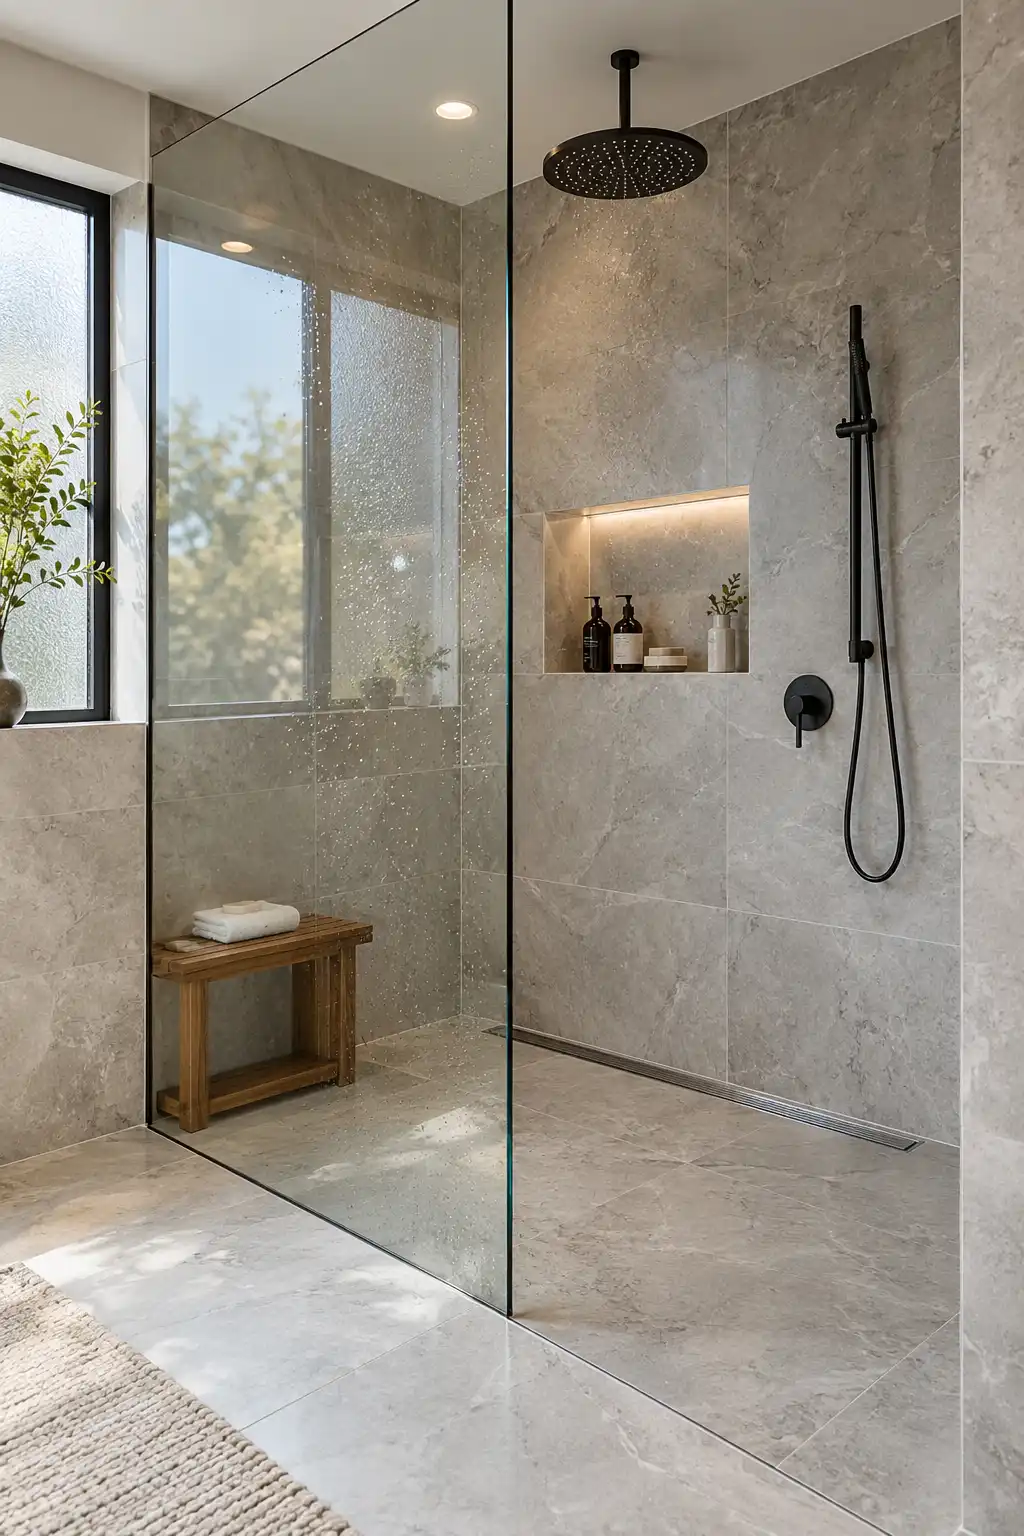
Replacing a bulky tub-shower combo with a curbless walk-in shower and a frameless glass panel does more to modernize a bathroom than almost any other single change. The open sightline makes the room look larger, the curbless entry suits every age and mobility level, and the lack of a shower curtain or framed door makes daily cleaning considerably easier.
- A curbless shower base or properly sloped tile floor
- A frameless glass panel or enclosure
- A linear drain positioned along one edge
- A built-in niche for toiletries, and a bench if space allows
How To Do It: Plan the waterproofing membrane and slope of the shower floor before anything else, since this is the single most important part of the job, then install the frameless glass panel, linear drain, and built-in niche once the waterproofing and tile work are complete.
2. Floating Vanity with Under-Cabinet Lighting
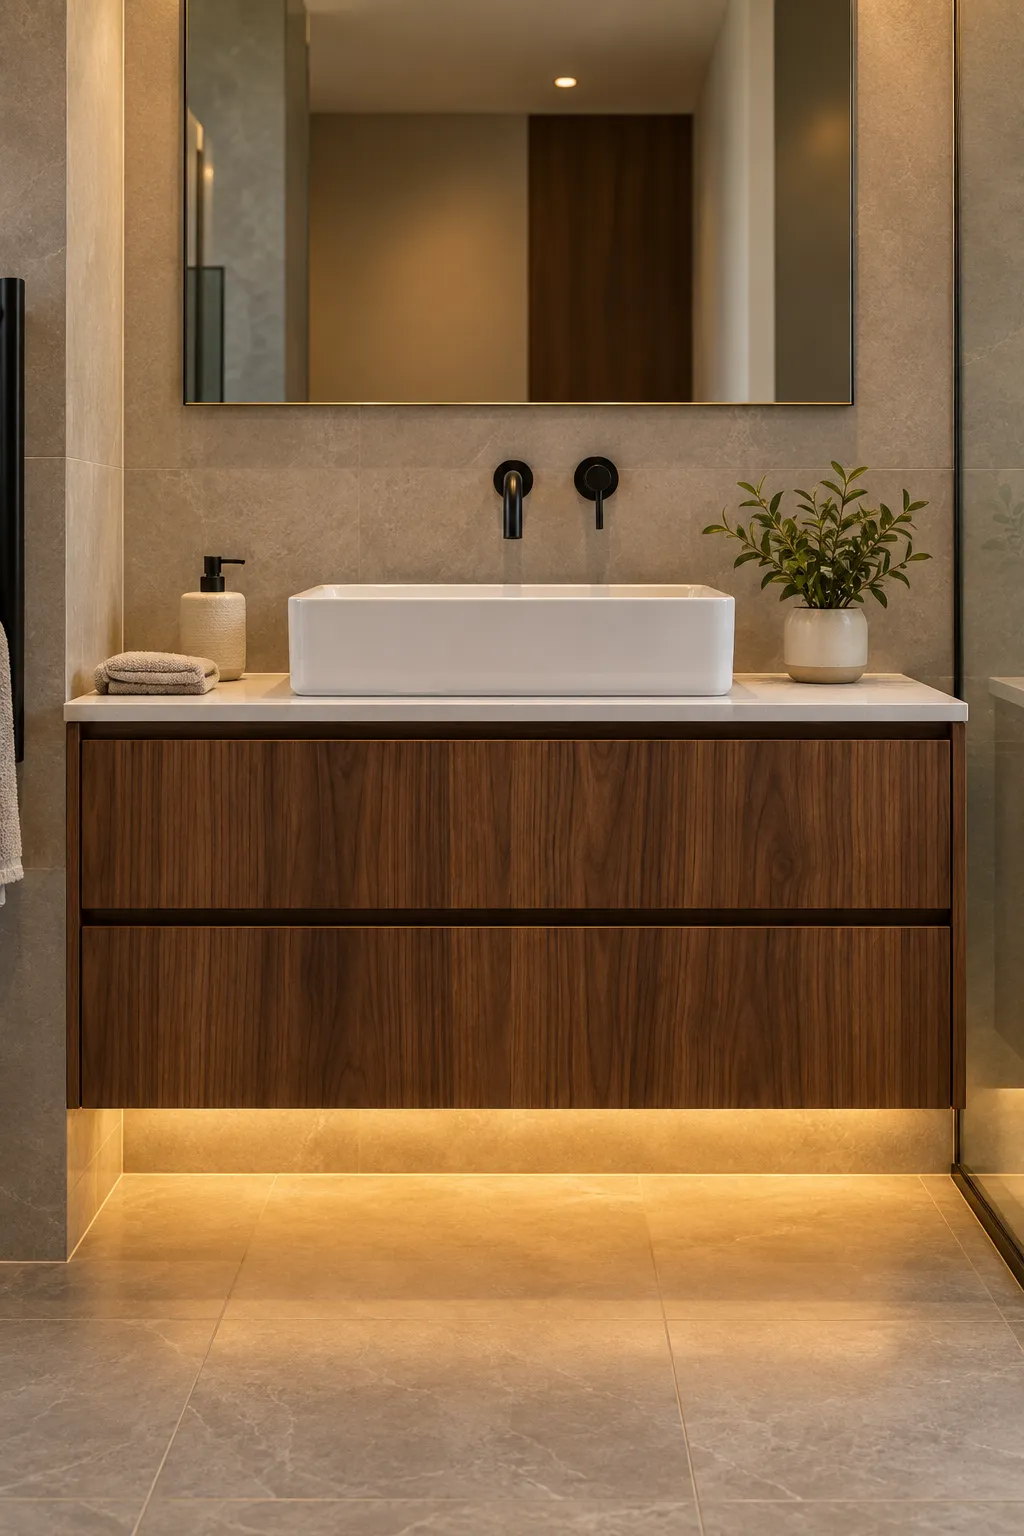
A wall-mounted vanity shows more of the floor beneath it, which makes small bathrooms in particular feel airier and considerably more modern than a vanity that sits flush to the floor. Adding a warm LED strip underneath turns that extra floor visibility into a soft nighttime glow as well.
- A wall-mounted vanity with deep drawer storage
- A warm LED light strip for underneath
- Wood-tone finishes like walnut or oak for warmth, or matte white for a minimal look
- Proper wall blocking to support the mounted weight
How To Do It: Install wall blocking strong enough to support the vanity’s full weight before mounting it, choose drawers deep enough to hold everyday items out of sight, and run the LED strip along the underside edge so the glow reflects softly onto the floor rather than shining directly outward.
3. Large-Format Tile with Minimal Grout
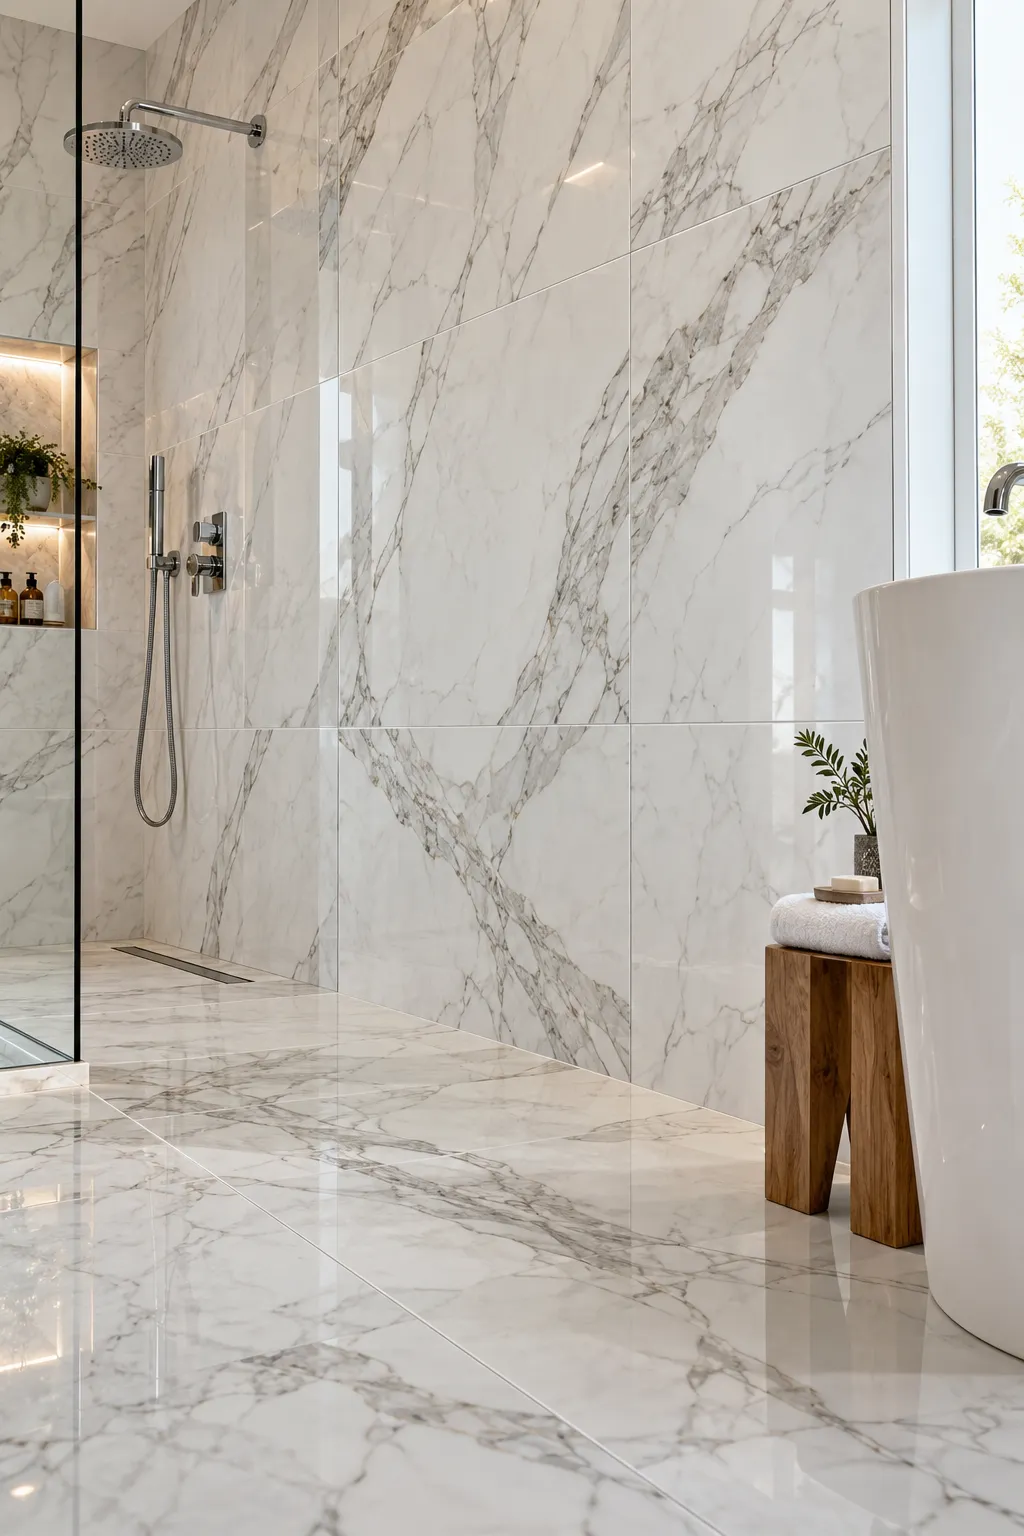
Tiles sized at 24 by 48 inches or larger dramatically cut down the number of grout lines in a bathroom, which makes the whole surface read as seamless and considerably easier to keep clean. The effect works on the floor, the walls, or both, and gets even stronger when the grout color is matched closely to the tile itself.
- Large-format porcelain tile, 24×48 inches or bigger
- Grout in a color closely matched to the tile
- A flat, properly prepared substrate for installation
- Porcelain in a marble or stone look for a luxury finish at a lower cost
How To Do It: Make sure the substrate underneath is completely flat before installation, since large tiles show any unevenness more than smaller ones do, then lay the tile with minimal grout spacing and match the grout color closely to the tile so the lines recede rather than stand out.
4. Freestanding Soaking Tub as a Focal Point
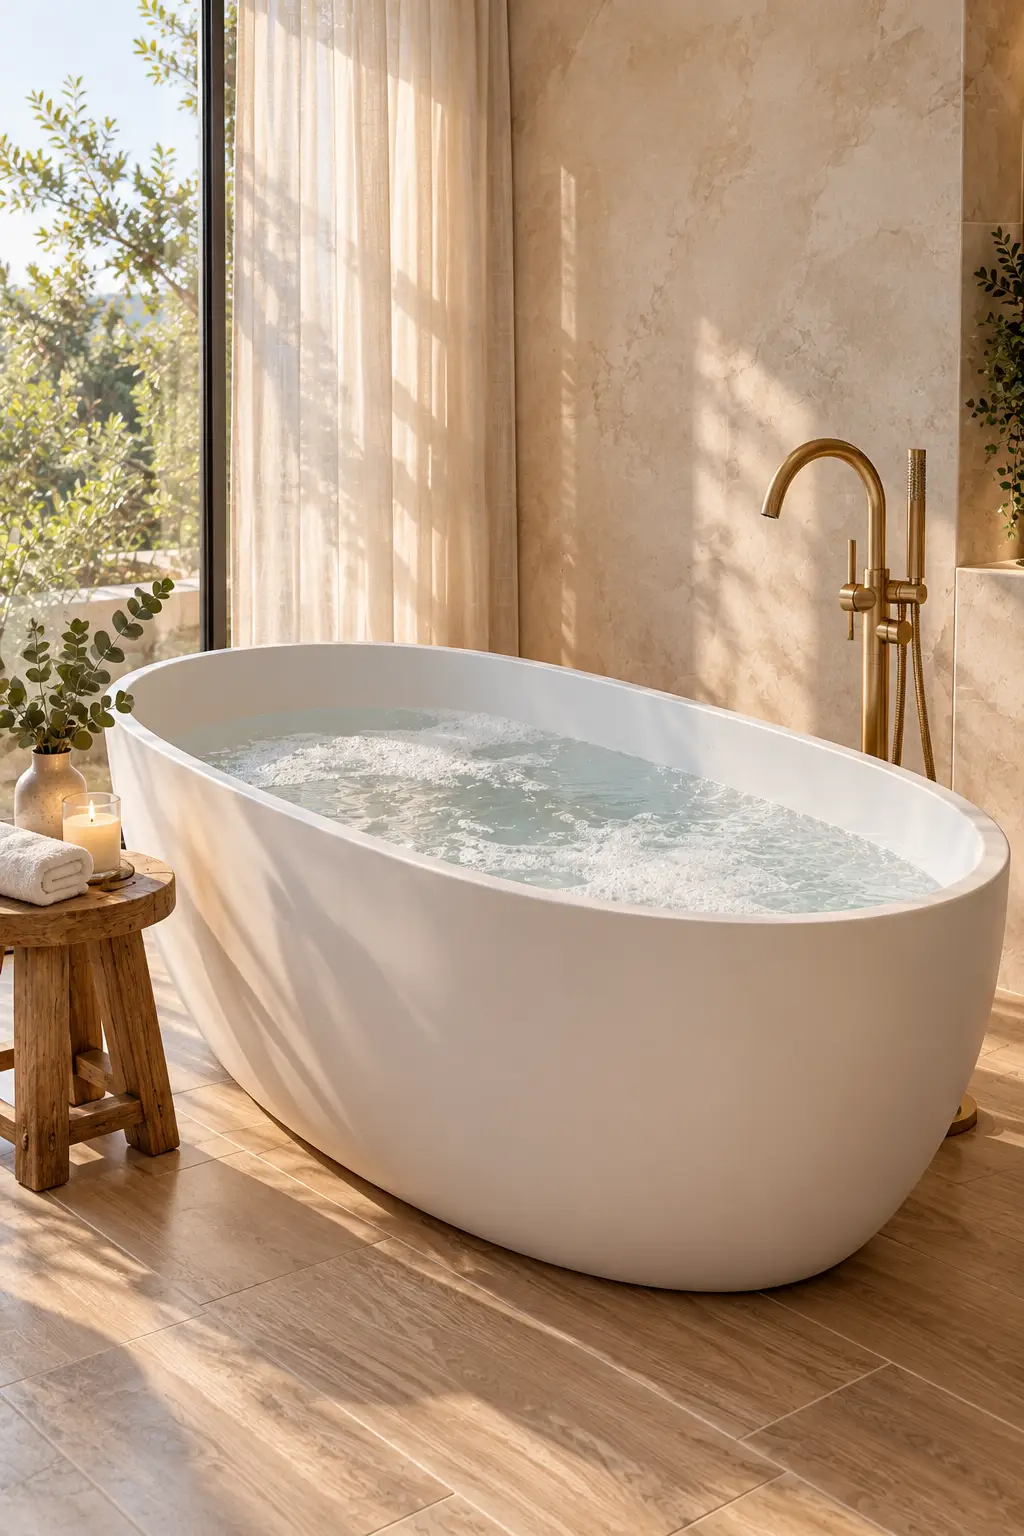
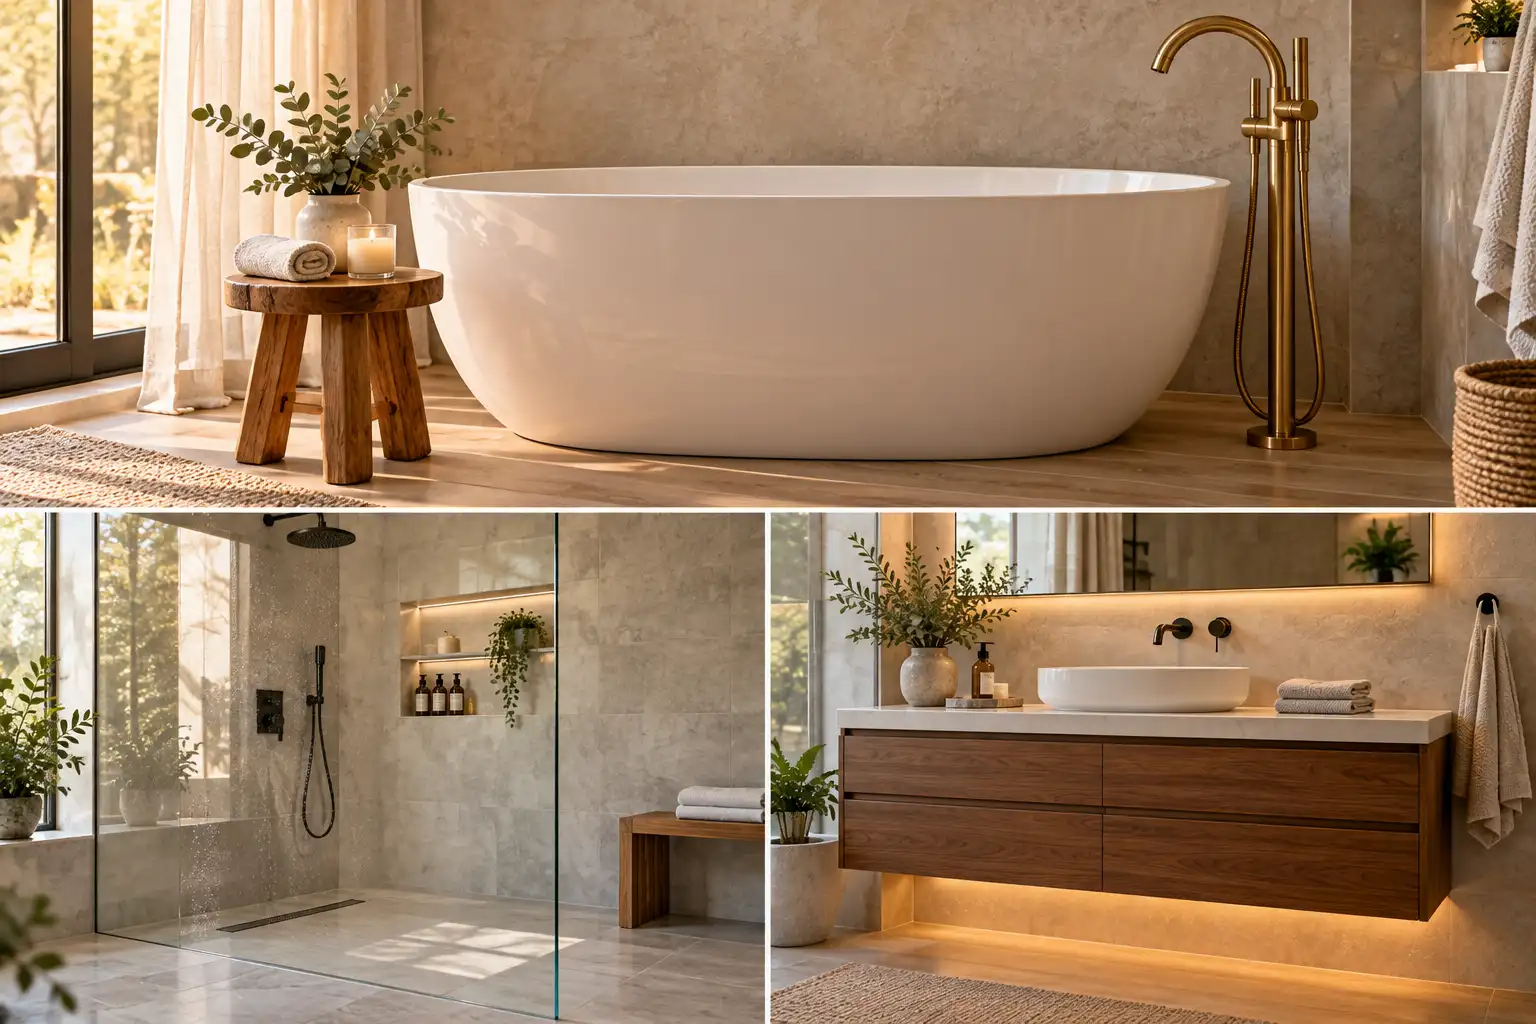
A freestanding tub instantly creates a spa-like feel in any bathroom with enough square footage to support one. Pairing it with a floor-mounted tub filler in matte black or brushed brass, and positioning it under a window or against an accent wall, turns it into the room’s clear visual anchor.
- A freestanding soaking tub
- A floor-mounted tub filler in matte black or brushed brass
- Enough floor space around the tub to keep it uncluttered
- A window or accent wall as a backdrop
How To Do It: Position the tub under a window or against a statement wall before finalizing any other layout decisions, install the floor-mounted filler with its own dedicated plumbing run, and keep the surrounding floor space free of other fixtures so the tub remains the room’s uncontested focal point.
Finishes, Fixtures, and Storage That Add Up
5. Statement Accent Wall
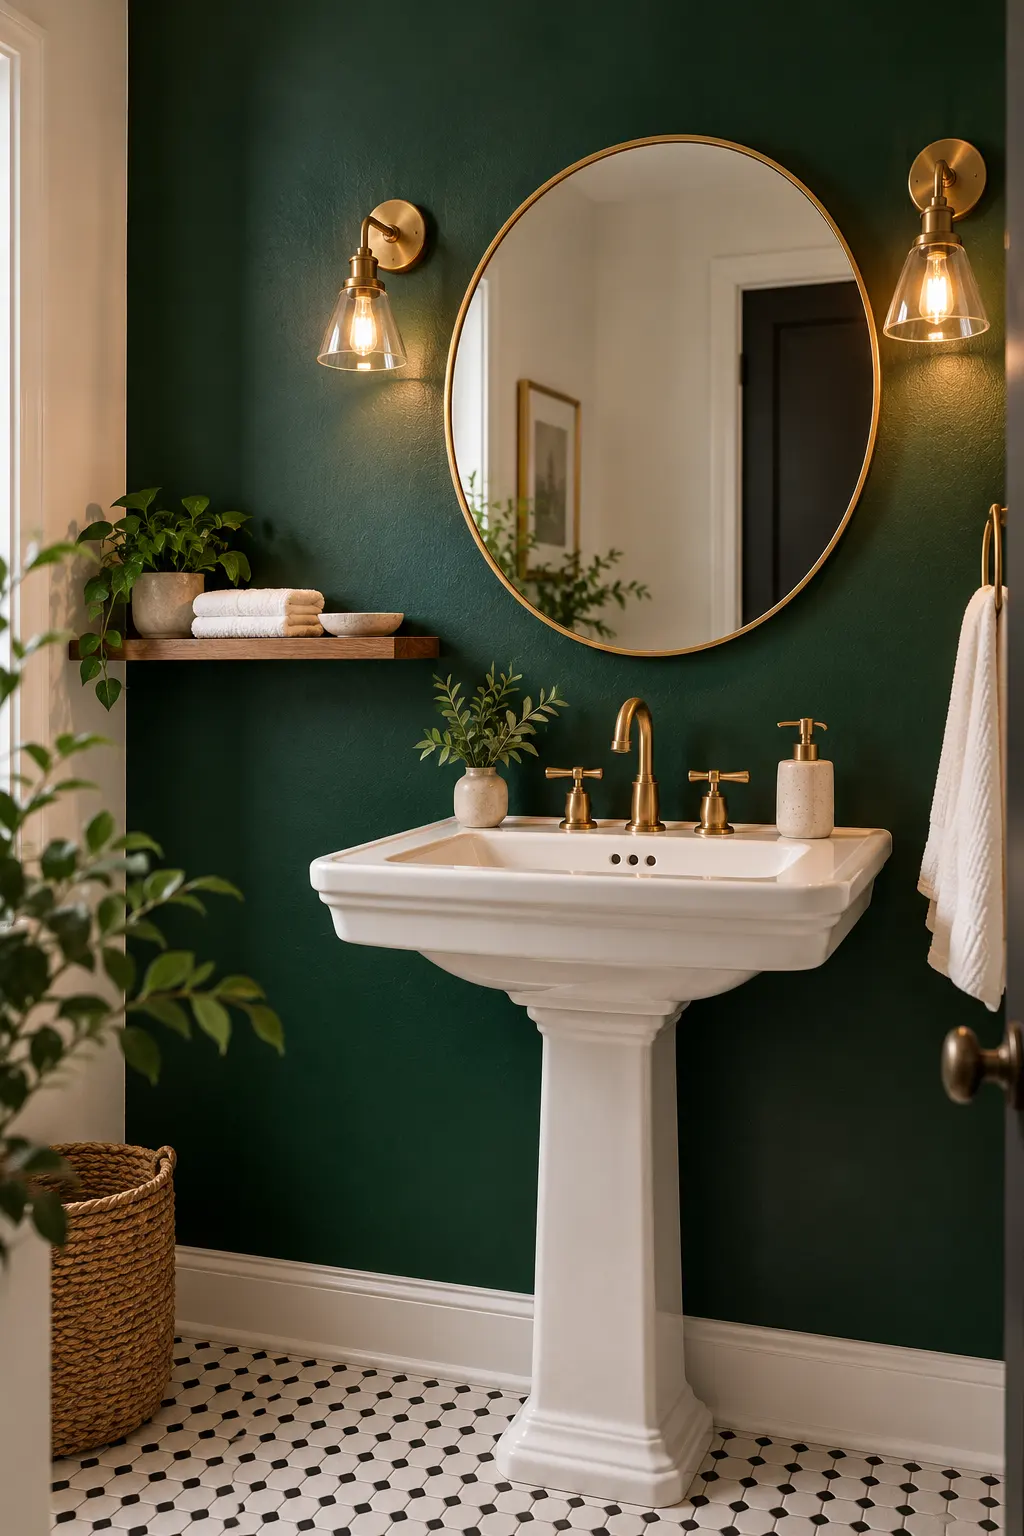
One bold wall, a deep green, navy, or terracotta paint color, or a patterned wallpaper rated for wet areas, adds real personality to a bathroom without overwhelming the whole space. Zellige-style tiles, fluted panels, or wood slats work as texture-based alternatives to paint or paper for the same effect.
- Moisture-resistant paint or vinyl wallpaper rated for bathrooms
- Zellige tile, fluted panels, or wood slats as texture alternatives
- Neutral paint for the remaining walls
- A clear focal wall, usually behind the tub or vanity
How To Do It: Choose only one wall, usually the one behind the tub or vanity, for the bold color, pattern, or texture, keep every other wall in a neutral tone so the accent doesn’t compete with itself, and confirm any paint or wallpaper is specifically rated for high-moisture environments before installing it.
6. Warm Mixed Metal Fixtures
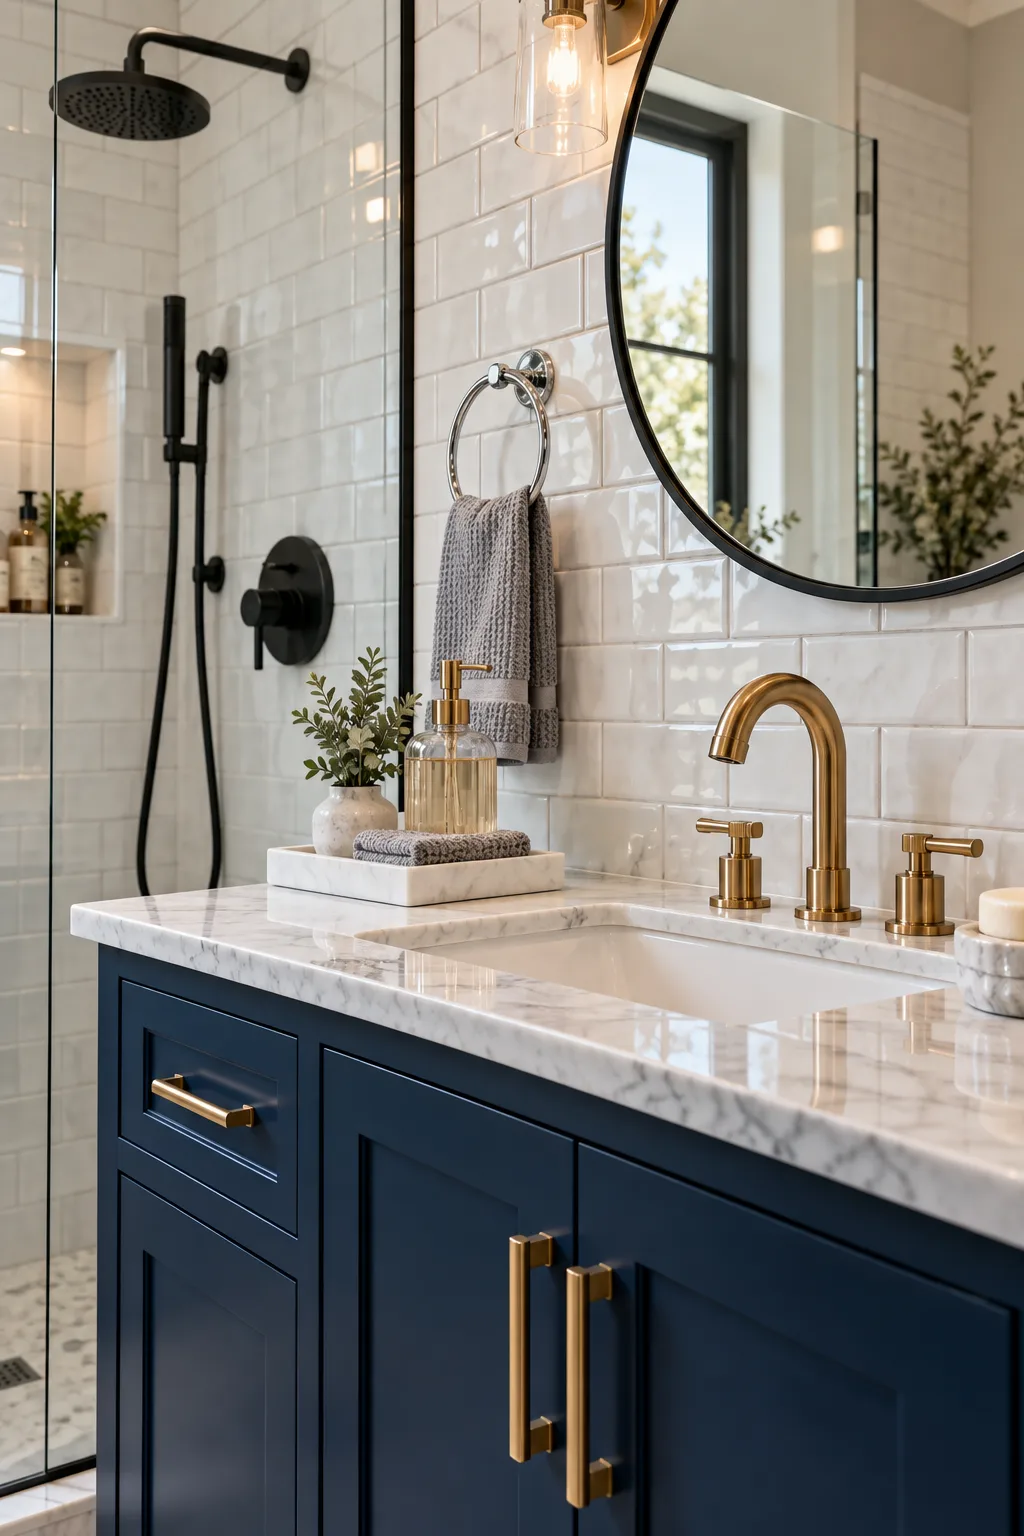
Combining finishes, brushed brass faucets, matte black shower fittings, and chrome accessories, creates a layered, designer-level look rather than a mismatched one, as long as the mixing follows a clear rule. Picking one dominant metal, using a second for accents, and repeating each finish at least twice is what keeps the combination looking intentional.
- A dominant metal finish for the main fixtures
- A secondary metal finish for accents like towel bars or hooks
- At least two repetitions of each finish throughout the room
- Coordinating cabinet or drawer hardware
How To Do It: Choose the dominant metal first and apply it to the faucet and shower fittings, select a secondary metal for smaller accessories like towel bars or hardware, and repeat each finish in at least two separate spots around the room so the mix reads as a deliberate design choice rather than mismatched leftovers.
7. Double Vanity with Framed Mirrors
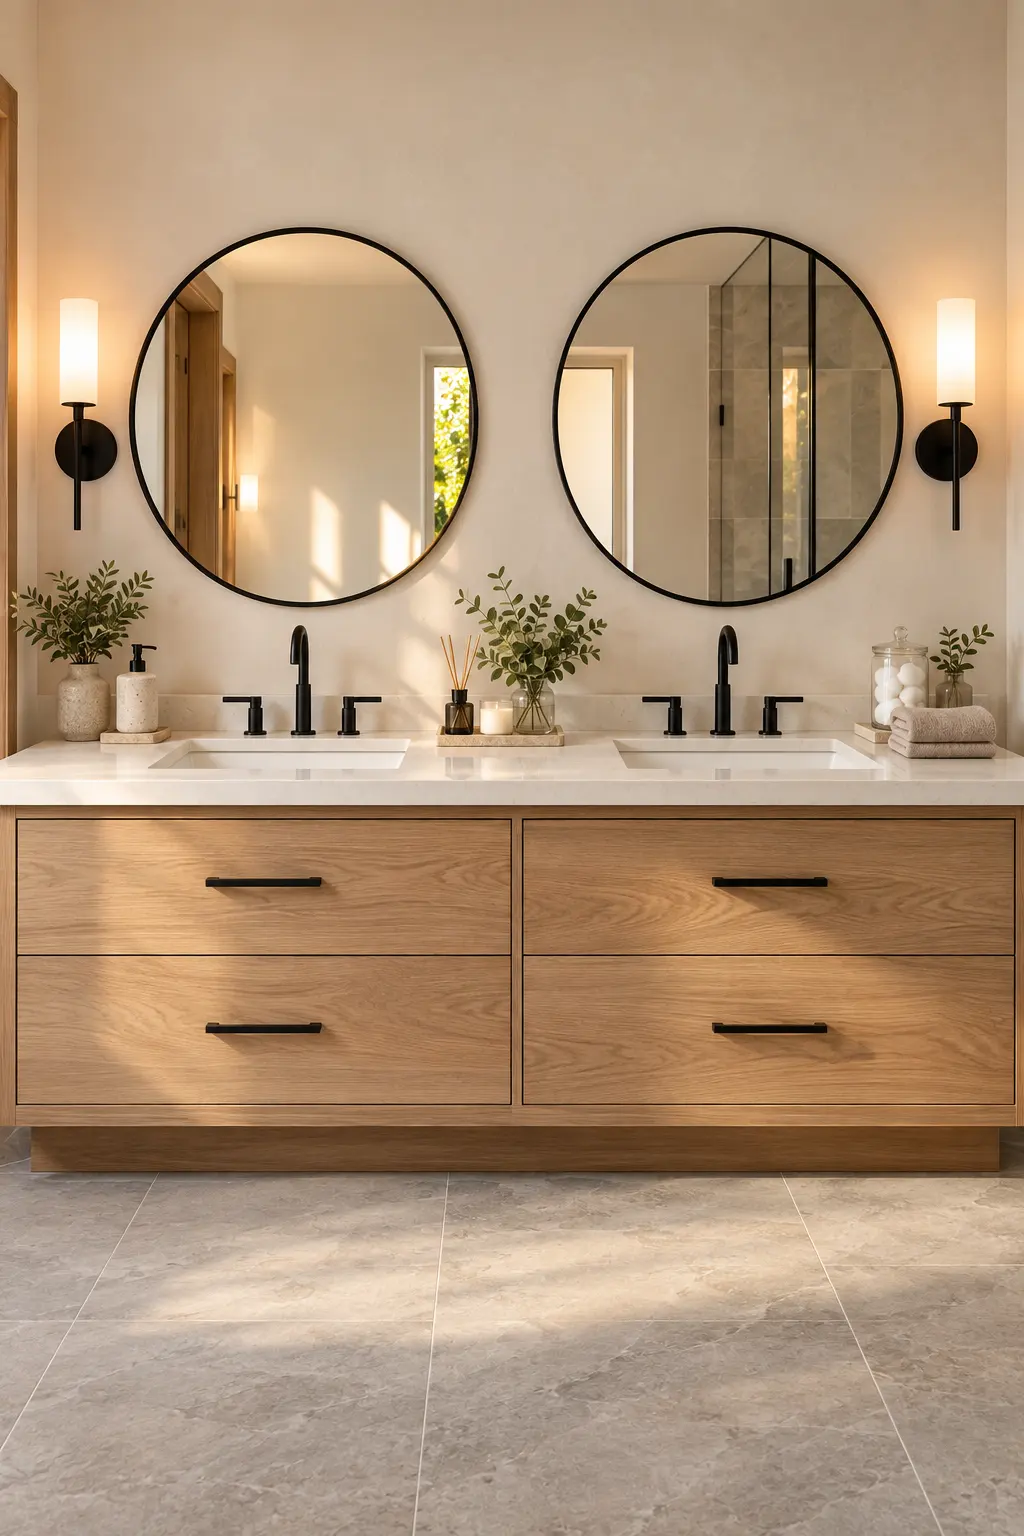
For shared bathrooms, two sinks genuinely end the morning rush, and a long vanity with two basins paired with individual mirrors for each sink makes the setup feel considerably more intentional than a single shared mirror stretched across both. Round, arched, or black-framed mirrors all work well here, especially with a sconce mounted on either side for even, flattering light.
- A long vanity with two separate basins
- Two individually framed mirrors, round, arched, or black-framed
- A wall sconce positioned beside each mirror
- A wide trough sink with two faucets as a space-saving alternative
How To Do It: Mount an individually framed mirror directly above each sink rather than one wide mirror spanning both, install a sconce on the outer edge of each mirror for flattering, even light at face height, and consider a single trough sink with two faucets instead if the vanity space is genuinely tight.
8. Heated Floors
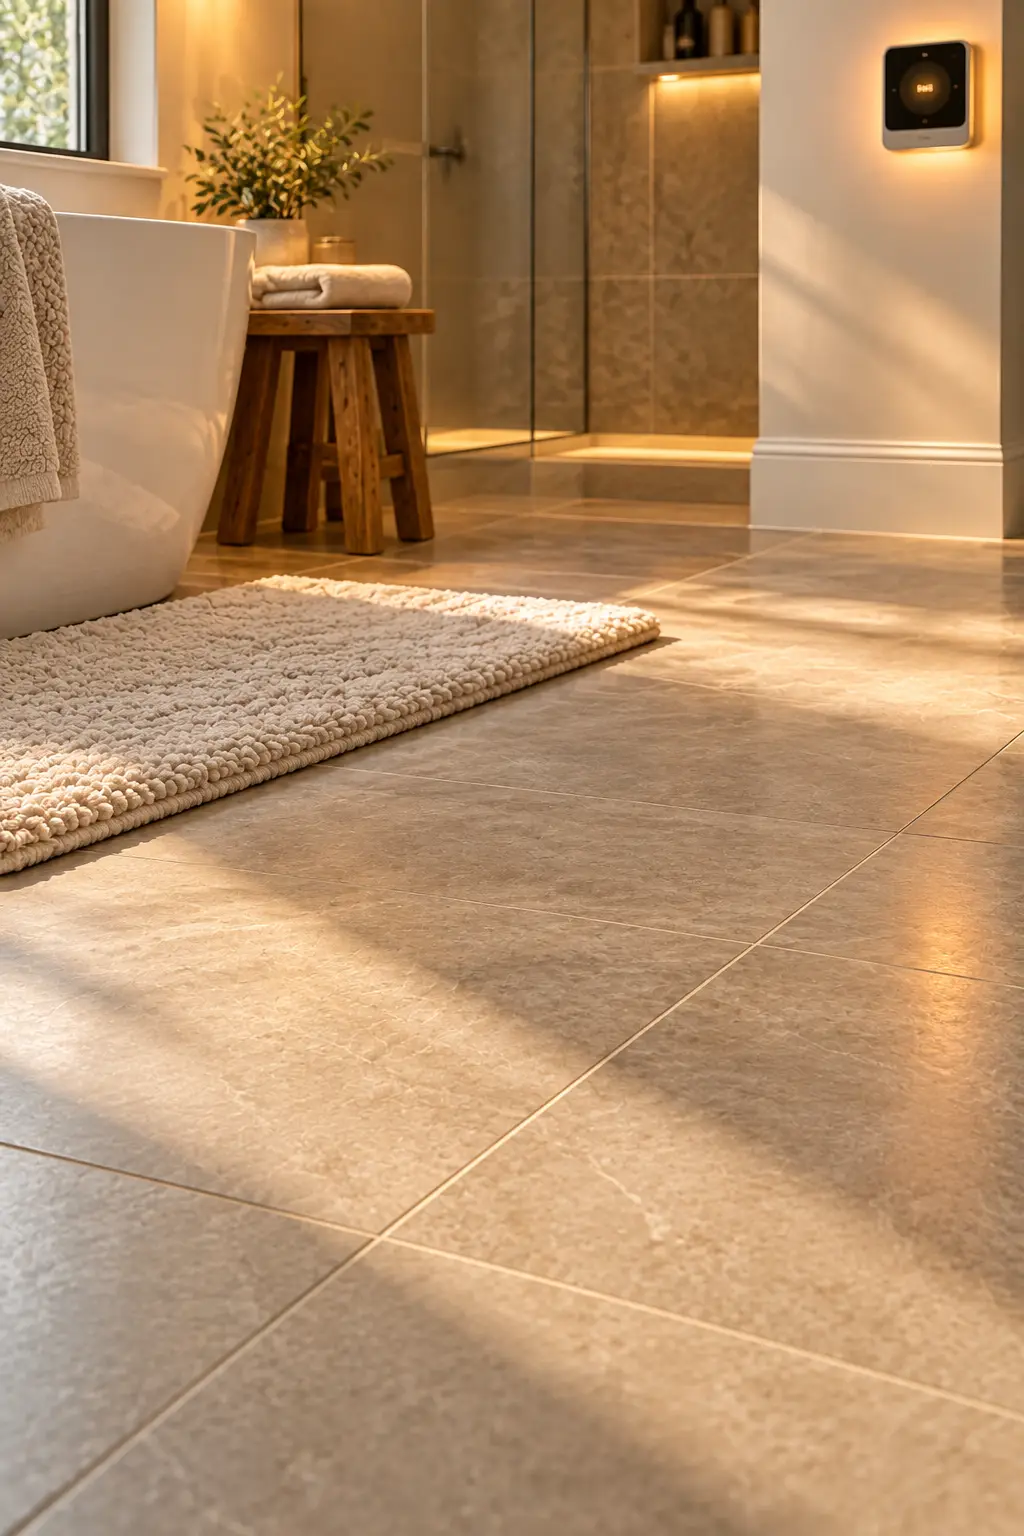
Electric radiant heating installed under the tile costs less than most homeowners expect, and it ranks among the biggest comfort upgrades a bathroom remodel can include. It also helps the floor dry faster after a shower, which directly reduces the risk of mold developing in grout lines over time.
- An electric radiant heating mat or cable system
- A programmable thermostat compatible with the system
- Proper installation beneath the tile, before grouting
- An electrician for the final wiring connection
How To Do It: Install the radiant heating mat directly onto the subfloor before laying the tile, connect it to a programmable thermostat so it runs only on a set schedule rather than continuously, and have a licensed electrician handle the final wiring connection to the home’s electrical system.
9. Smart Storage: Recessed Niches and Tall Cabinets
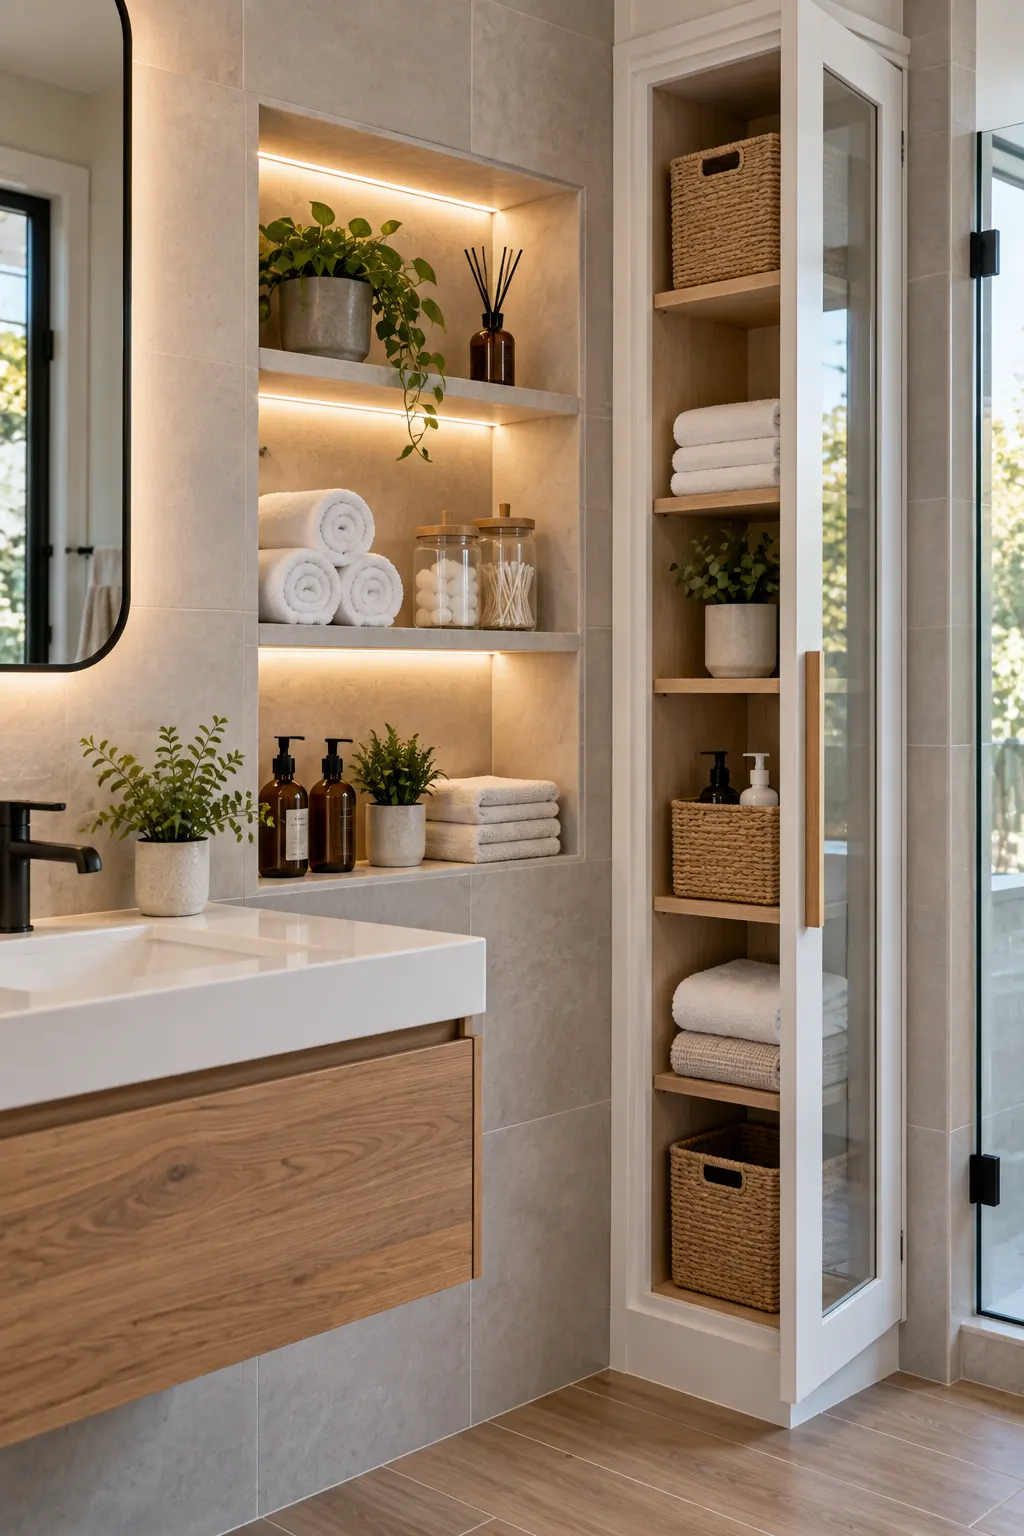
Clutter is one of the fastest ways to make any bathroom look smaller than it actually is. Recessed shelves built between the wall studs, a tall slim cabinet beside the vanity, or over-toilet shelving with baskets all add real storage capacity without taking up additional floor space.
- Recessed niche framing built into an existing wall cavity
- A tall, slim storage cabinet to fit beside the vanity
- Over-toilet shelving with baskets for soft storage
- A hidden outlet drawer for hair tools, optional
How To Do It: Frame the recessed niche directly into the stud cavity during the demolition and framing phase, since this is far harder to add later, install the tall slim cabinet in any remaining dead space beside the vanity, and add over-toilet shelving with baskets for items that don’t need to be fully hidden away.
Also Read: 12 Dreamy Bedroom Decor Ideas For A Softer, Calmer Space
10. Natural Materials and Spa Style
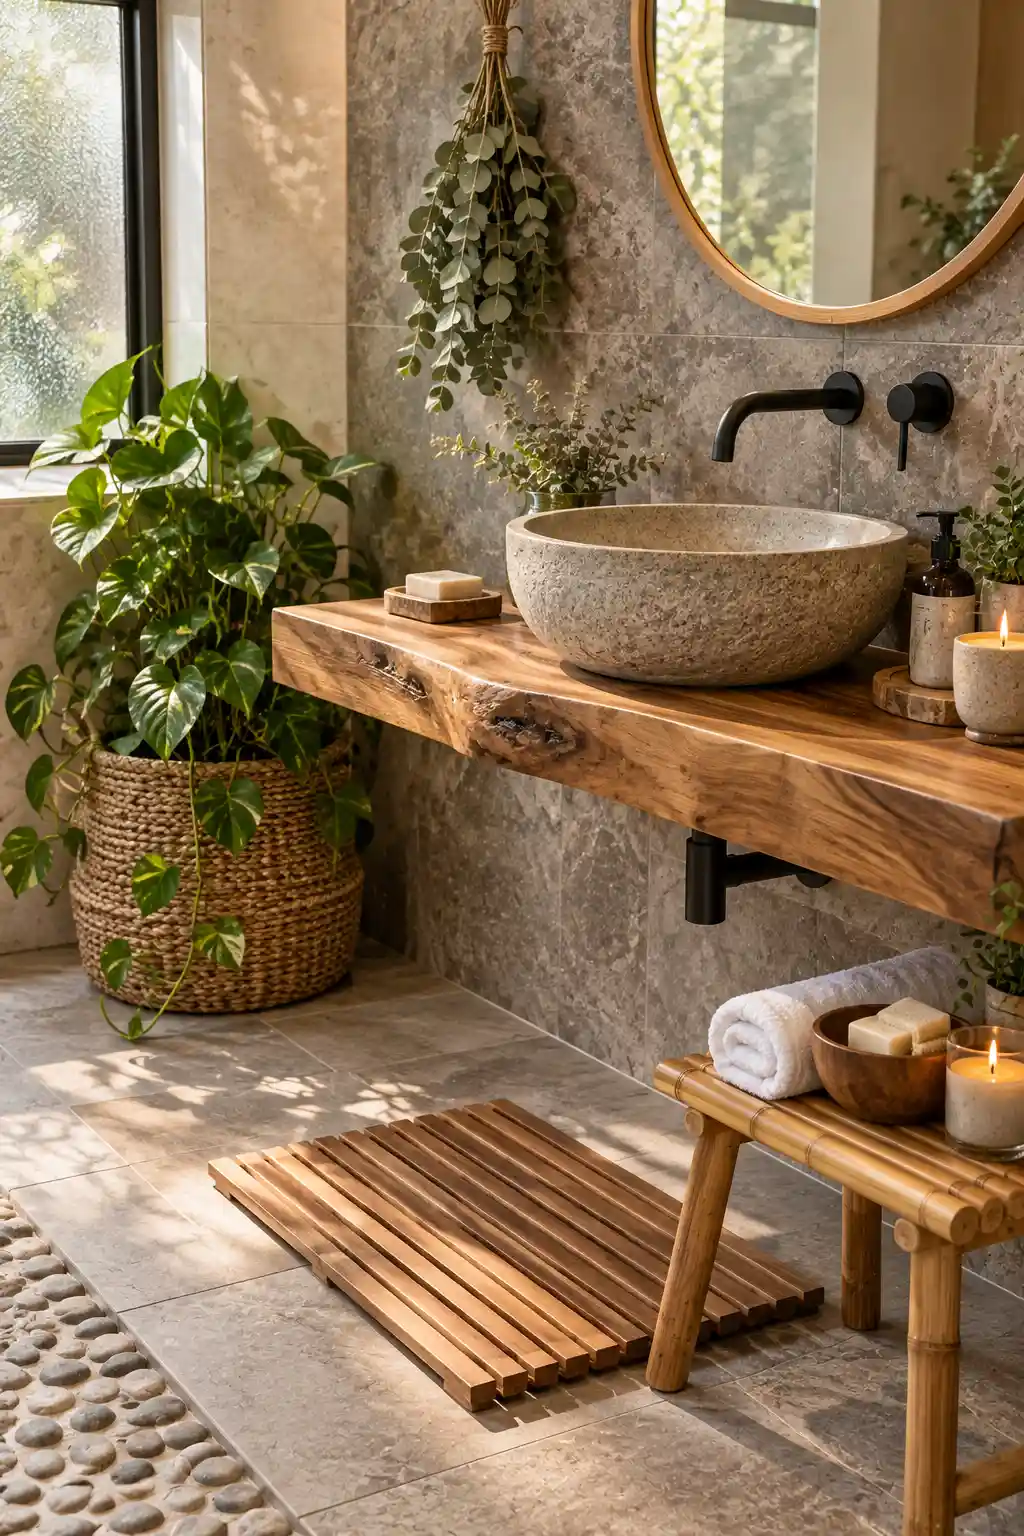
Bringing in stone, bamboo, teak, and woven textures shifts a bathroom toward a genuinely calm, spa-like feel rather than a purely modern or clinical one. A teak shower mat, a wooden stool, a stone vessel sink, or pebble flooring in the shower all reinforce that same natural, grounded quality.
- A teak shower mat or wooden stool
- A stone sink or pebble shower flooring
- Humidity-loving plants such as pothos, ferns, or eucalyptus
- Natural fiber textiles like a woven bath mat or towels
How To Do It: Introduce at least two or three natural materials rather than just one, a stone sink paired with a teak stool, for instance, and hang a humidity-tolerant plant like a pothos or fern directly in or near the shower where it will naturally benefit from the steam.
Floors, Lighting, Layout, and Overall Style
11. Bold Patterned Floor Tile
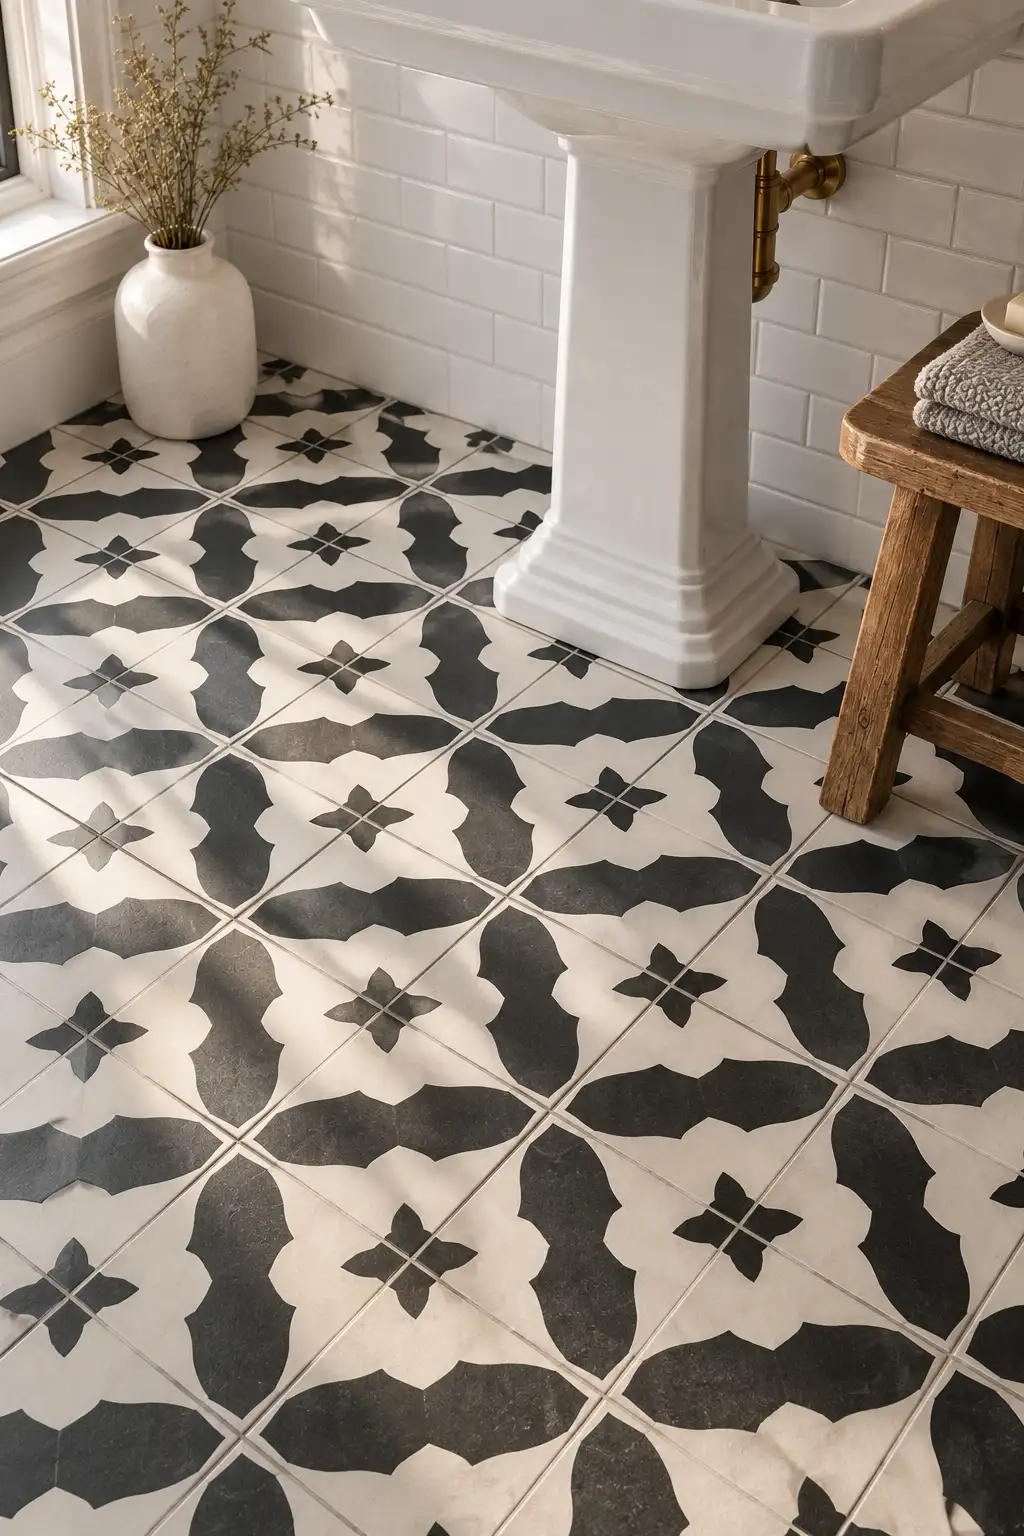
A graphic cement-look or encaustic tile on the floor can genuinely act as the star of the entire room, as long as the rest of the space stays simple enough to let it stand out. Keeping the walls in plain white subway tile or soft paint is what allows a bold floor pattern to read as the room’s clear focal point.
- Cement-look or encaustic patterned floor tile
- Plain white subway tile or simple paint for the walls
- A black-and-white geometric pattern for a timeless feel, or a colorful pattern for a playful, vintage one
- Minimal additional floor-level decor
How To Do It: Select the patterned floor tile first, then build every other material choice in the room around it, choosing plain wall tile or simple paint specifically so nothing competes visually with the floor’s pattern for attention.
12. Beautiful Lighting Layers
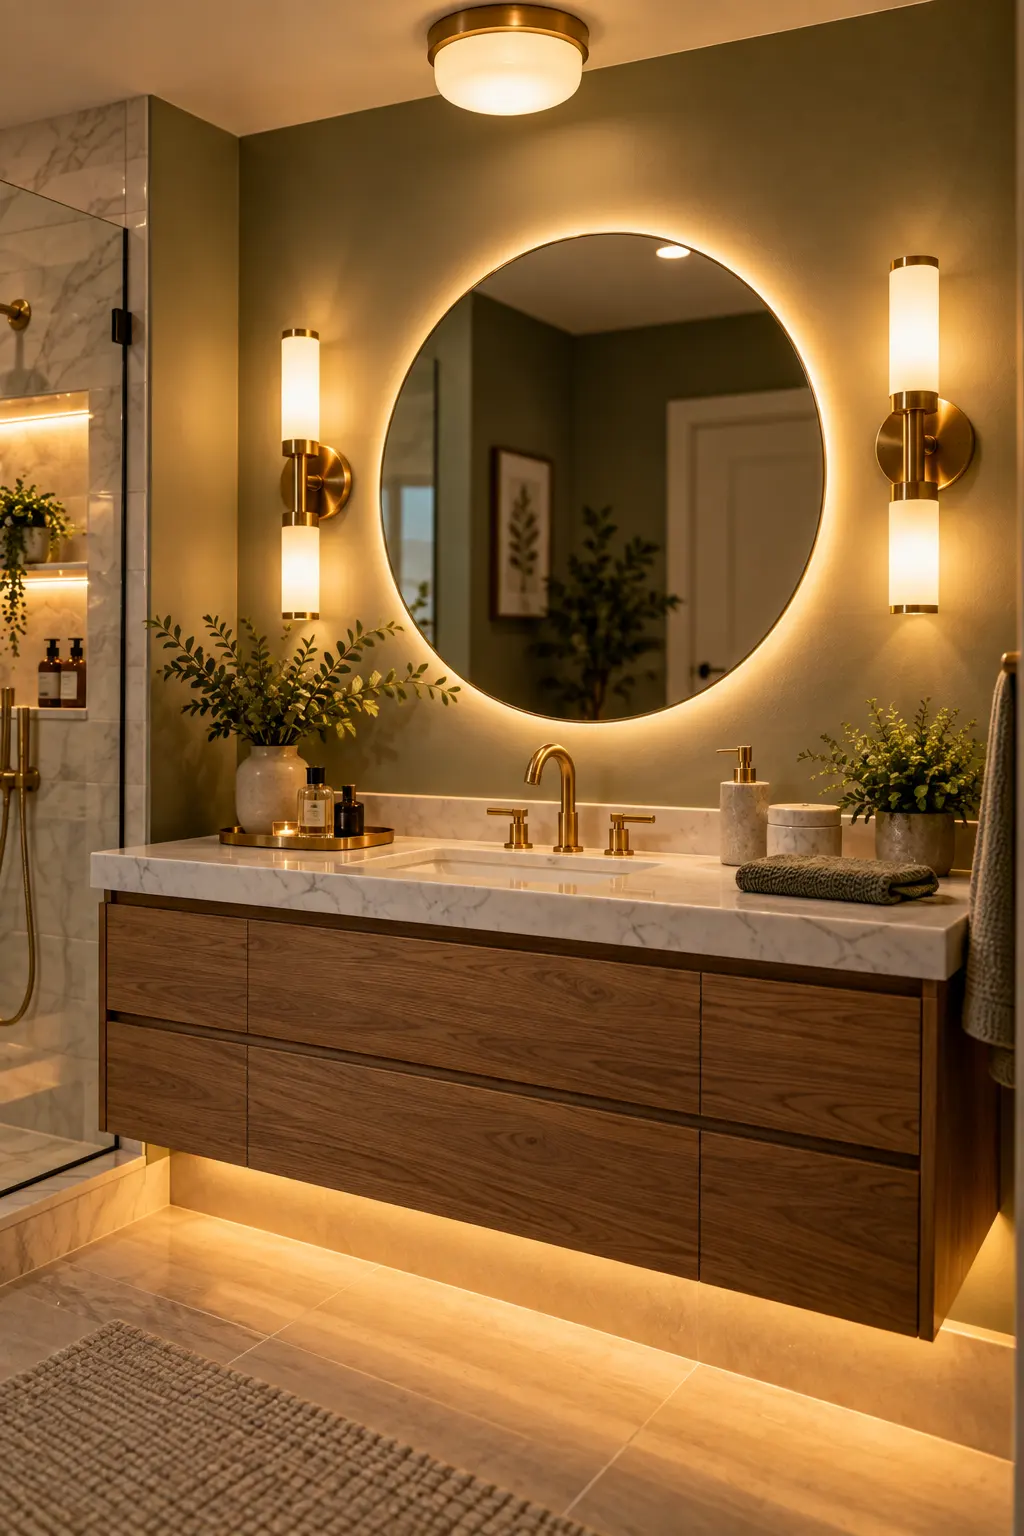
Using three distinct layers of light, ambient, task, and accent, does more to make a bathroom feel finished than any single fixture upgrade on its own. Ambient light from a ceiling fixture or recessed lights sets the overall brightness, task lighting from vanity sconces at face height handles grooming tasks, and accent lighting from LED strips or a lit mirror adds the final polish.
- A ceiling fixture or recessed lights for ambient lighting
- Vanity sconces mounted at face height for task lighting
- LED strips or a lit mirror for accent lighting
- A dimmer switch connected to the main fixtures
How To Do It: Install all three lighting layers during the remodel rather than relying on one central fixture alone, choose bulbs in the 2700K to 3000K range across every layer for a warm but accurate light, and wire the main fixtures to a dimmer so the room can shift between bright morning light and a softer evening mood.
13. Small Bathroom Space-Saving Layout
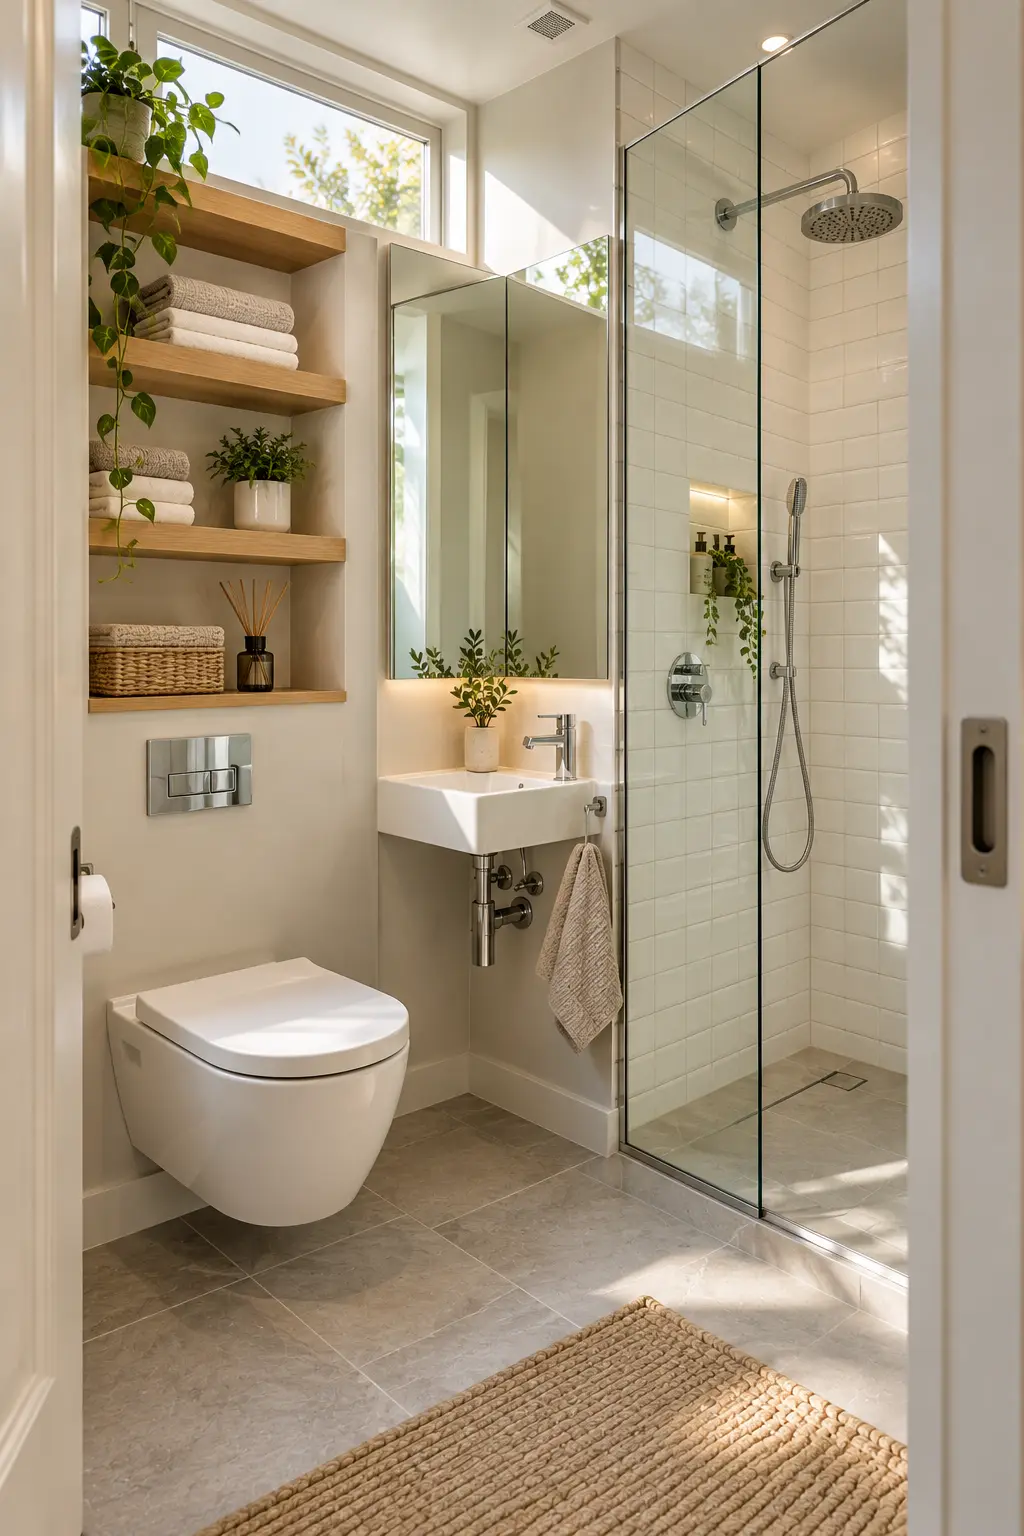
In genuinely tight bathrooms, a handful of layout swaps make the space feel considerably larger without moving a single wall. Replacing a swinging door with a pocket or barn door, choosing a corner sink or slim wall-hung toilet, and swapping a shower curtain for a fixed glass panel all reclaim usable floor space.
- A pocket or barn door to replace a swinging door
- A corner sink or slim wall-hung toilet
- A fixed glass shower panel instead of a curtain
- Light wall colors and a large mirror to open up the space visually
How To Do It: Start with the door swap, since a pocket or barn door reclaims the most floor space of any single change, then choose a corner sink or wall-hung toilet to free up additional room, and finish with a fixed glass panel, light paint, and a large mirror to make the remaining space read as open rather than cramped.
14. Modern Farmhouse Refresh
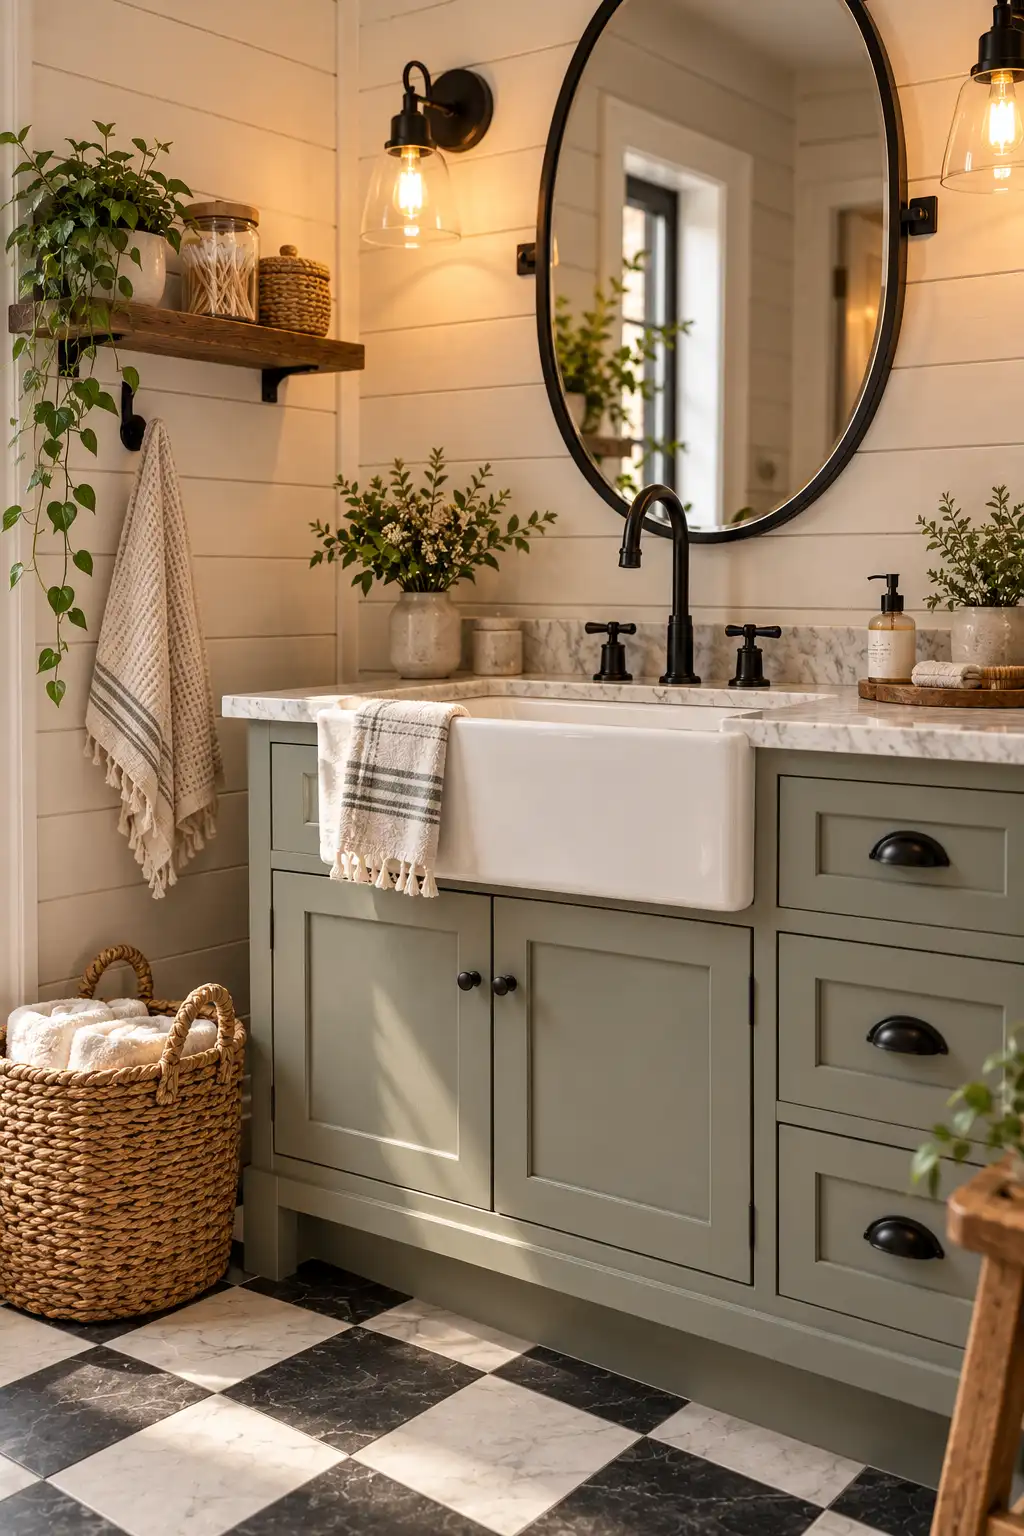
This is the most budget-friendly option on the list, built around white shiplap or beadboard walls, a shaker-style vanity, black hardware, a vintage-style mirror, and woven baskets for storage. It can be done in stages, starting with paint and fixtures, and still reads as cozy and welcoming without requiring a full gut renovation.
- White shiplap or beadboard wall paneling
- A shaker-style vanity
- Black cabinet and fixture hardware
- A vintage-style mirror and woven storage baskets
How To Do It: Start with the lowest-cost changes first, paint and hardware, before moving on to the shiplap or beadboard installation, then add the shaker-style vanity, vintage mirror, and woven baskets once the wall treatment is complete, allowing the whole refresh to happen in affordable stages rather than all at once.
Planning the Remodel Before Any Work Begins
Even the best individual ideas on this list depend on solid planning before demolition ever starts. A few practical steps make the difference between a remodel that stays on budget and one that runs into costly surprises partway through.
- Set the budget first, and set aside roughly 10 to 15 percent of it specifically for surprises like hidden water damage behind existing tile or drywall
- Never skimp on waterproofing, ventilation, or plumbing, since cosmetic finishes can always be upgraded later but leaks and poor ventilation are expensive to fix after the fact
- Keep the existing layout in place wherever possible, since moving plumbing lines is consistently the single biggest driver of increased remodel costs
- Sequence the work so structural and waterproofing decisions, like the shower pan or heated floor system, are finalized before any tile or fixture selection happens
Final Thoughts
A genuinely successful bathroom remodel comes down to a handful of foundational decisions made early, the shower layout, the lighting plan, where the plumbing stays put, layered with smaller finish choices like mixed metals, accent walls, and storage that add polish without adding major cost. None of the 14 ideas above require doing everything at once.
Pick the changes that fit the actual budget and the condition of the existing layout, prioritize waterproofing and plumbing decisions before anything cosmetic, and treat the rest of this list as a menu to work through in stages rather than a single all-or-nothing renovation.