

Table of Contents
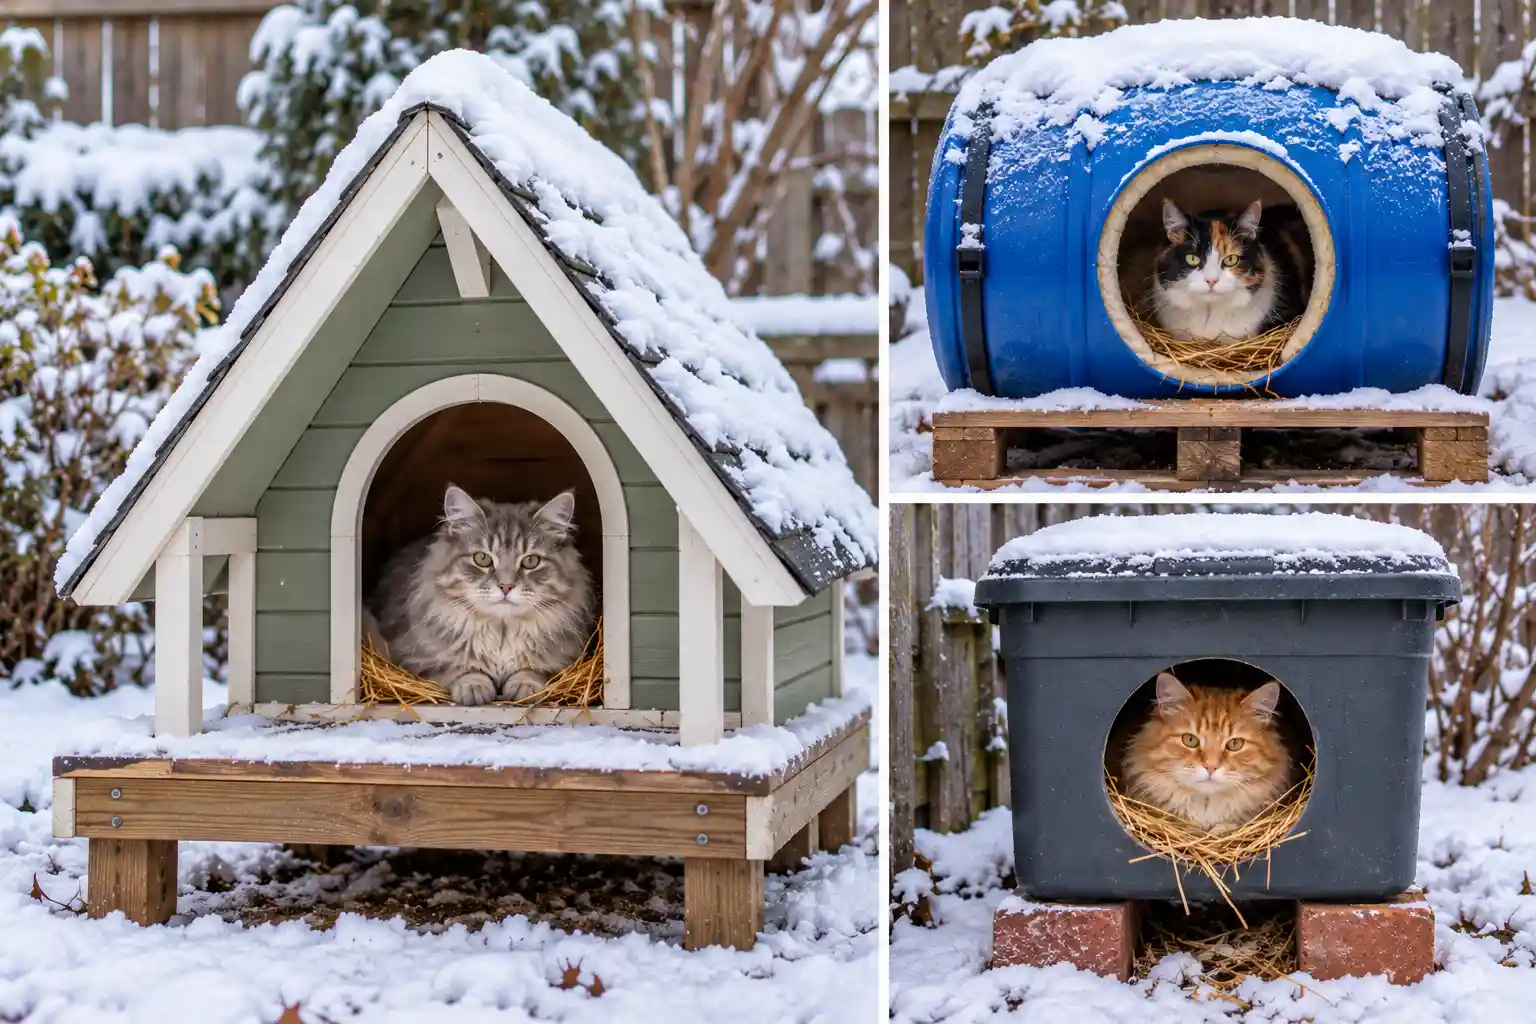
Outdoor cats need considerably more than a cardboard box once temperatures actually drop. A shelter that genuinely works through winter comes down to insulation, size, and keeping moisture out entirely, since a damp interior freezes and does more harm than having no shelter at all. The good news is that nearly all of these builds use materials most people already have sitting in a garage or basement.
Below are 12 DIY outdoor winter cat house ideas, each with the materials needed, the build steps, and the reasoning behind why the specific design actually keeps cats warm through the coldest months.
12 Winter Cat House Ideas Builds Worth Trying
Every idea below follows the same underlying principle. A small, insulated, moisture free space that traps a cat’s own body heat works far better than a larger, open structure ever could.
1. Insulated Plastic Tote House
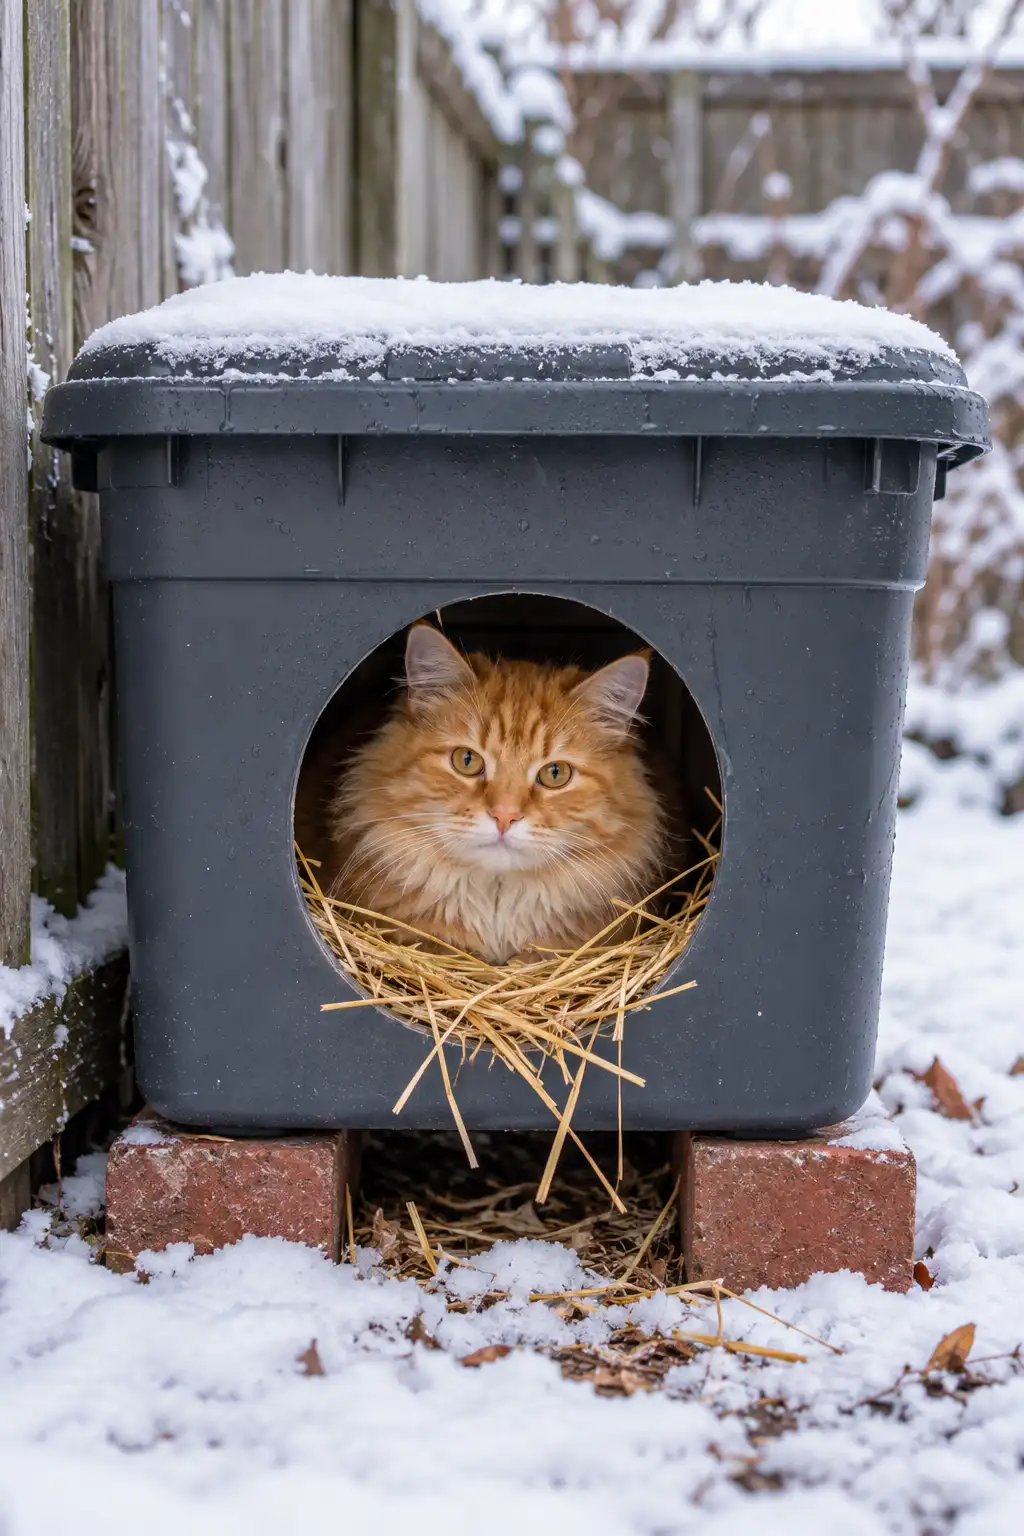
Materials needed: a smaller plastic tote, a larger plastic tote, straw or foam insulation, and a utility knife for cutting the door opening.
Nest the smaller tote inside the larger one, leaving an even gap all the way around, then pack that gap with straw or foam insulation before cutting a six inch door hole through both layers at once.
Why it works: the double wall traps a layer of insulating air and material between the two totes, which genuinely slows heat loss far more effectively than a single plastic wall ever could on its own.
2. Styrofoam Cooler Cat Shelter
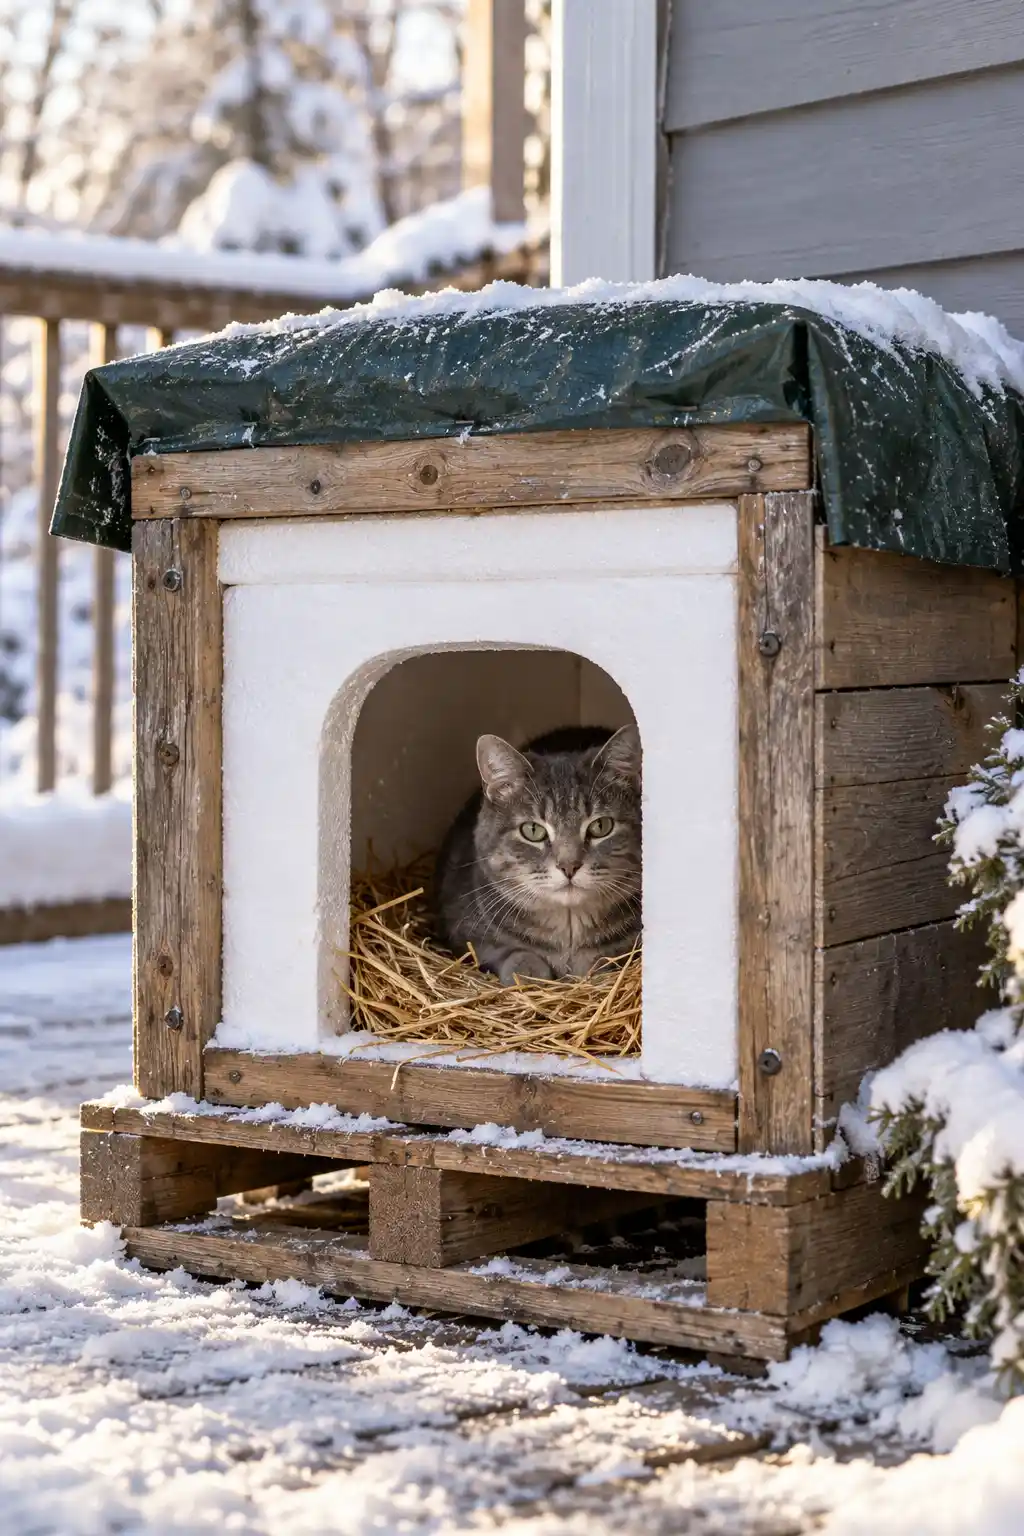
Materials needed: a foam cooler with a lid, a waterproof liner or tarp, and a sturdy wooden box sized to hold the cooler.
Cut a door into one side of the foam cooler, line the interior with a waterproof cover to protect the foam from moisture, then place the entire cooler inside a wooden box for durability and protection from the elements.
Why it works: foam is genuinely one of the best natural insulators available, and housing it inside a wooden outer shell protects that foam from rain and physical damage that would otherwise shorten the shelter’s lifespan considerably.
3. Straw Filled Pallet House
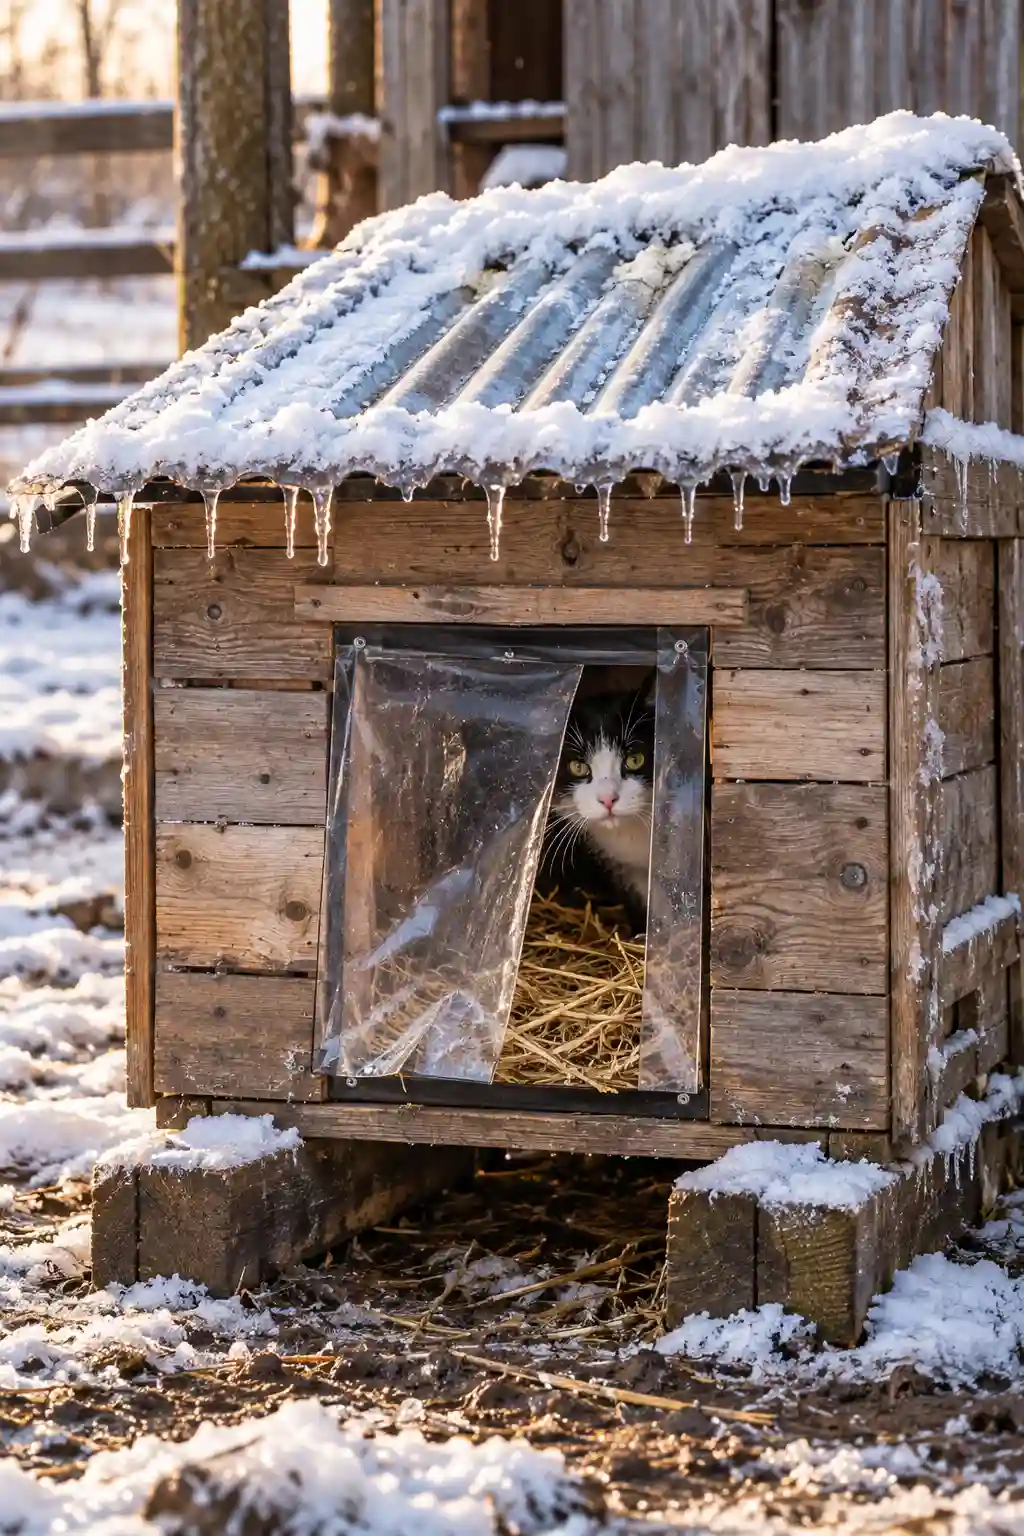
Materials needed: wood pallets, basic lumber for a slanted roof, screws or nails, and fresh straw.
Build a small hut using pallet wood for the walls, add a slanted roof so rain and snow slide off rather than pooling, and fill the interior generously with fresh straw rather than hay, since hay holds moisture in a way straw genuinely does not.
Why it works: straw’s hollow stalks trap warm air far more effectively than hay, which tends to compact and absorb moisture, eventually freezing solid and making the shelter considerably colder than having no bedding at all.
4. Wooden Crate Cat Cabin
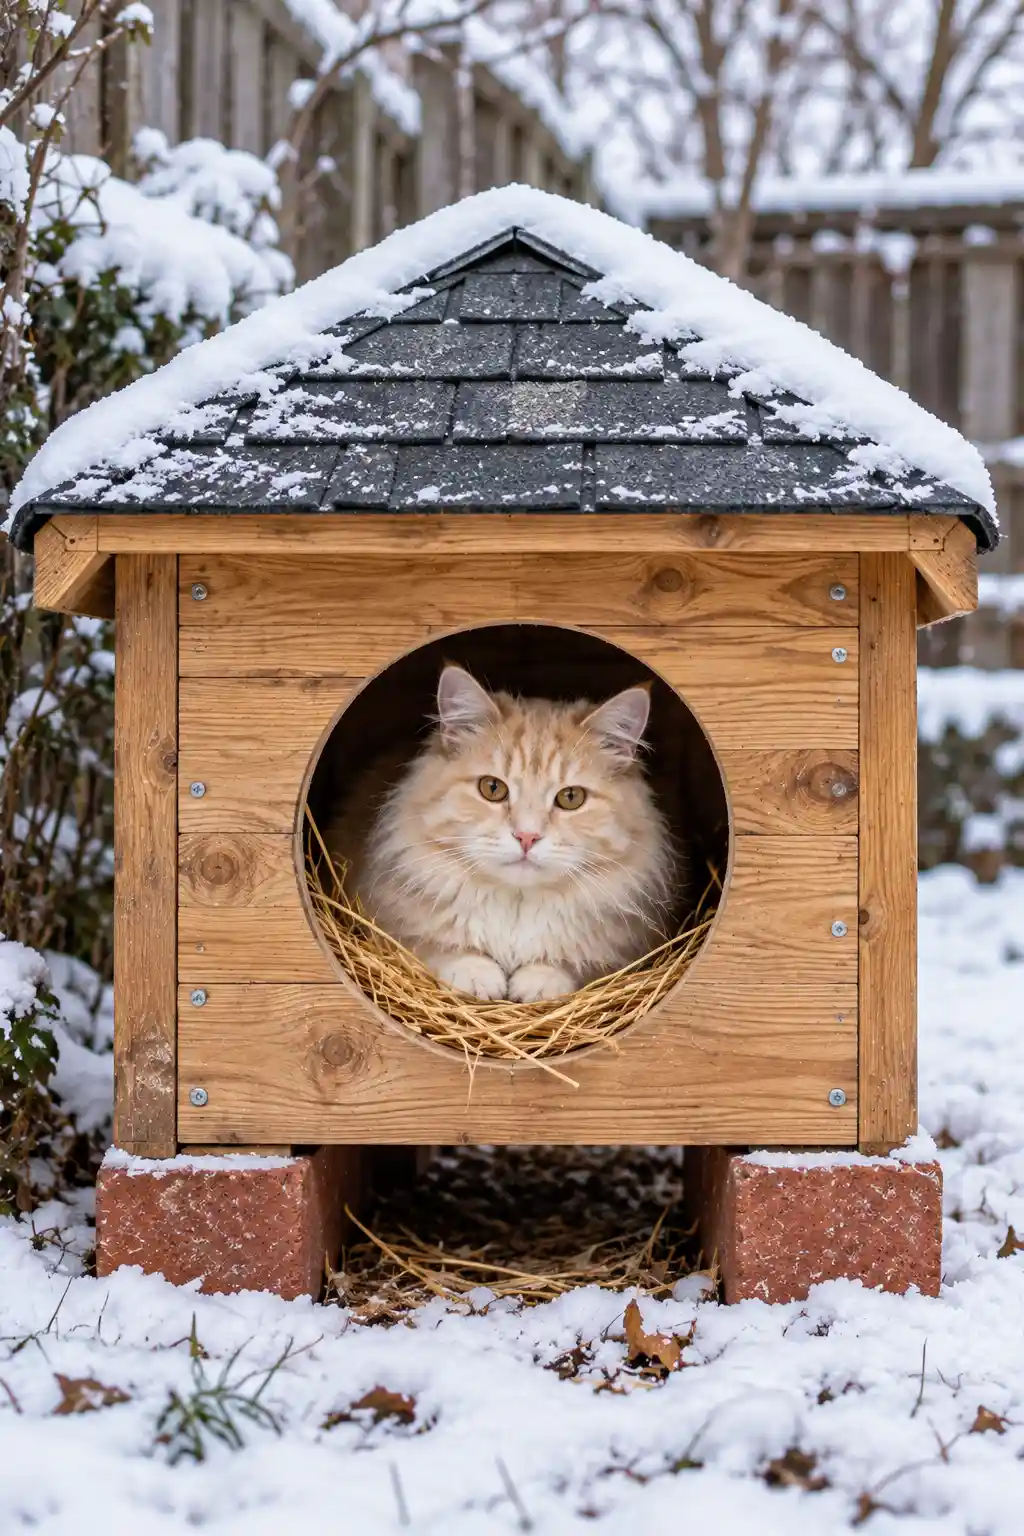
Materials needed: a sturdy wooden crate, plywood for reinforcing the walls, waterproof roofing material, and bricks for elevation.
Reinforce the crate’s walls with plywood for added insulation and strength, attach a waterproof roof on top, and raise the entire structure off the ground on bricks before placing it in its final spot.
Why it works: raising the cabin off the ground genuinely prevents cold ground temperatures and moisture from transferring directly into the shelter’s floor, which is one of the most common reasons a seemingly solid shelter still ends up cold.
5. Double Wall Storage Bin Shelter
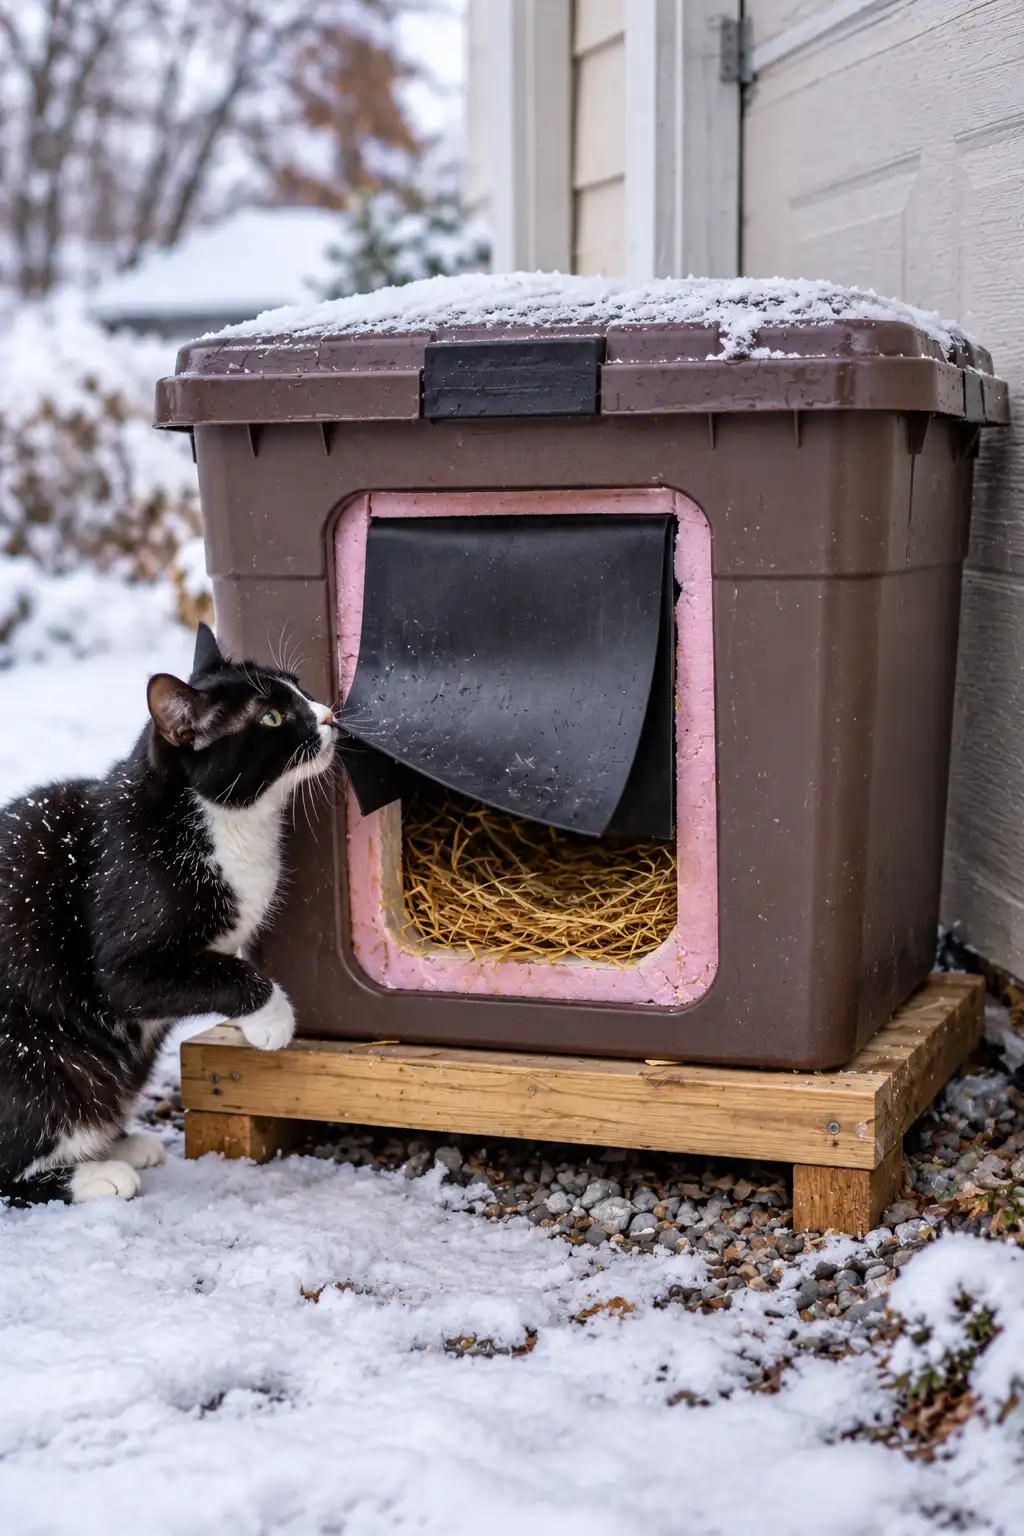
Materials needed: two storage bins of different sizes, rigid foam board, and a flexible material for the door flap.
Nest the smaller bin inside the larger one just as with the tote house, but use rigid foam board specifically between the two walls, then add a flap over the entrance opening to block wind from entering directly.
Why it works: a wind blocking flap genuinely matters as much as insulation itself, since even a well insulated box loses most of its trapped warmth quickly if cold air can blow straight through an open doorway.
6. A Frame Cat House
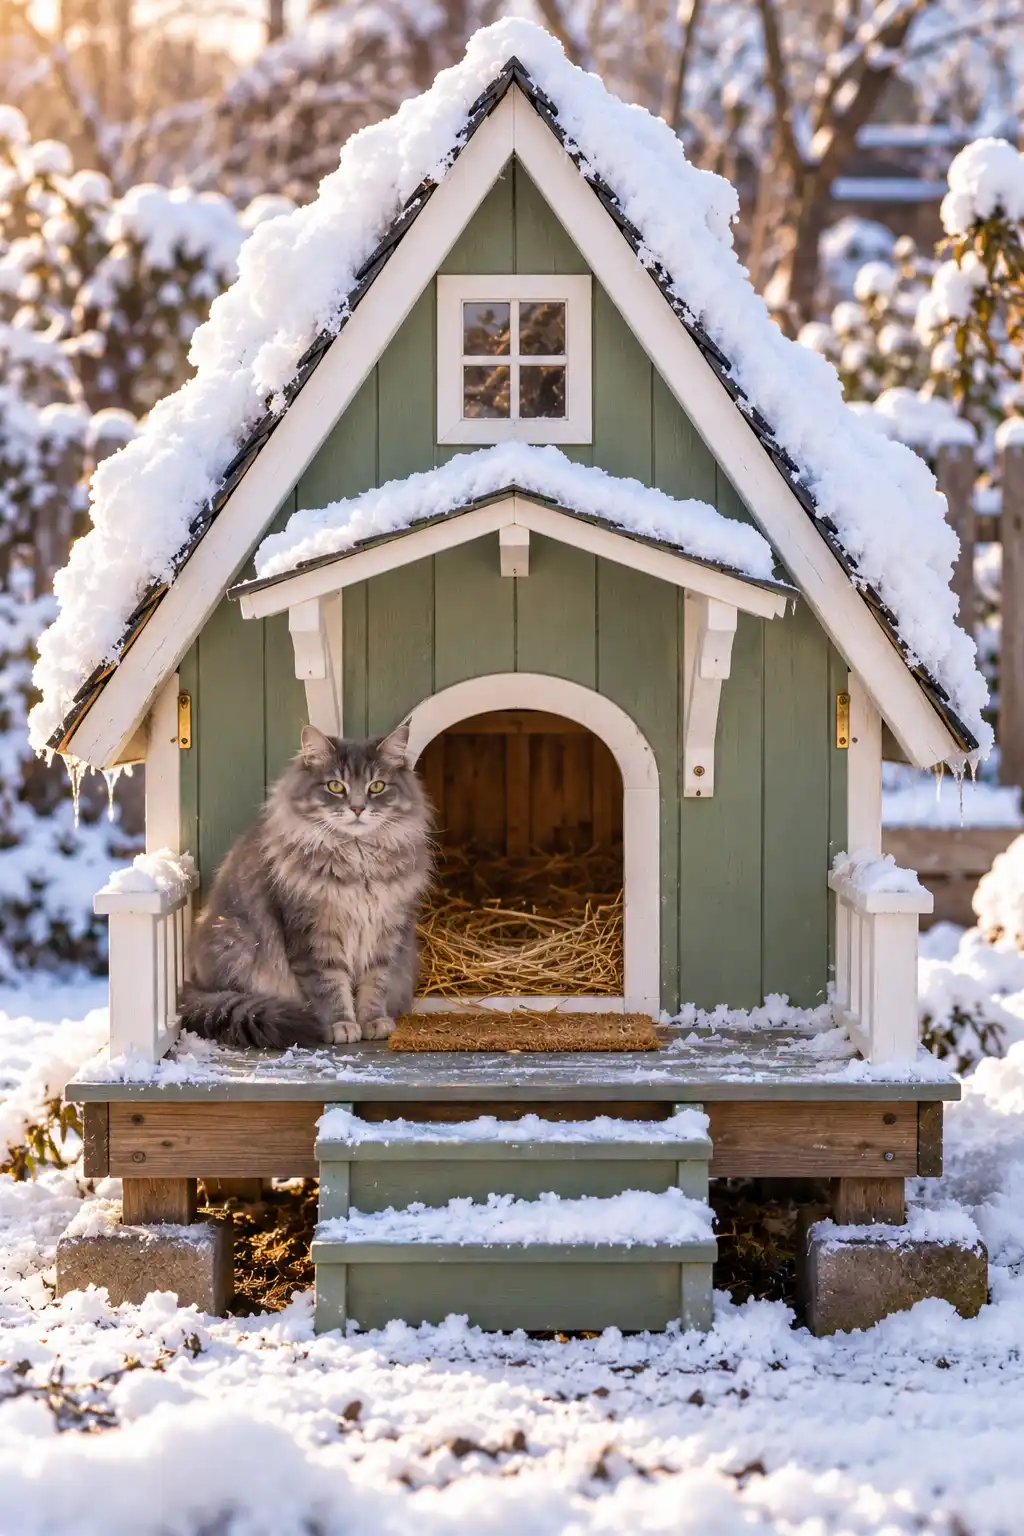
Materials needed: plywood sheets, basic lumber framing, waterproof sealant, and roofing material.
Build the structure from plywood with a peaked, A frame roof so snow and rain naturally slide off rather than accumulating on top, and add a small porch overhang above the entrance for extra weather protection.
Why it works: a peaked roof genuinely prevents snow buildup from adding weight and moisture pressure onto the structure, which flat roofed designs are considerably more prone to struggling with over an entire winter season.
Also Read: 12 Dreamy Bedroom Decor Ideas For A Softer, Calmer Space
7. Heated Cat House With a Safe Pad
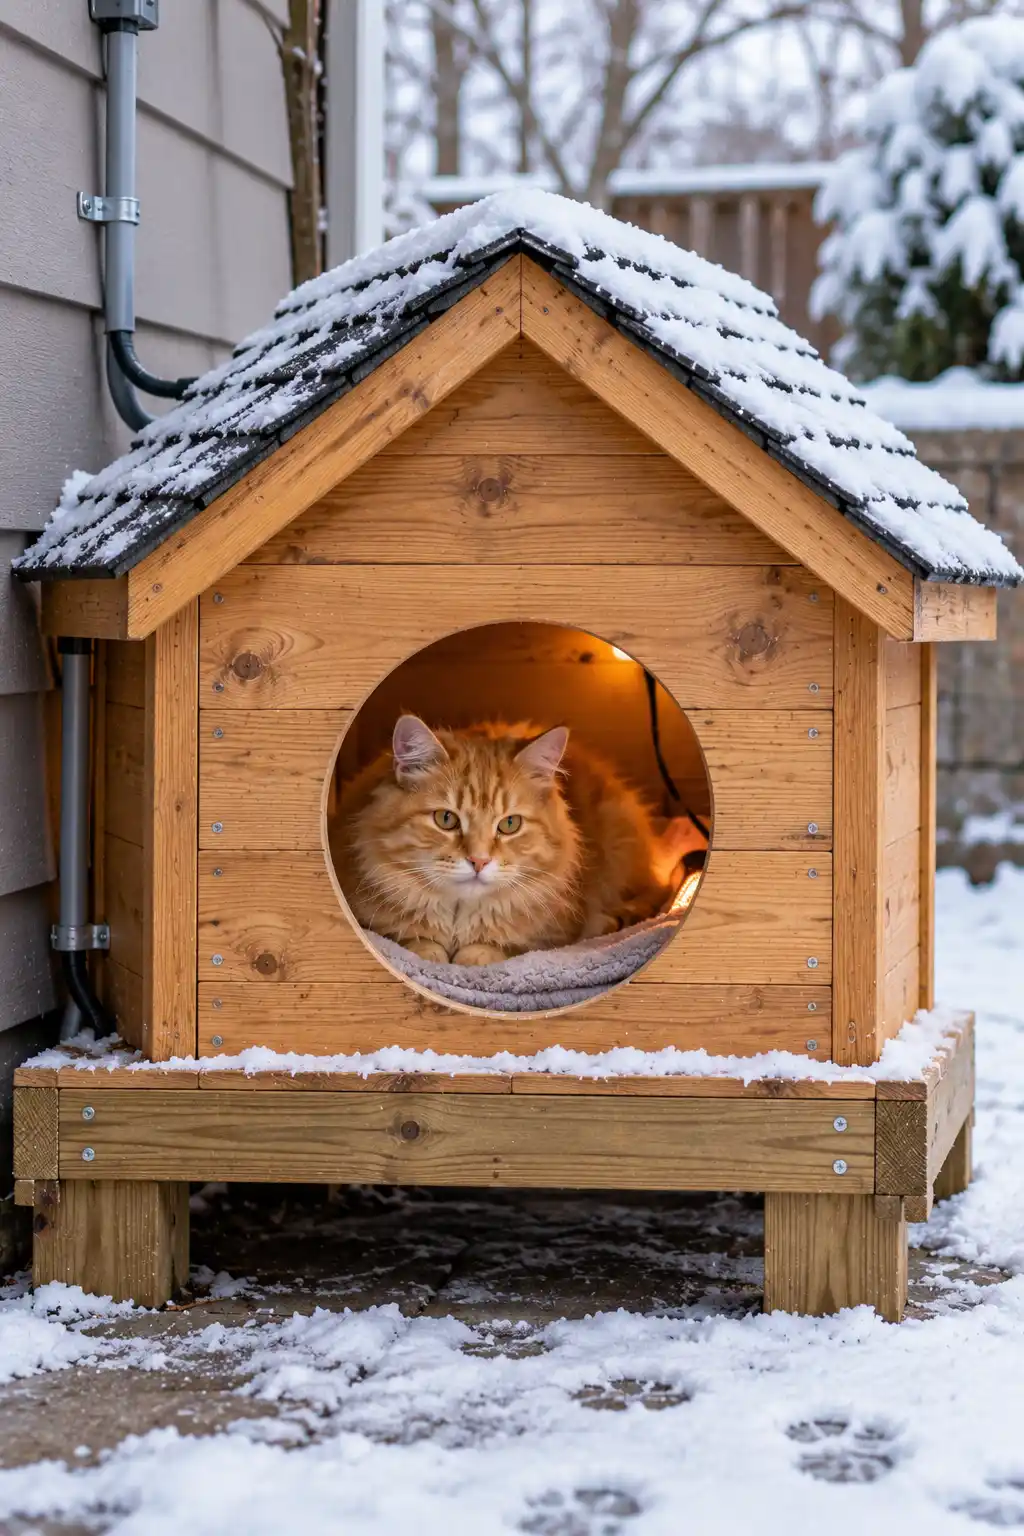
Materials needed: a wooden box, an outdoor rated, pet safe heated pad, and cord protection material like a cable cover or conduit.
Build a simple wooden box sized appropriately for one or two cats, install the outdoor rated heated pad along the floor, and make sure the entire power cord is protected inside a chew proof cover running to the nearest outlet.
Why it works: a genuinely pet safe, outdoor rated pad provides consistent warmth beyond what insulation alone can offer, though the cord protection matters enormously here, since an exposed cord presents real safety risks that insulation based designs simply do not carry.
8. Barrel Cat Den
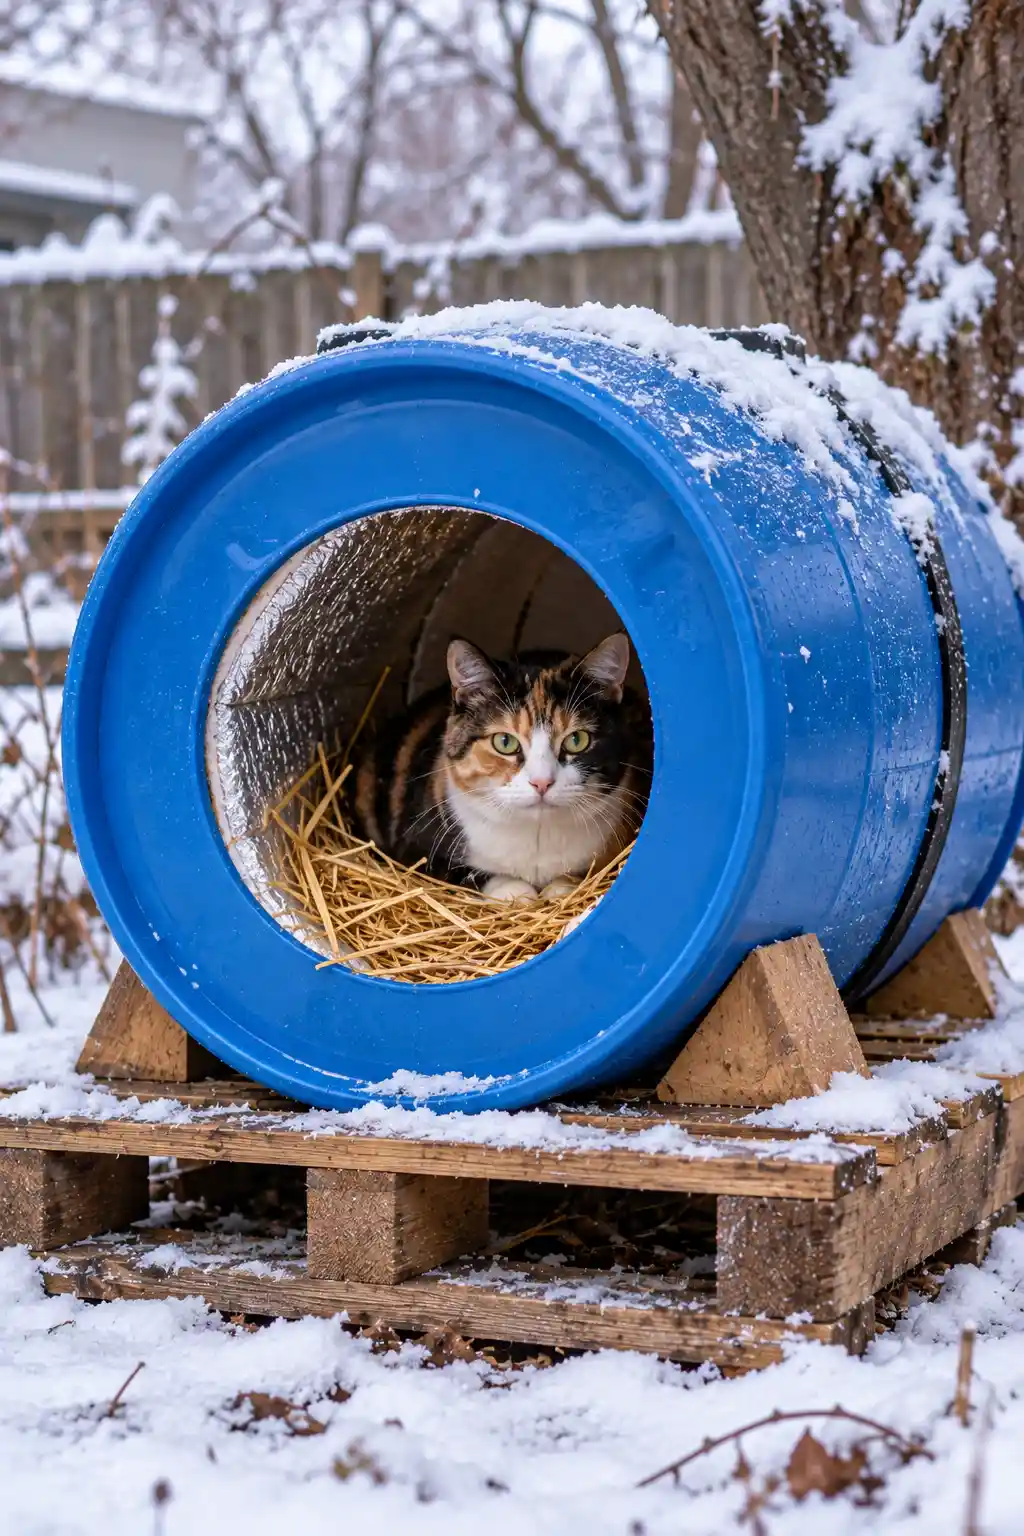
Materials needed: a plastic barrel, a utility knife or saw, foam insulation, and fresh straw.
Cut the barrel in half, or lay a whole barrel on its side, then cut a door opening and line the entire interior with foam insulation topped with a generous layer of straw.
Why it works: a barrel’s naturally curved shape genuinely has less interior surface area than a boxy structure of the same volume, which means less surface for heat to escape through compared to a flat walled design.
9. Multi Cat Shelter With Two Rooms
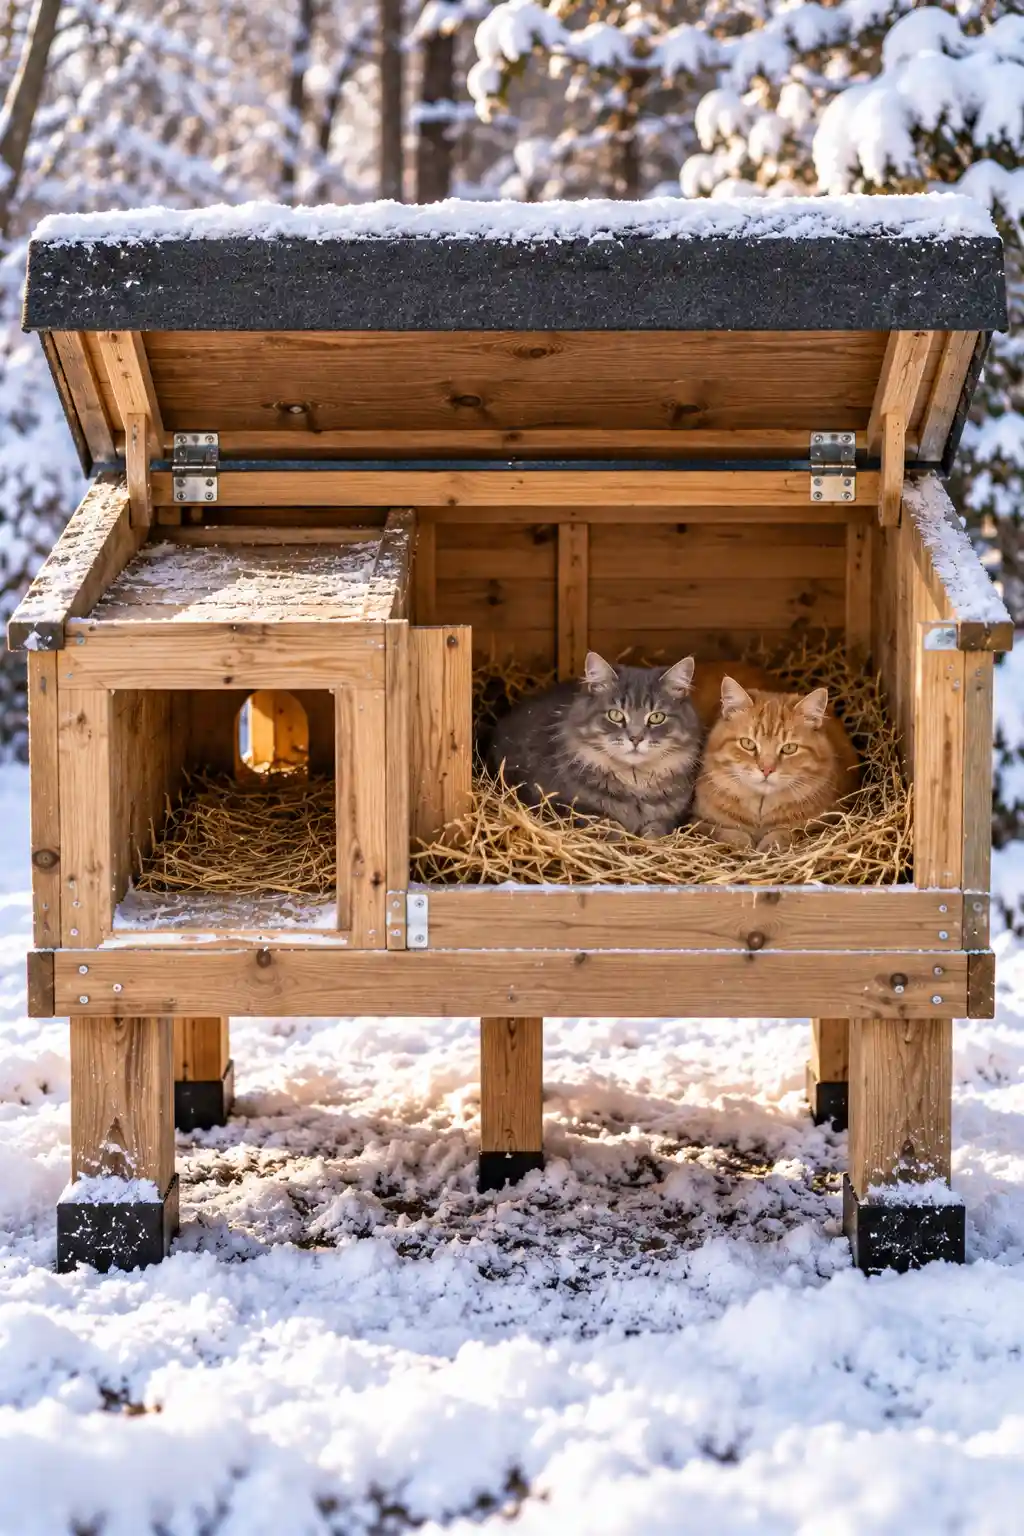
Materials needed: plywood for a divided box structure, lumber for framing an entry tunnel, and straw for bedding.
Build a single structure divided into two sections, an outer entry tunnel and an inner main chamber, so cold air has to pass through the tunnel first before ever reaching the warmer inner space.
Why it works: the entry tunnel genuinely functions as an airlock, trapping warmth inside the main chamber far more effectively than a single room design with the door opening directly into the warm space.
10. Recycled Dresser Drawer House
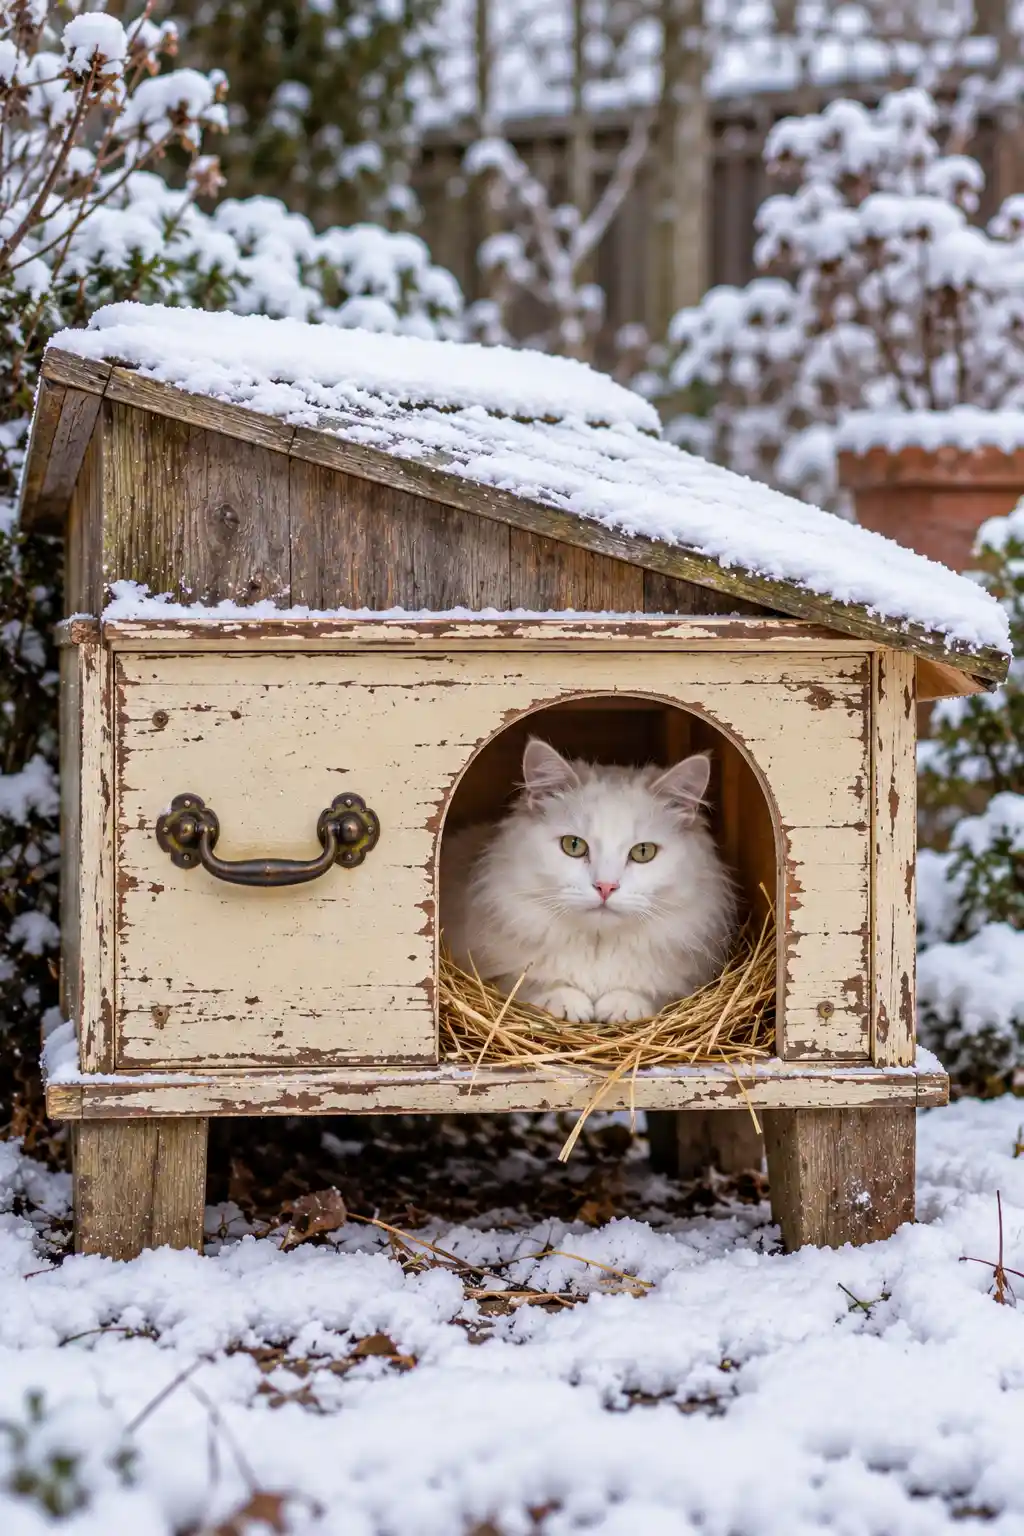
Materials needed: an old dresser drawer, lumber or plywood for a roof, a utility knife for the door cutout, and foam insulation for the walls.
Flip the drawer upside down to use as the shelter’s base shape, cut a door opening into one side, add a simple roof on top, and line the interior walls with foam insulation before adding bedding.
Why it works: repurposing an existing drawer genuinely gives you a structurally sound starting shape for free, which saves considerable building time compared to constructing walls completely from scratch.
11. Cat House With a Flap Door
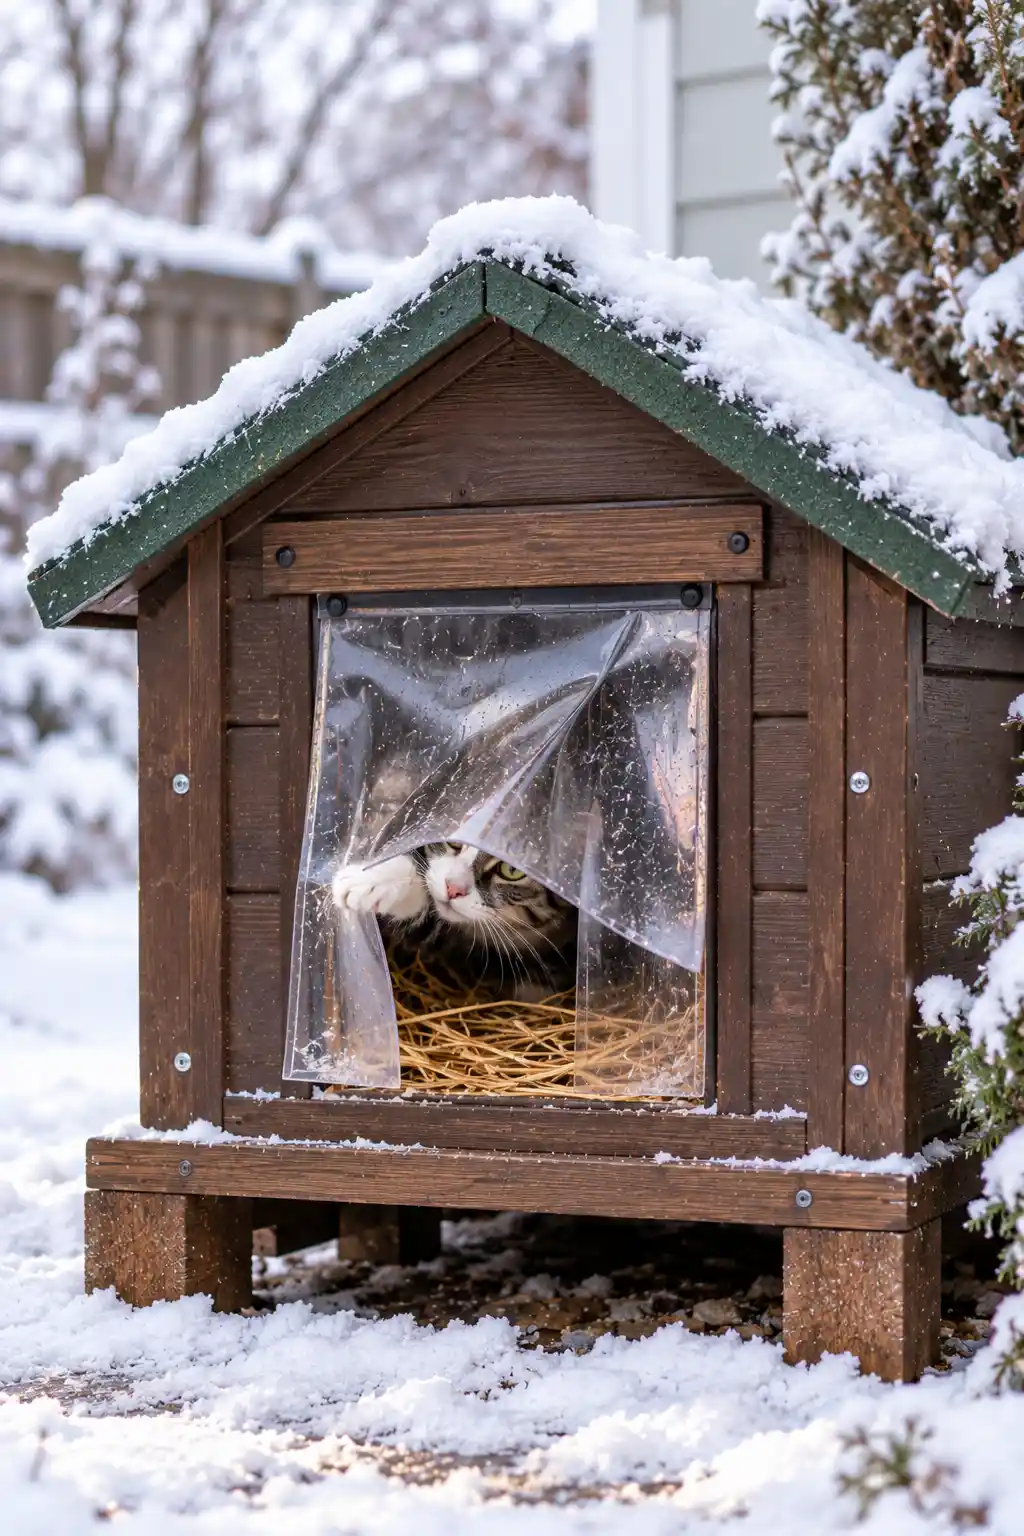
Materials needed: heavy vinyl or rubber sheeting, and whatever base shelter structure you are adding the flap onto.
Attach a piece of heavy vinyl or rubber over the entrance opening of any existing shelter design, allowing it to hang freely so a cat can push through while the material naturally falls back into place afterward.
Why it works: this single addition genuinely works as an upgrade to nearly any shelter on this list, since a flap door blocks wind and snow from blowing directly into an otherwise open entrance.
12. Raised Platform Winter Hut
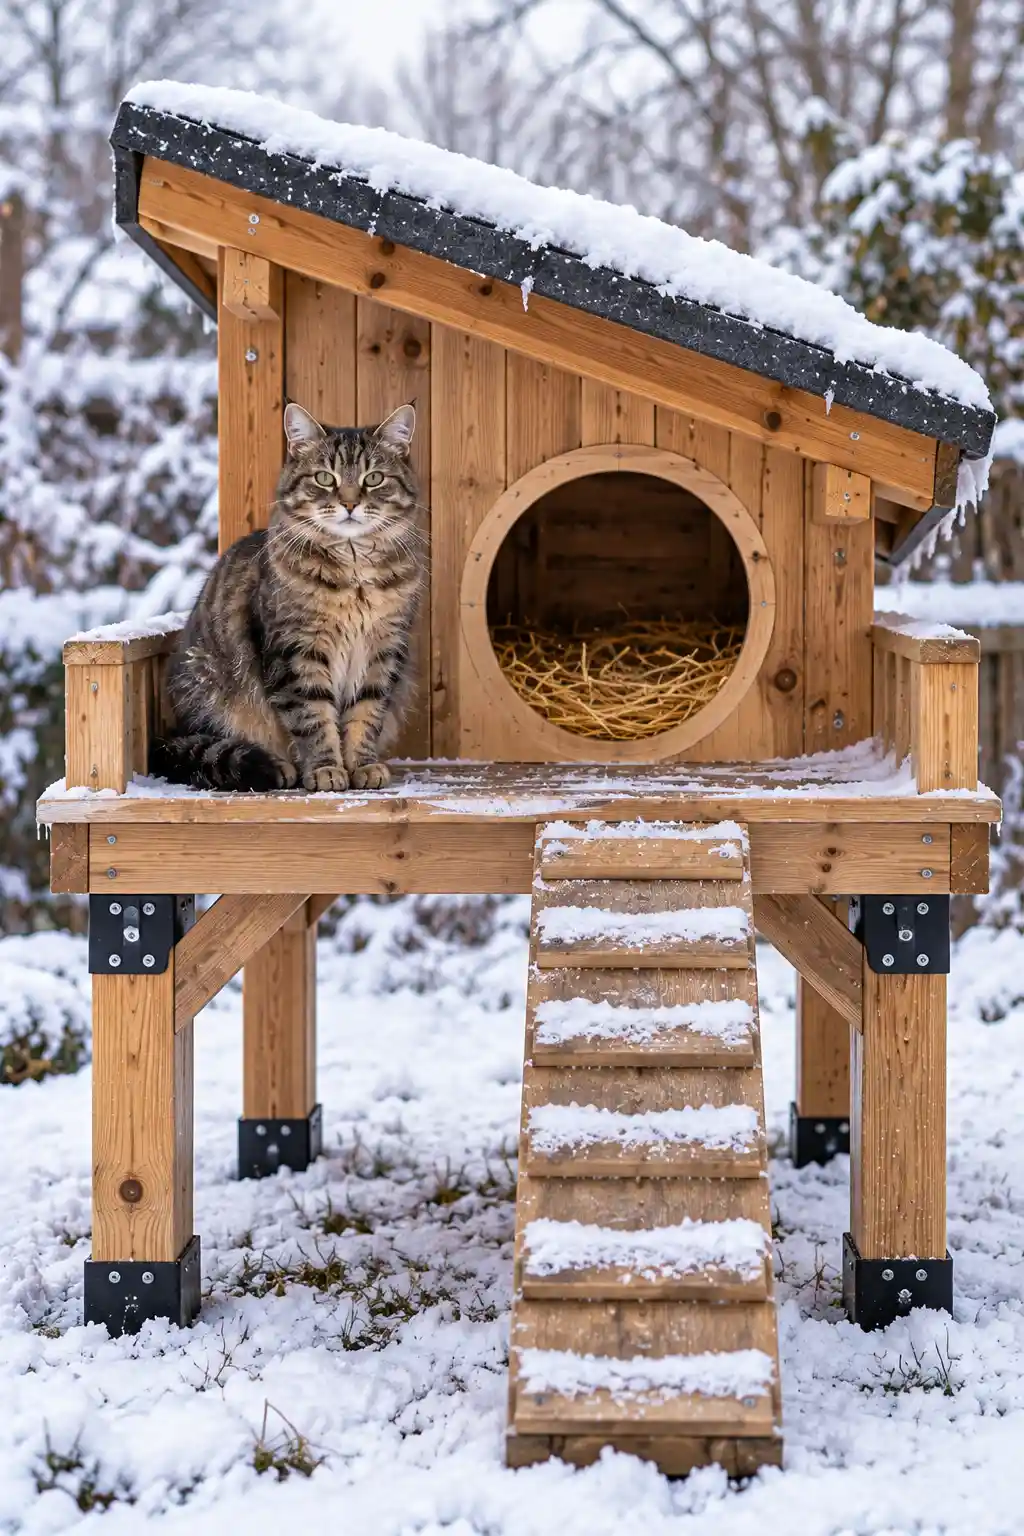
Materials needed: a pallet base or short wooden legs, lumber for the hut structure, and waterproof roofing material for a slanted roof.
Build a small hut directly on top of a pallet base or a simple set of short legs, keeping the entire structure elevated off cold, wet ground, and finish with a slanted, waterproof roof.
Why it works: elevation genuinely addresses one of the most overlooked sources of cold in outdoor shelters, since ground contact alone can pull warmth out of a structure even when the walls themselves are well insulated.
Quick Tips That Apply to Every Design
A few principles genuinely matter across all 12 builds, regardless of which specific design you choose to make.
Keep the interior space small enough for just one or two cats, since a cat’s own body heat is what actually warms the shelter, and too much empty air space makes that heat considerably harder to retain.
Use straw rather than blankets or towels for bedding, since fabric absorbs moisture from snow, rain, or simple condensation and then freezes solid, which makes the shelter colder than having no bedding at all.
Face the entrance away from the prevailing wind direction in your specific area, since even a well insulated shelter loses much of its effectiveness if cold wind can blow directly into the doorway.
Raise the entire house three to four inches off the ground at minimum, since ground level cold and moisture transfer into an at grade shelter far more than most people expect.
Final Thoughts
A genuinely effective winter cat shelter rarely depends on expensive materials or advanced building skills. As these 12 ideas show, the real difference comes down to a handful of consistent principles, proper insulation, a small interior space, dry bedding, and protection from wind and ground moisture, applied to whatever materials you already have on hand.
Pick whichever build matches the materials and tools available to you, and apply the four quick tips above regardless of which design you choose, since those core principles are genuinely what separate a shelter that keeps a cat warm all winter from one that only looks like it should.