

Table of Contents
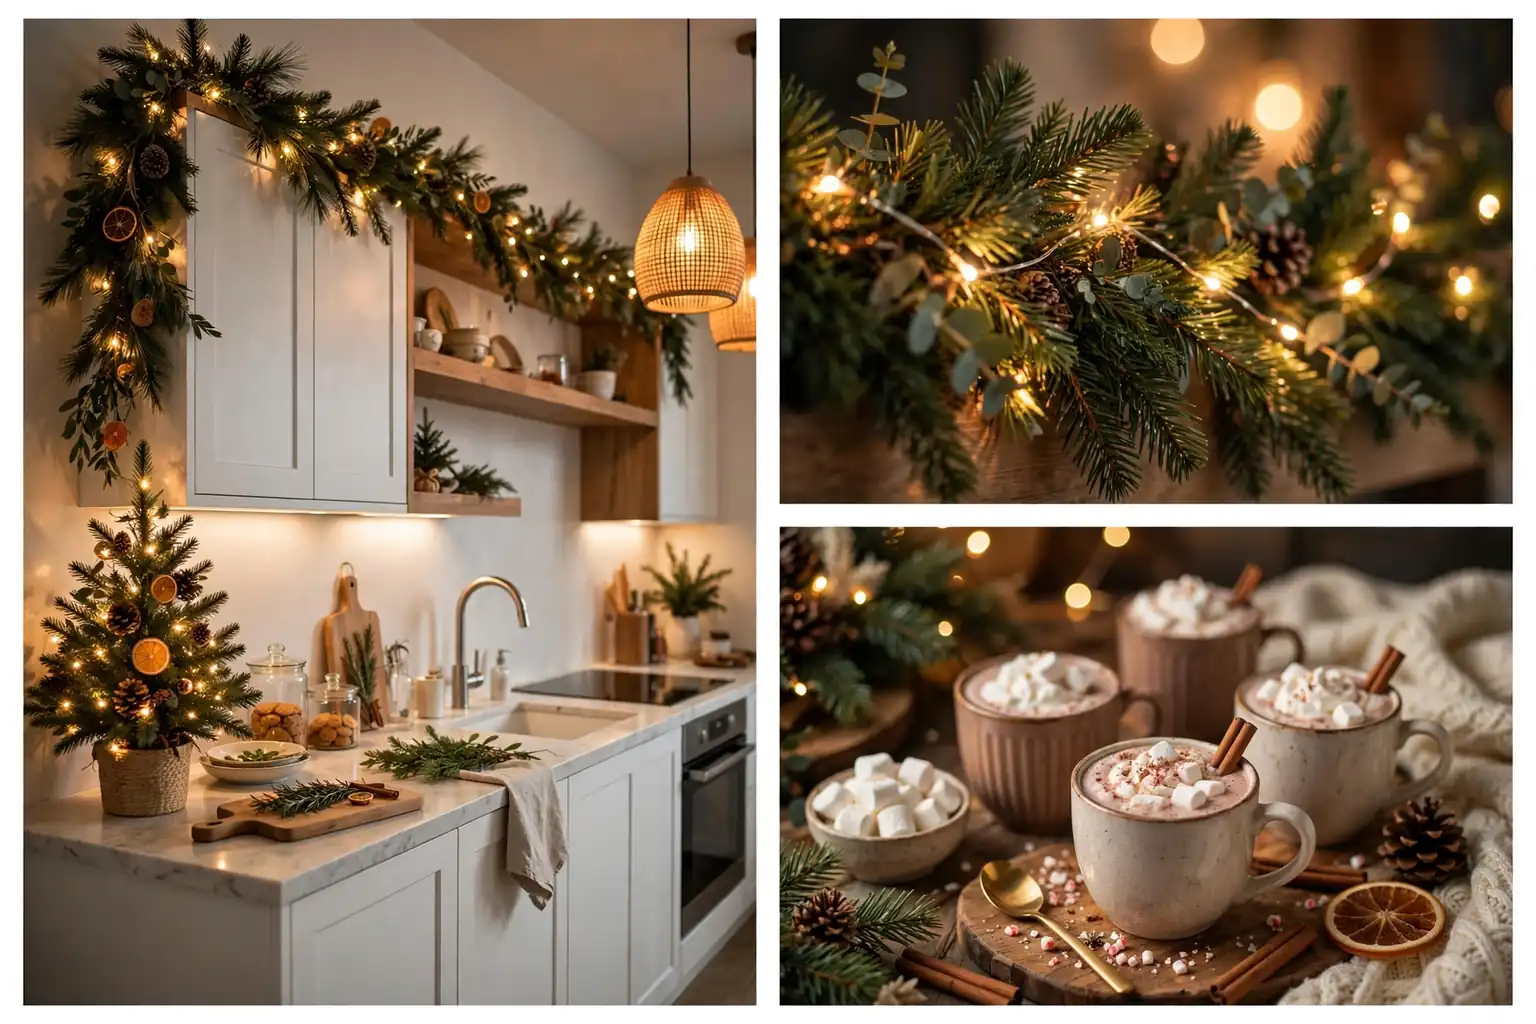
Your kitchen works harder in December than in any other month. It is where the cookies are baked, the cocoa is stirred, the guests gather while dinner finishes in the oven, and the good china comes out of hiding. If any room deserves to feel like Christmas, it is the heart of the home.
The good news is that Christmas kitchen decor ideas do not require a full remodel or a shopping cart full of new ornaments. The best holiday kitchens are styled around what is already there: open shelves, a range hood, cabinet fronts, a windowsill, and one stretch of counter you are willing to dress up. Add greenery, warm light, and a clear color story, and the whole room transforms in an afternoon.
This year, the freshest kitchens lean into the season’s defining trends: heirloom lace and heritage textiles, nostalgic touches like nutcrackers and stars, bold pattern play with checks and gingham, retro flash photography vibes, and the season’s defining color story of burgundy paired with sky blue. Below are 16 ideas that bring all of that into your kitchen, each one practical enough for a room that still has to cook dinner.
Start With a Simple Plan: Styling a Christmas Kitchen That Still Works
Before you hang a single wreath, walk through your kitchen the way you cook in it and note the spots you touch constantly: the stove, the sink, the main prep counter. Those stay clear. Everything else is fair game. The trick to a kitchen that looks festive instead of cluttered is decorating the vertical spaces and the edges of the room while keeping your working surfaces mostly free.
Pick one color story and repeat it in three places. If you choose burgundy and sky blue, echo it on the tree, the linens, and one garland. If you love classic red and green, let greenery do the heavy lifting and add red in small, deliberate doses. Repetition is what makes a kitchen feel designed rather than decorated at random. The table below breaks the room into zones so you can decorate in about two hours without second guessing.
| Kitchen Zone | What Works Best There | Keep It Simple Rule |
|---|---|---|
| Island or peninsula | One centerpiece: mini tree, tiered tray, or lace runner with candles | One hero moment only; leave half the surface clear for cooking |
| Range hood | Draped pine garland with fairy lights | Keep greenery away from open flames and hot surfaces |
| Open shelves | Nutcrackers, bottle brush trees, garland swags, candles | Group in odd numbers; leave breathing room between vignettes |
| Cabinet fronts | Mini wreaths with ribbon on upper cabinets | Hang with removable hooks; skip lower cabinets you open constantly |
| Windowsill | Candles, dried orange garland, small bottle brush trees | Low silhouettes so daylight still comes through |
| Counters and sink | Festive tea towels, soap dispenser swap, small potted herb with a bow | Nothing that blocks the faucet or prep space |
| Walls and fridge | Star lanterns, retro photo garland, wreath on the fridge door | Magnetic hooks only; nothing that damages finishes |
Designer Shea McGee’s approach to holiday kitchens is a great reference point: she treats the kitchen like any other styled room, layering height, greenery, and a few deliberate seasonal pieces rather than filling every surface. Her holiday kitchen styling tips are worth a look if you want a professional’s eye on the balance between festive and functional.
1. Put a Mini Christmas Tree on the Island
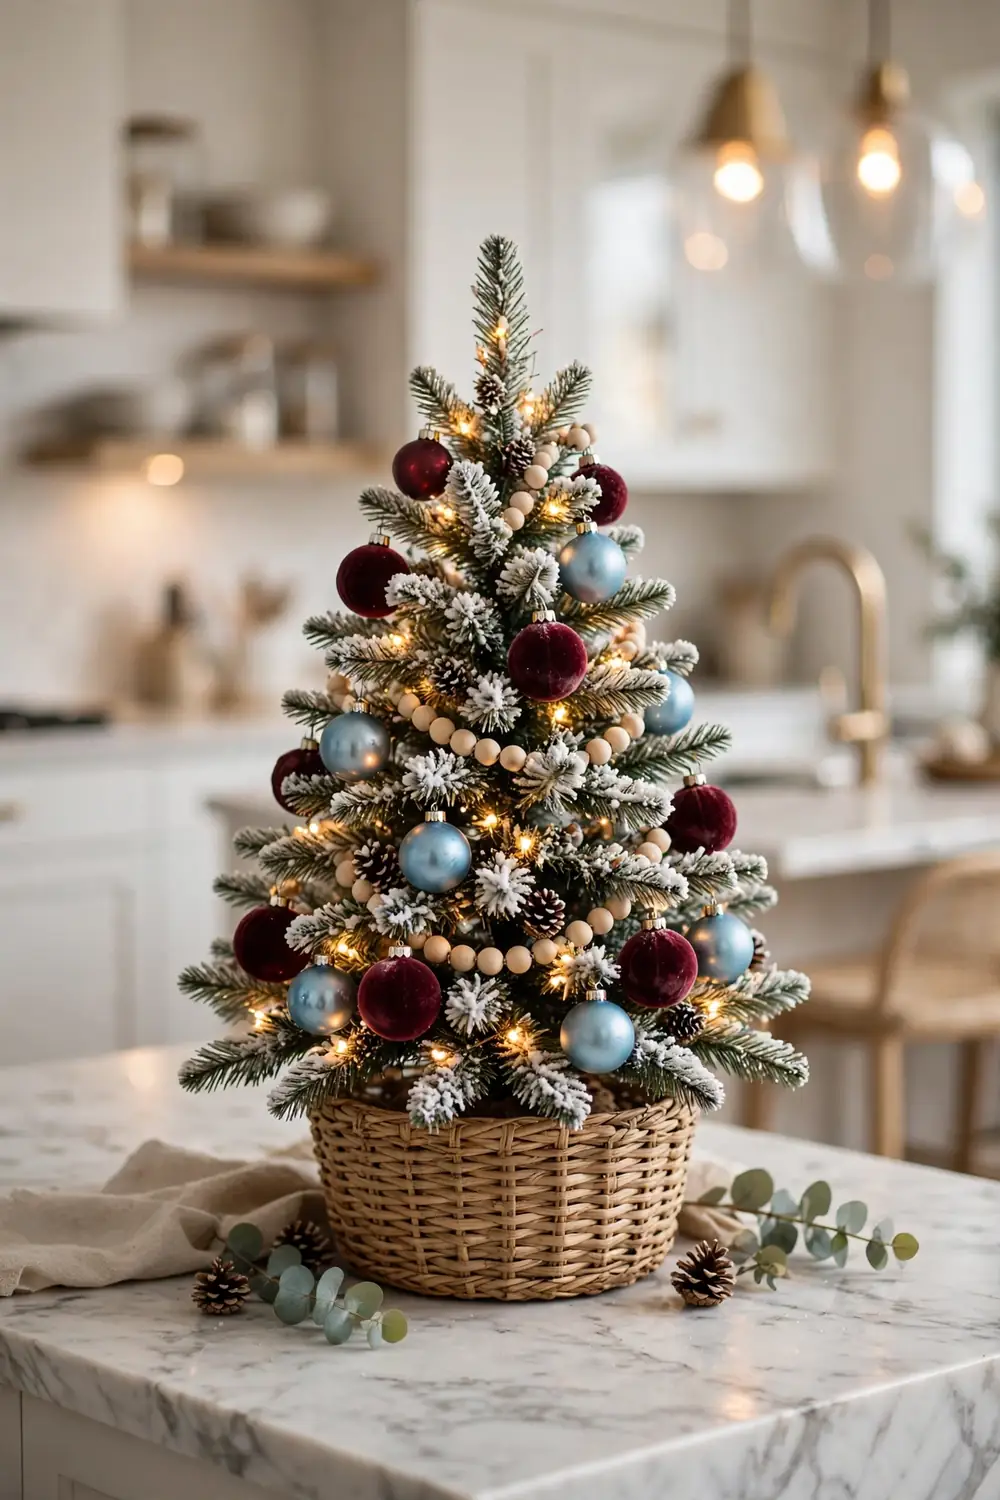
Nothing says Christmas kitchen faster than a small tree sitting right where everyone gathers. A tabletop tree, roughly two to three feet tall, gives your island a festive focal point without stealing the whole surface. Choose a flocked tree for a snowy look or a classic green one, and decorate it with ornaments in your chosen color story. Burgundy and sky blue ornaments with warm white lights look striking against marble or butcher block.
Set the tree in a basket, a galvanized bucket, or a ceramic planter instead of a standard tree stand. The container does half the styling work. Tuck a little faux snow or a linen cloth around the base to hide the mechanics. If your island doubles as homework central, a potted rosemary tree decorated with tiny ornaments is a charming and edible alternative that smells wonderful too.
Styling tips
- Keep the tree to one end of the island so the other half stays usable for prep and serving.
- Use battery operated fairy lights so you are not hunting for an outlet.
- Match the tree’s ribbon or bow to your kitchen linens for a pulled together look.
- A woven basket base hides the trunk and adds texture that photographs beautifully.
2. Layer an Heirloom Lace Runner Down the Island
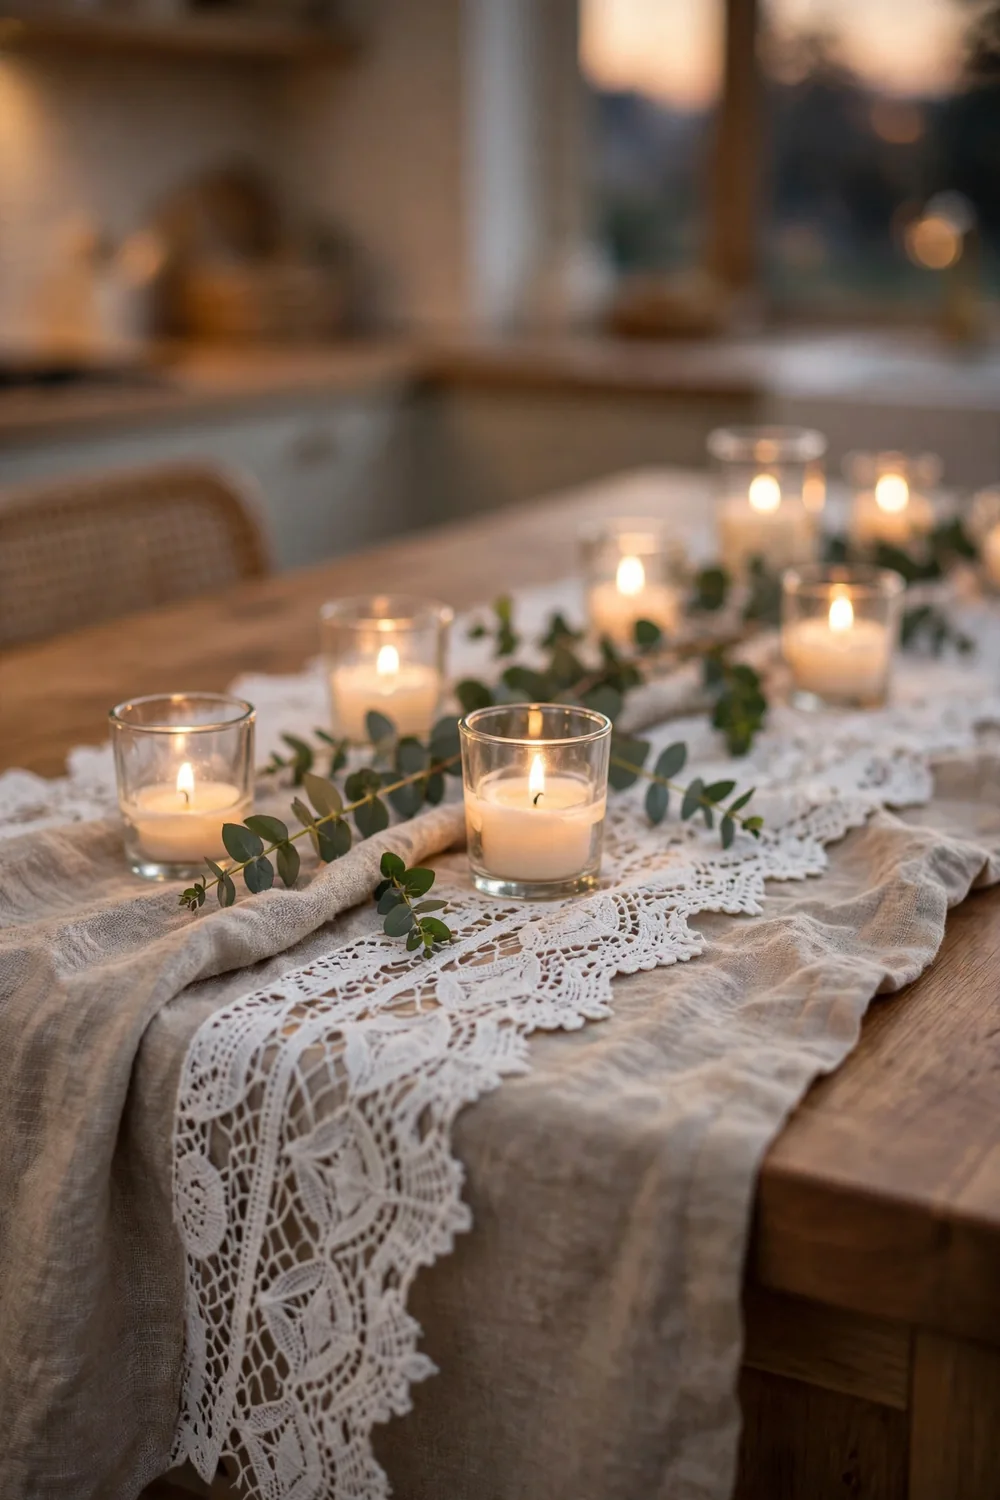
The lace and stitch revival is one of the season’s biggest textile stories, and the kitchen island is the perfect place to try it. A white or cream lace runner layered over a simple linen runner brings heritage texture to a modern kitchen in seconds. It softens hard surfaces like stone and stainless steel, and it looks incredible under candlelight during evening gatherings.
You do not need a genuine antique. Cotton lace runners are widely available and washable, which matters in a kitchen. Layer the lace over a neutral linen or burlap runner so the pattern shows, then add low votive candles and a few sprigs of eucalyptus or pine along its length. The combination of delicate lace and fresh greenery is the kind of contrast that makes a kitchen feel both elegant and lived in.
Styling tips
- Choose a washable cotton lace runner so spills are not a tragedy.
- Keep candles low and in glass hurricanes to protect the fabric.
- Let the runner hang a few inches over the island ends for a styled, intentional look.
- Pair with simple white dishes stacked nearby so the lace stays the star.
3. Drape Garland Across the Range Hood
The range hood is the natural mantel of the kitchen, and it deserves the garland treatment. A lush pine garland draped in a gentle swag across the front of the hood instantly makes the cooking zone feel like Christmas. Weave in warm white fairy lights and tuck in a few pinecones, dried orange slices, or small burgundy ornaments for color.
Use two garland strands layered together for fullness, and secure them with removable adhesive hooks or discreet wire so the finish stays pristine. If your hood is stainless steel, magnetic hooks are a perfect no damage solution. Step back and check the drape from the doorway: a slightly asymmetric swag looks more natural and designer done than a perfectly even one.

Styling tips
- Use faux garland near the cooktop for safety, or keep real greenery well above the heat.
- Layer two garlands, one plain and one with berries, for a fuller professional look.
- Hang the lights first, then the garland, so the glow peeks through the branches.
- Add one ribbon bow at the center dip of the swag for a finishing touch.
4. Hang Paper Star Lanterns Over the Island
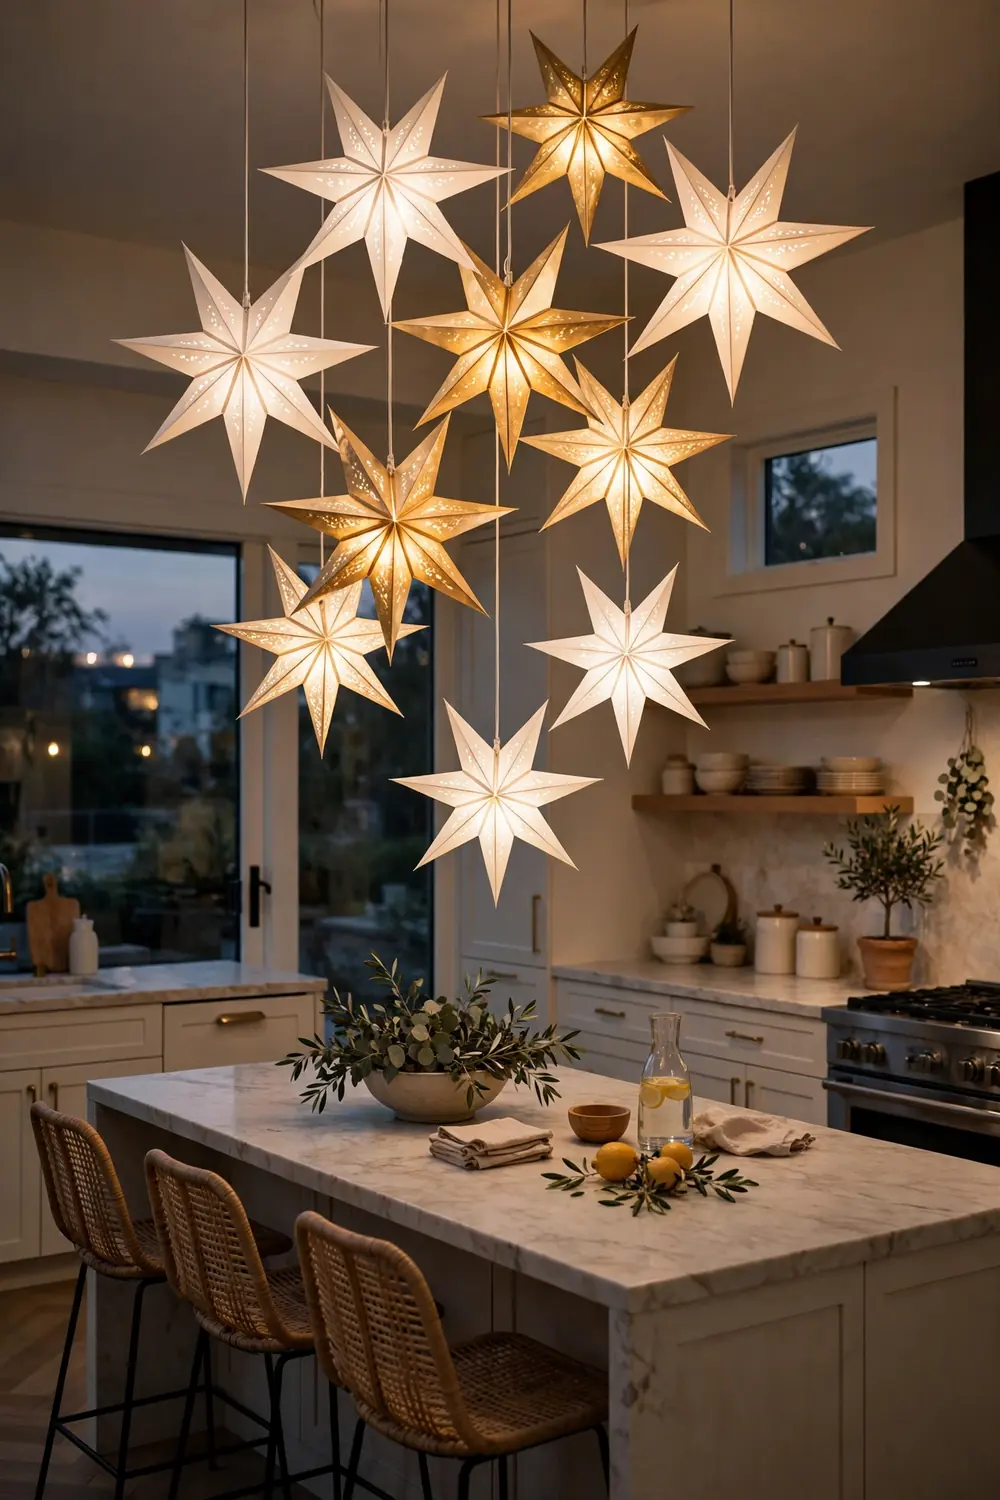
Stars are having a major moment this season, with star motif searches climbing sharply, and a cluster of glowing paper stars over the kitchen island is pure magic. Moravian stars, paper star lanterns, or simple card stock stars strung on fishing line create a floating constellation that looks stunning both day and night.
Hang them at varying heights from the ceiling or from a pendant light rod using clear line so they appear to float. Mix sizes for depth: a few large statement stars surrounded by smaller ones. Battery operated LED tea lights or fairy lights inside paper lanterns give a warm glow without any wiring. This is also one of the most renter friendly ideas on this list since nothing touches the walls.
Styling tips
- Vary the hanging heights by 6 to 12 inches for a natural, floating effect.
- Stick to warm white lights; cool white fights the cozy Christmas mood.
- Use clear fishing line or invisible thread for a true floating look.
- Three to seven stars is the sweet spot; more than that starts to feel busy.
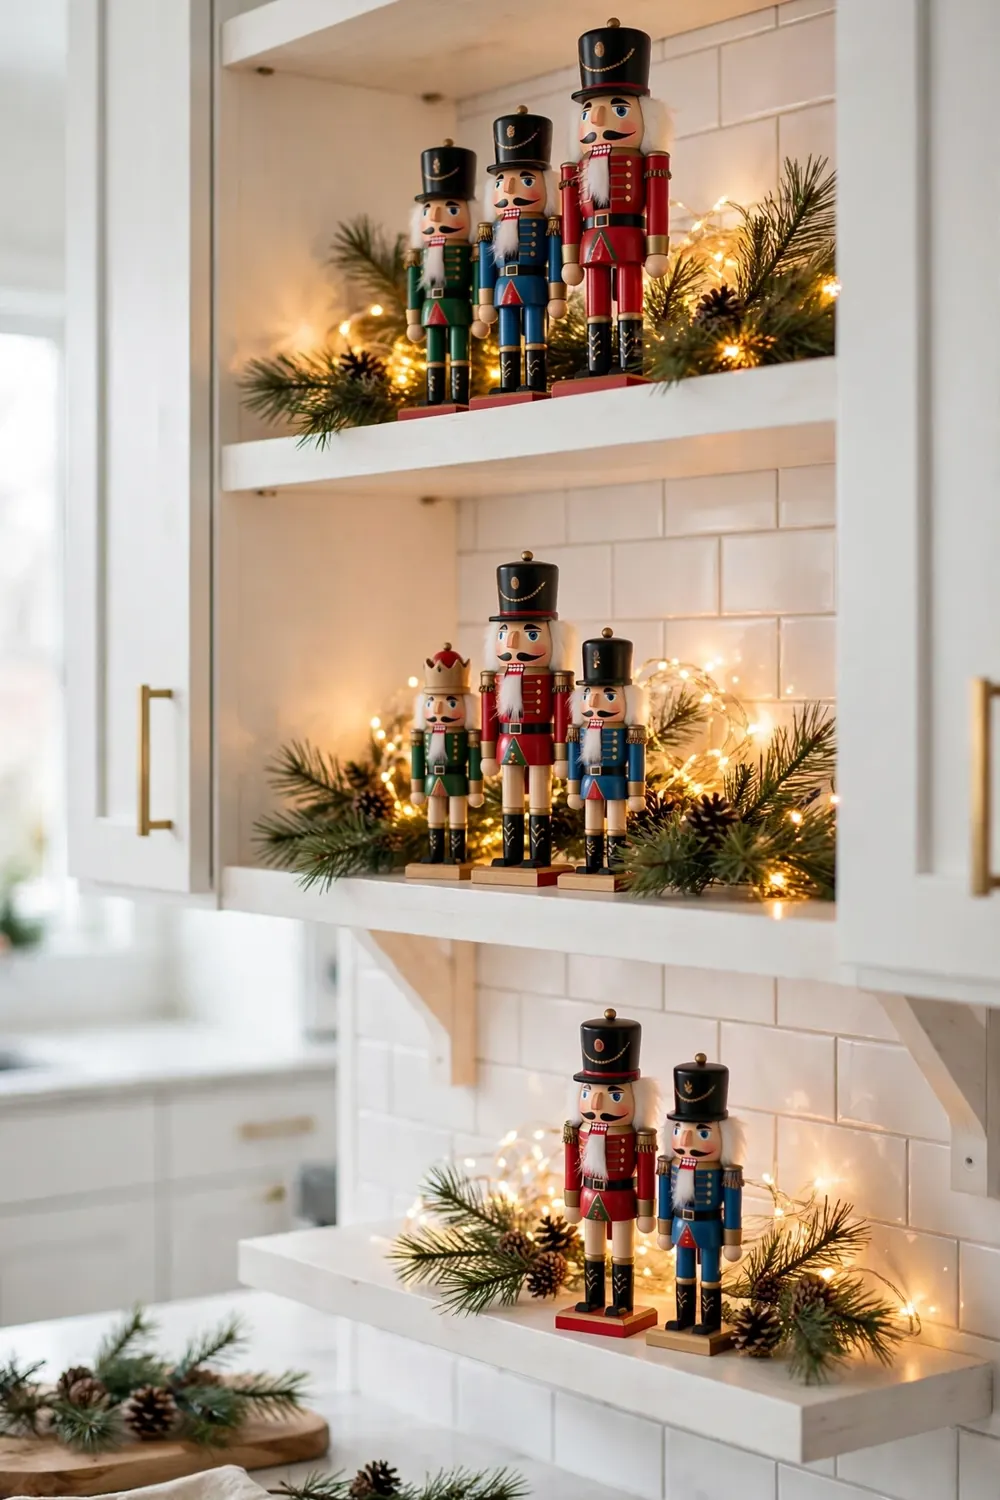
5. Style a Nostalgic Nutcracker Collection on Open Shelves
Nutcrackers are the definition of nostalgic Christmas, and open kitchen shelves are the ideal stage for them. Gather nutcrackers in different heights and finishes, from classic painted soldiers to sleek wooden Scandinavian styles, and arrange them in small groups among your everyday dishes. They add height, personality, and instant holiday recognition to the room.
The trick is to treat them like decor, not clutter. Group three to five together with a little greenery and a candle, then leave space before the next vignette. If you love the full nostalgic look, our roundup of nostalgic nutcracker Christmas decor ideas has plenty more ways to work these classics into every room. In the kitchen, keep them away from the stove and sink where steam and splatter can damage painted finishes.
Styling tips
- Group nutcrackers in odd numbers and vary their heights for a curated look.
- Tuck small pine sprigs or fairy lights behind them for depth and glow.
- Mix one modern nutcracker style with traditional ones to keep it fresh.
- Keep them on upper shelves away from cooking steam and splatter.
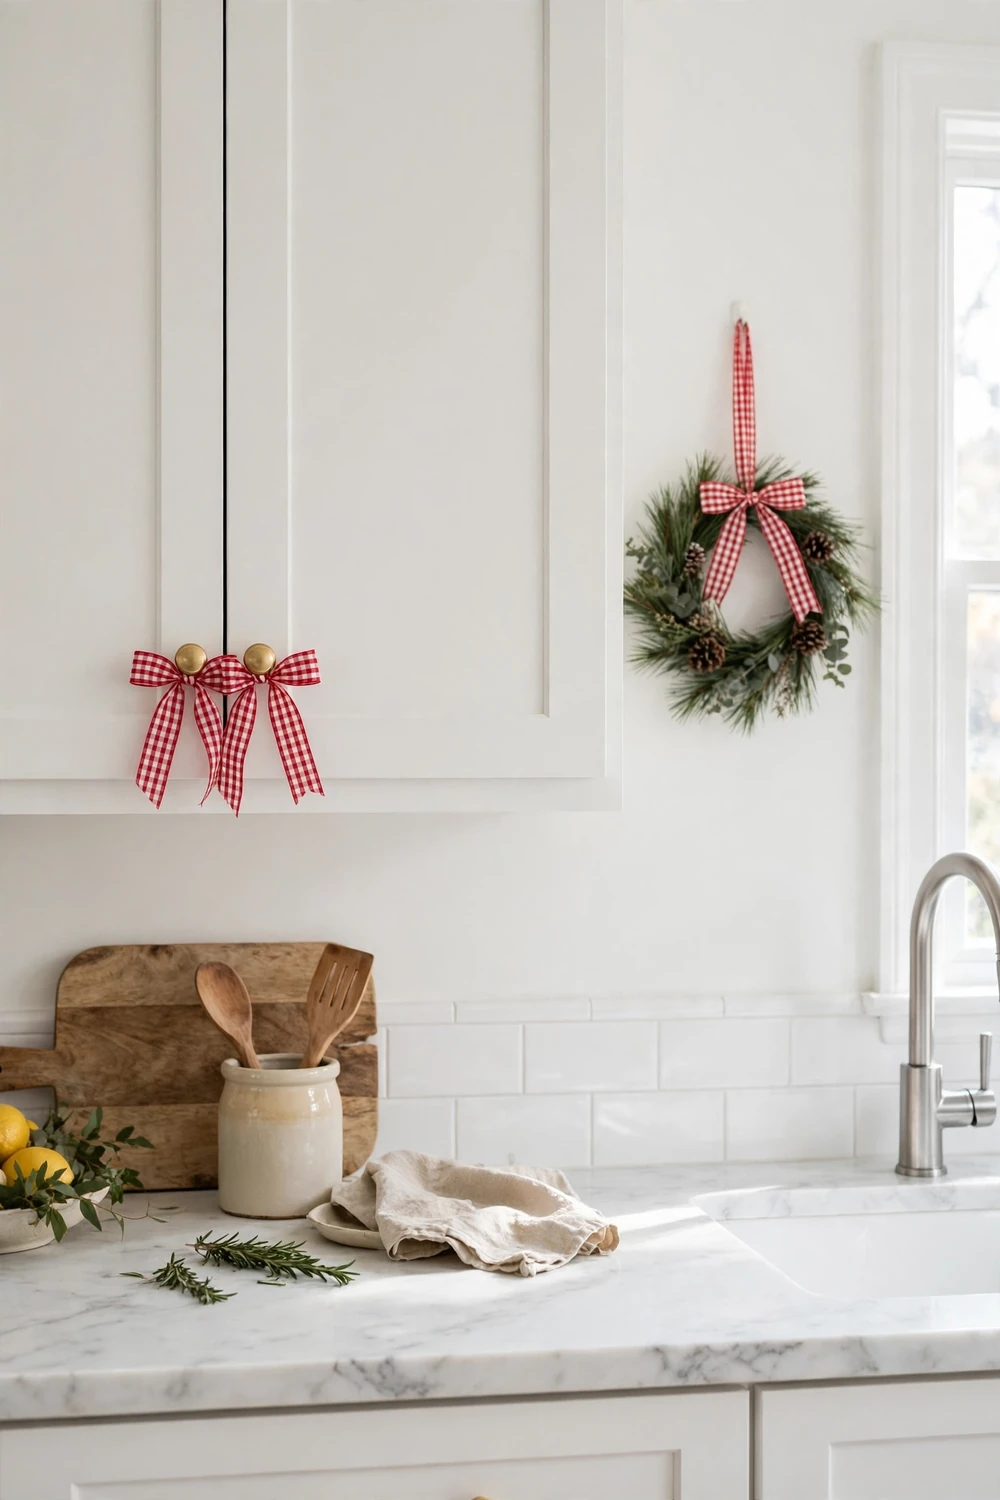
6. Tie Gingham Ribbon on Cabinet Knobs and Wreaths
Pattern play is one of the season’s strongest trends, and gingham is leading the charge. A few yards of gingham ribbon is the cheapest, fastest way to Christmas up a kitchen. Tie bows on cabinet knobs, loop ribbon through a wreath, wrap it around candle pillars, or use it to hang ornaments from a garland. The check pattern reads festive instantly without a single traditional motif.
Red and white gingham is the classic choice, but black and white gingham feels modern against white cabinetry, and green gingham is a fresh twist. For more pattern inspiration, our gingham Christmas decor ideas roundup shows how far this one pattern can go. In the kitchen, wire edged ribbon holds its shape best, and you can reuse the same bows year after year.
Styling tips
- Use wire edged ribbon so bows hold their shape all season.
- Repeat the same ribbon in at least three spots for a cohesive look.
- Cut ribbon ends in a dovetail for a polished, professional finish.
- Store bows flat in a box and they will look fresh next December too.
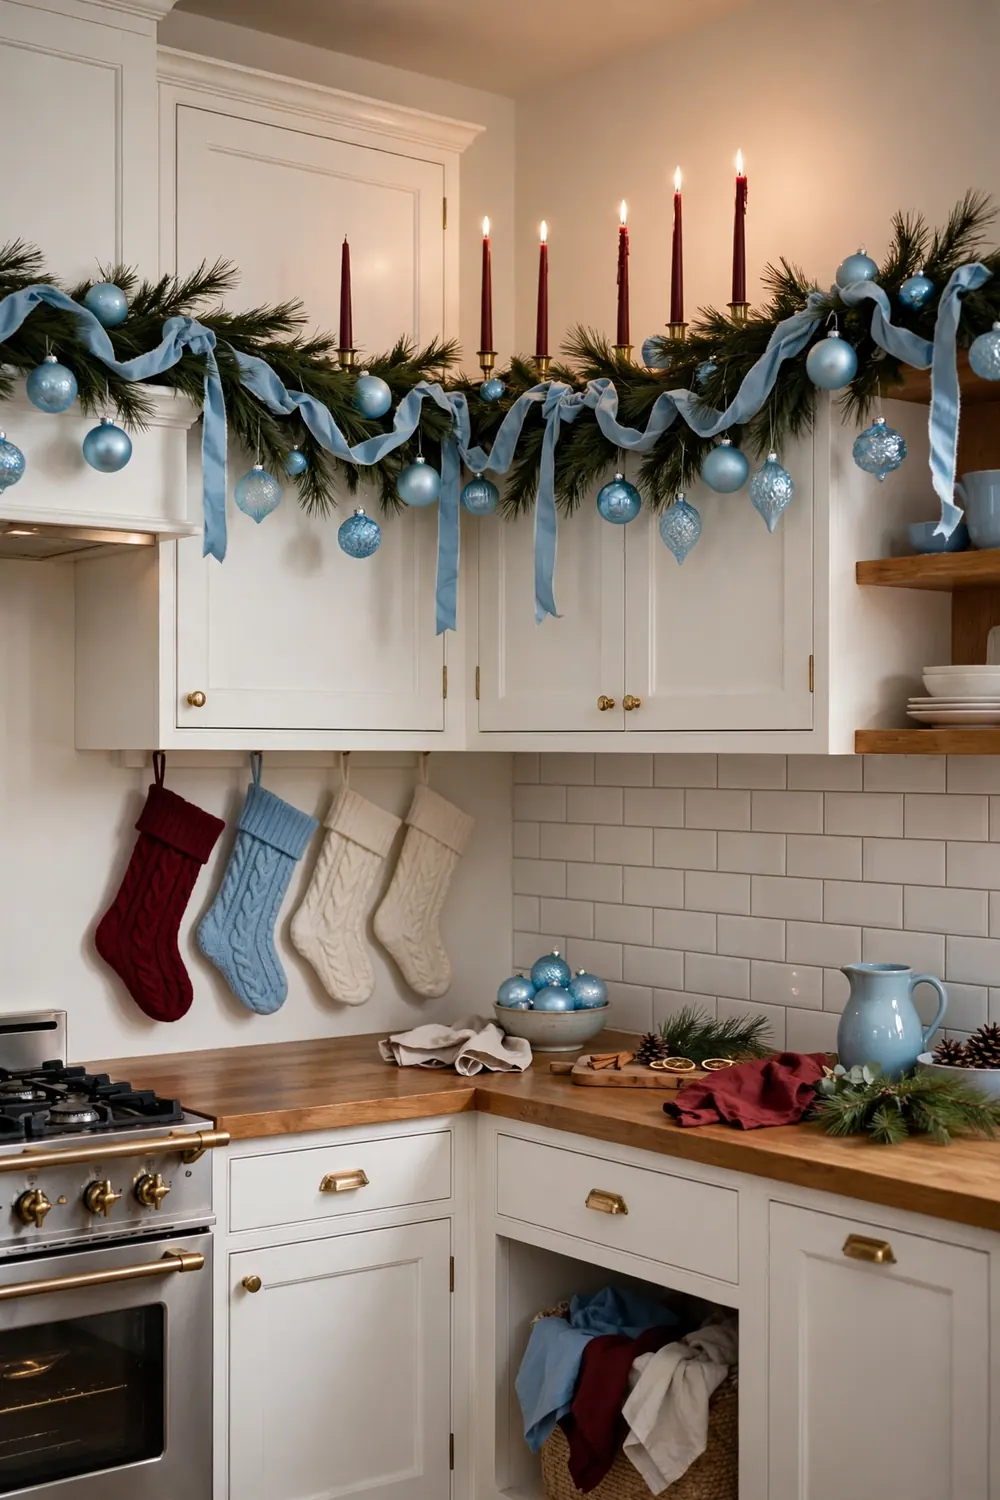
7. Commit to the Burgundy and Sky Blue Color Story
If you want your Christmas kitchen to look current rather than generic, adopt the season’s defining color story: deep burgundy paired with cool sky blue. It is an unexpected combination that feels both rich and fresh, and it photographs beautifully against white cabinetry and marble. Think burgundy taper candles, sky blue glass ornaments, a burgundy table runner, and sky blue ribbon woven through garland.
The key is balance. Let burgundy be the dominant warm note and use sky blue as the cooler counterpoint, roughly a 60 to 40 split. White and natural wood bridge the two colors so the palette never feels forced. Our full guide to burgundy and sky blue Christmas decor ideas breaks down exactly how to layer this palette room by room. In the kitchen, start with linens and candles, the two easiest swaps, before investing in ornaments.
Styling tips
- Anchor the palette with white or cream so the two colors have room to breathe.
- Repeat each color at least three times around the room for cohesion.
- Burgundy taper candles are the fastest way to introduce the deep tone.
- Sky blue looks best in glass, ribbon, and ornaments where it can catch the light.
8. Hang Mini Wreaths on Cabinet Doors
Mini wreaths on upper cabinet doors are a classic Christmas kitchen move for a reason: they add greenery at eye level, they take ten minutes to hang, and they make even plain cabinetry look dressed for the season. Small boxwood, pine, or eucalyptus wreaths, each about 8 to 10 inches across, work best. Hang one on every other cabinet or on all of them in a row for maximum impact.
Use a wide satin or velvet ribbon looped over the top of the door and secured inside with a removable hook or tape. Deep green wreaths with burgundy velvet bows are stunning this year, or go for a frosted eucalyptus look for something softer. Keep wreaths off the cabinets directly above the stove where heat and grease will shorten their life.

Styling tips
- Hang wreaths with ribbon over the door top and removable hooks inside for zero damage.
- Odd numbers of wreaths look more designed; try three, five, or seven in a row.
- Faux boxwood wreaths last for years and need zero maintenance.
- Skip the cabinets nearest the stove to avoid heat and grease damage.
9. String a Retro Photo Garland Across the Fridge
The retro photo trend, all film grain, direct flash snapshots, and photo booth strips, is made for the kitchen. Print your favorite family photos from the past year in a film style finish, then clip them along a string of warm fairy lights across the side of the fridge or an open wall. It is personal, nostalgic, and endlessly charming.
Use small wooden clothespins or brass clips, and mix in a few Christmas cards you have received for extra color. Keep the photo sizes consistent, around 4×6 or smaller, so the garland reads as one cohesive piece. Magnetic clips work perfectly on a stainless fridge with no damage. Swap in new photos each December and this becomes a tradition your family looks forward to.

Styling tips
- Print photos with a slight warm filter for that nostalgic film look.
- Mix family snapshots with received Christmas cards for color and variety.
- Use magnetic clips on stainless fridges; adhesive hooks on painted walls.
- Keep the strand slightly swagged rather than pulled tight for a relaxed feel.
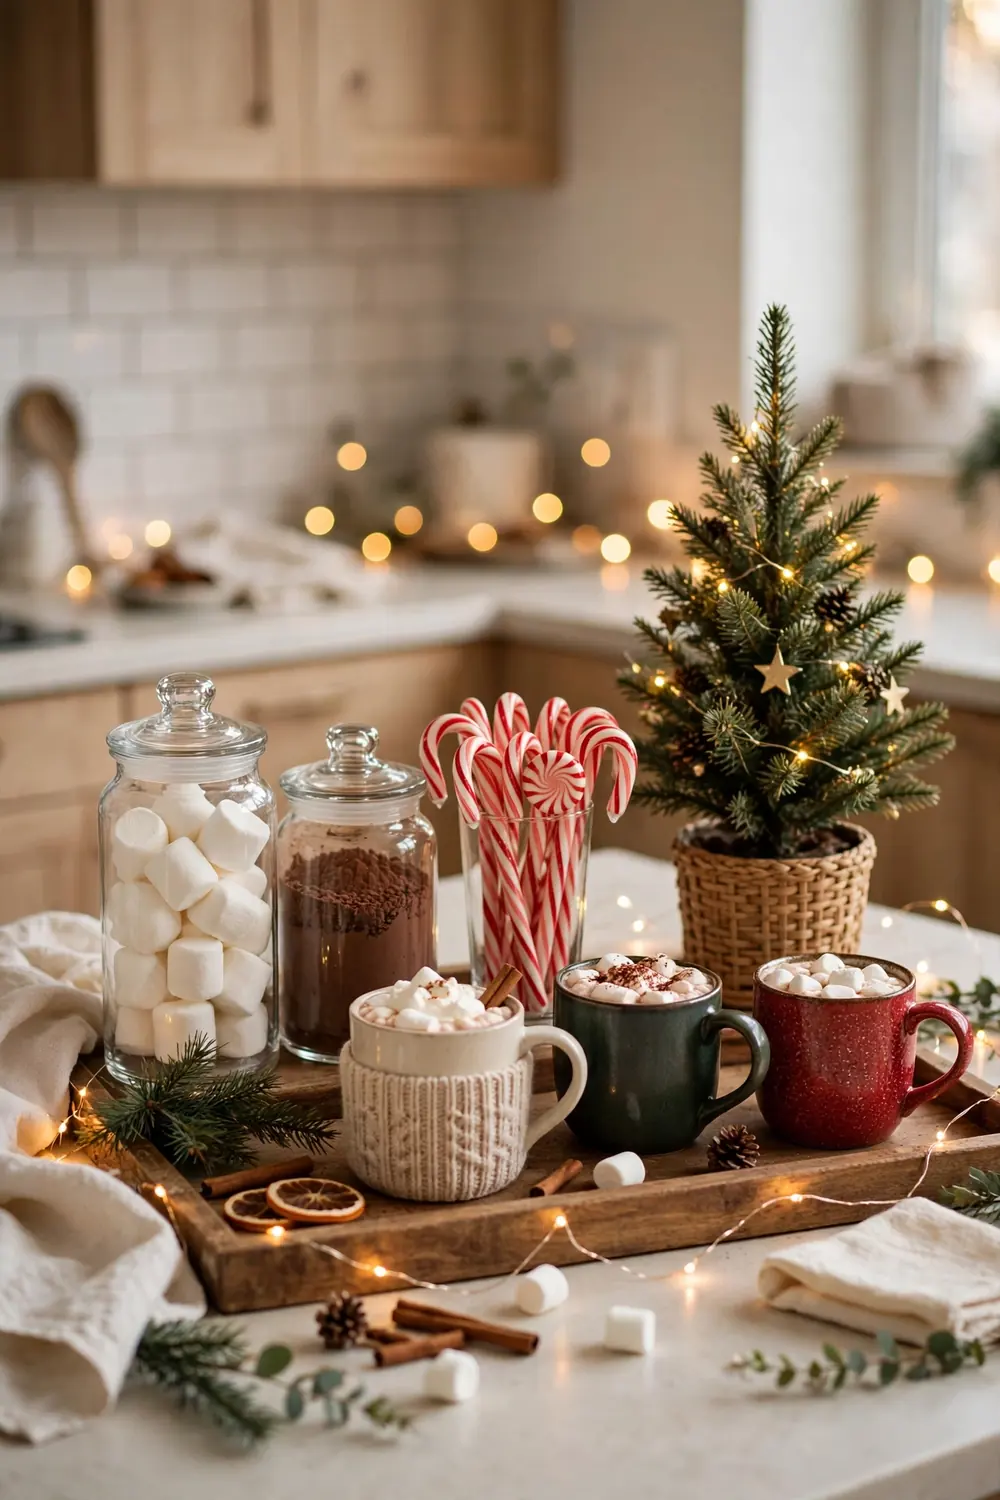
10. Set Up a Christmas Cocoa Bar on the Counter
A dedicated cocoa bar turns an ordinary stretch of counter into the coziest corner of the house. Corral everything onto one tray or in one corner: a row of festive mugs, jars of cocoa mix and marshmallows, candy canes in a tall glass, and a small sign or mini tree. It looks delightful and it is genuinely useful all month long.
Glass canisters show off layered ingredients beautifully, and a wooden tray keeps everything contained so the bar does not sprawl across your prep space. Add a string of fairy lights or a small candle for evening glow. Homes and Gardens has a lovely take on styling Christmas kitchen countertops with more ideas for keeping counters festive yet functional.
Styling tips
- Contain everything on one tray so the bar reads as a styled moment, not clutter.
- Use clear glass jars for cocoa, marshmallows, and toppings so they double as decor.
- Hang mugs on small hooks or stack them to save counter space.
- Refresh perishables weekly so the bar always looks and tastes fresh.
11. Light Up the Windowsill With Candles and Dried Orange Garland
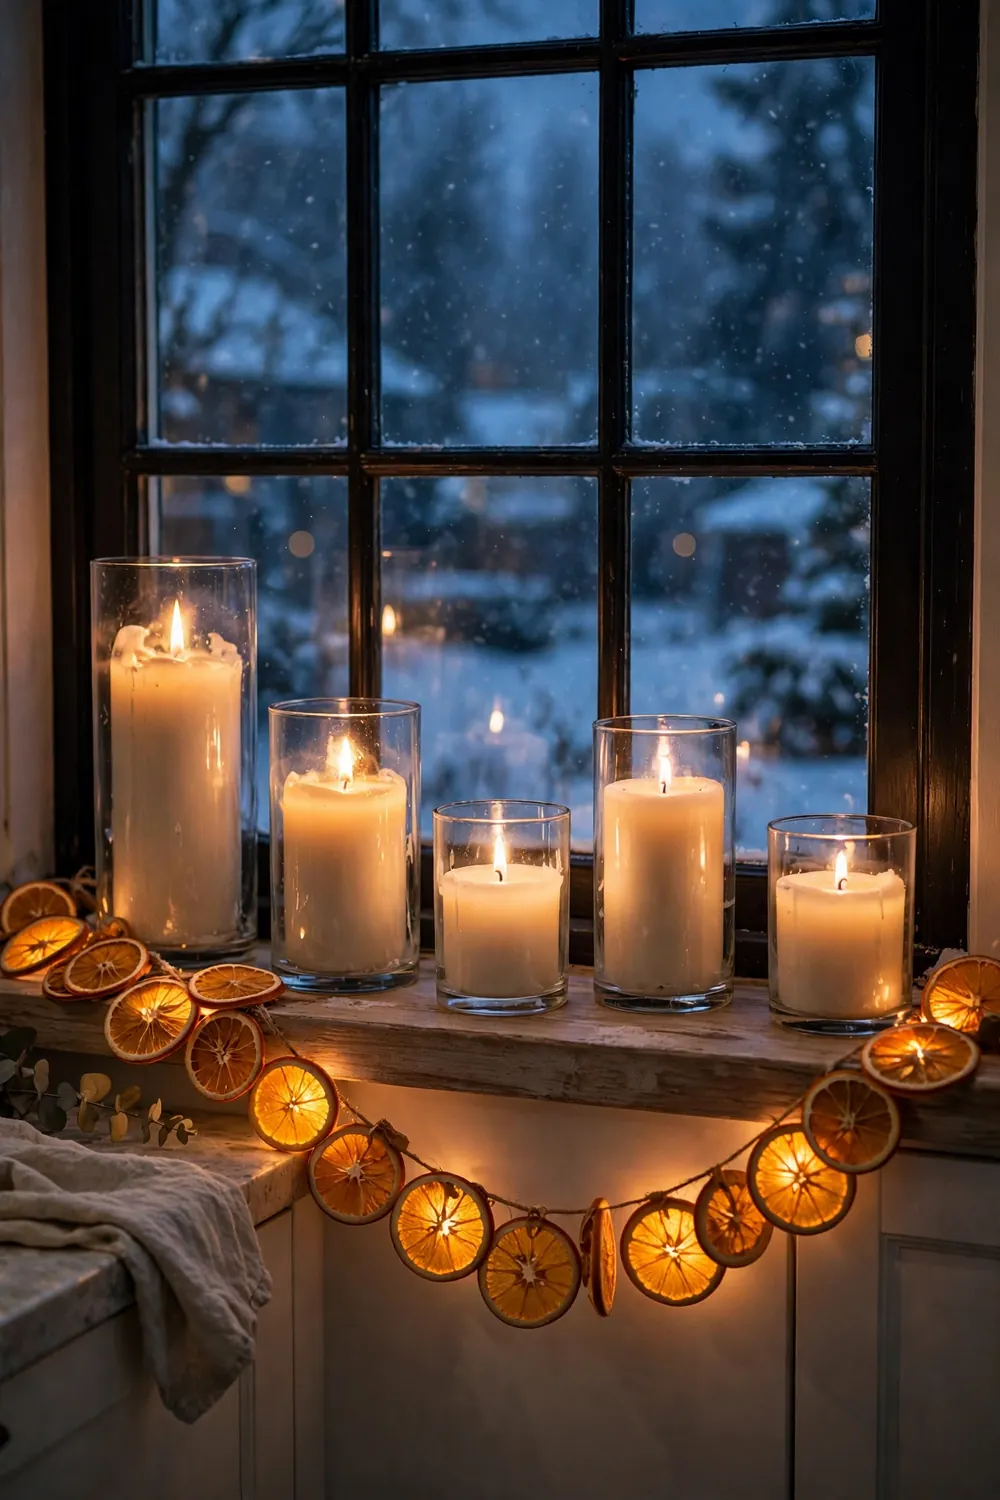
December evenings are dark early, and a candlelit kitchen window is one of the simplest luxuries of the season. Line the sill with pillar candles and tea lights in glass holders at varying heights, then drape a garland of dried orange slices across the front. The translucent oranges glow like stained glass when backlit, and the whole arrangement smells faintly of citrus and clove.
Dried orange garlands are easy to make yourself by oven drying slices, or buy them ready strung. Pair them with simple white or beeswax candles for a natural look, or burgundy tapers to tie into this year’s palette. Keep silhouettes low enough that daylight still streams in during the morning, and always use flameless candles if the window gets drafty or if little hands can reach the sill.
Styling tips
- Use flameless LED candles in drafty windows or within reach of children and pets.
- String dried orange slices on twine and reuse the garland for several seasons.
- Vary candle heights with books or small boxes hidden under a cloth.
- Add a few pine sprigs at the ends of the garland to frame the window.
12. Swap In Festive Tea Towels and Linens
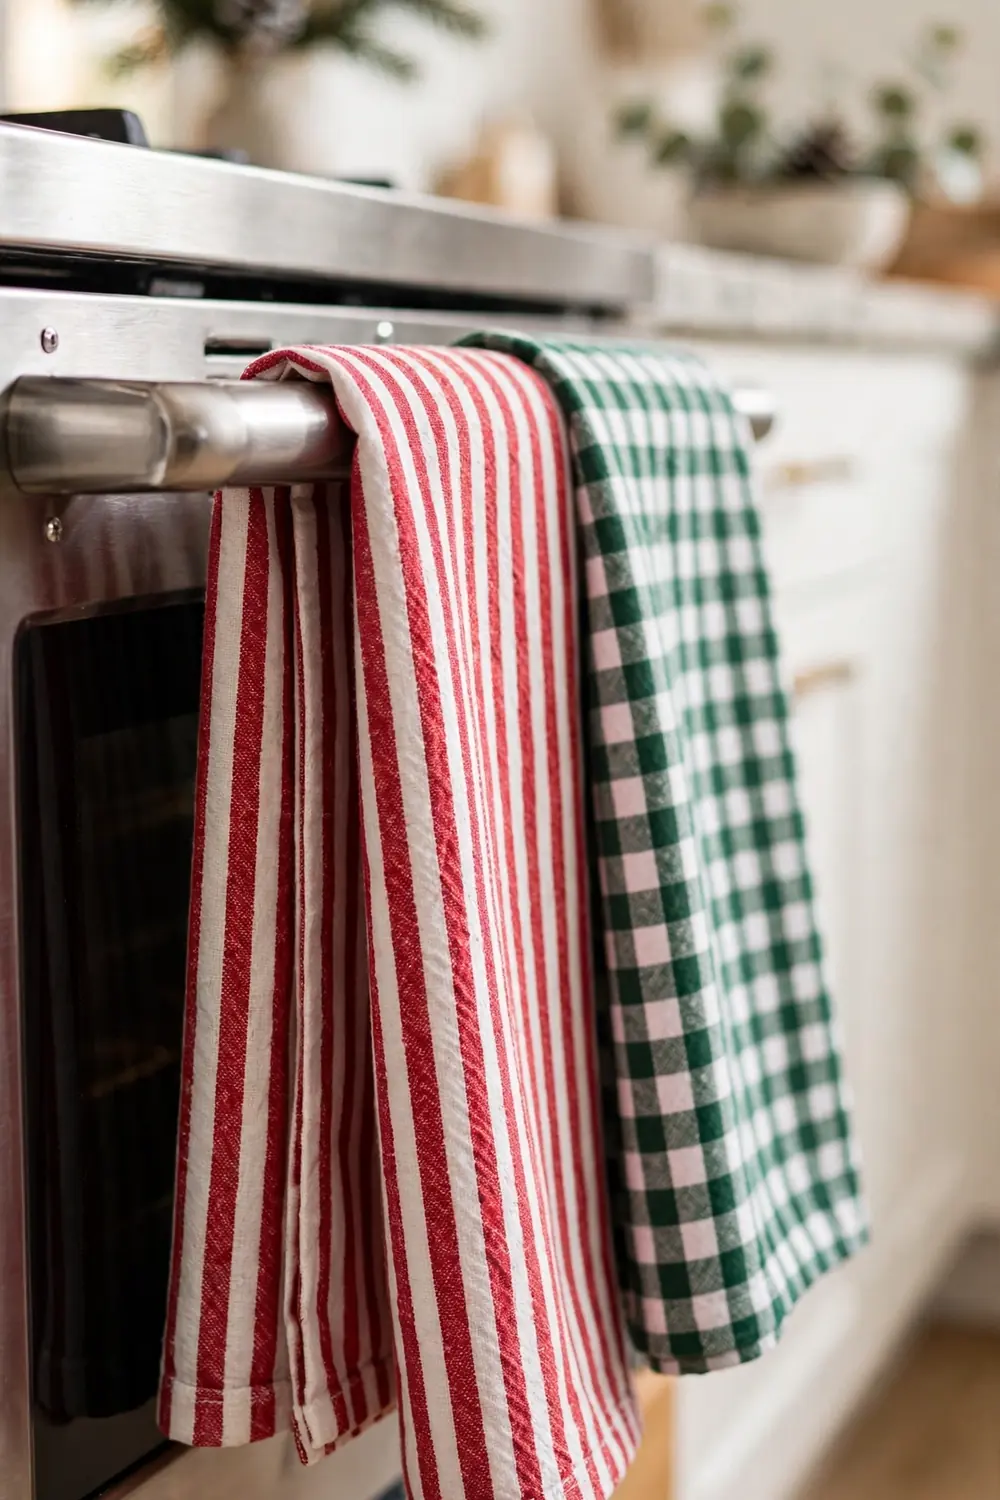
Never underestimate the power of a textile swap. Trading your everyday tea towels, oven mitts, and pot holders for Christmas versions is the fastest and cheapest refresh on this list. Look for stripes, checks, embroidered trees, or subtle metallic threads. A set of coordinated linens makes the whole kitchen feel intentional, even if you change nothing else.
Hang one statement towel on the oven handle where it is most visible, and keep the working towels simple. Layer a festive hand towel near the sink too. This is also the easiest way to test a new color story: if you are curious about burgundy and sky blue, try it in linens before committing to ornaments and garland. Washable cotton blends are the practical choice for a room that sees real cooking.
Styling tips
- Choose one pattern family, stripes or checks, and repeat it for cohesion.
- Keep the most decorative towel on display and use plainer ones for actual drying.
- Fold towels in thirds over the oven handle for a crisp, styled drape.
- Buy an extra set so you can rotate when one is in the wash.
13. Build a Tiered Tray Holiday Vignette
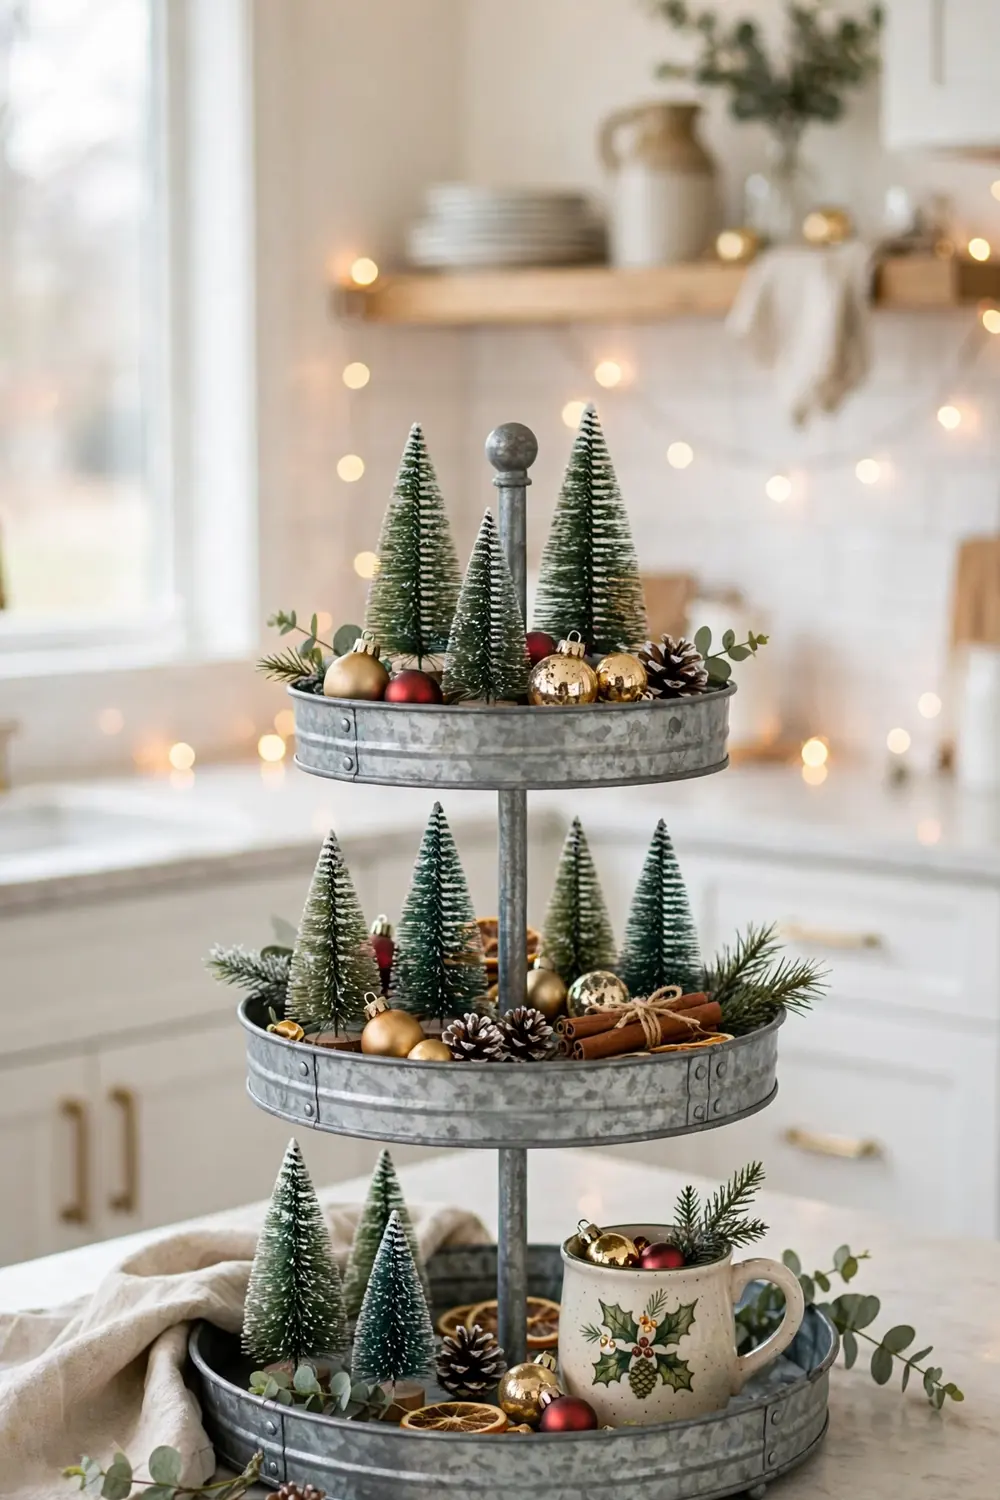
A tiered tray is a small stage for a big Christmas moment. On two or three levels you can fit bottle brush trees, tiny ornaments, a miniature mug, a little house, and a sprig of greenery, all in a footprint smaller than a dinner plate. It is perfect for the corner of the counter, the end of the island, or even the breakfast table.
Style from the top down: the tallest item on the top tier, then fill downward with smaller pieces. Stick to one color story and one or two textures so the tiny scale does not turn chaotic. A galvanized, wood, or white tray each gives a different mood, from farmhouse to modern. When January comes, the whole vignette packs away in one lift.
Styling tips
- Work top down, tallest pieces on the top tier, smallest at the base.
- Limit the palette to two or three colors so the small scale stays calm.
- Add one strand of micro fairy lights for evening sparkle.
- Leave a little empty space on each tier; overfilling kills the charm.
14. Style Frosted Branches on Open Shelving
Sometimes the most striking Christmas kitchen decor is barely decorated at all. A tall vase of frosted or flocked branches on open shelving brings winter indoors with zero ornament fuss. The pale, snowy branches catch the light beautifully and add height and softness between your dishes and jars.
Look for branches with a realistic frosted finish rather than heavy artificial snow, which can shed everywhere. Eucalyptus, birch, or simple bare branches with a frosted coating all work. Pair with one warm light source nearby, a candle or a small lamp, so the frost glows in the evening. This is a wonderful option for minimalist kitchens where traditional red and green would feel out of place.

Styling tips
- Choose one tall vase and let the branches be the only tall element on the shelf.
- Trim branches to different lengths for a natural, gathered look.
- Place near a light source so the frosted finish glows at night.
- Shake branches outdoors first to shed any loose flocking before styling.
15. Drape a Dried Orange and Cinnamon Garland in the Doorway
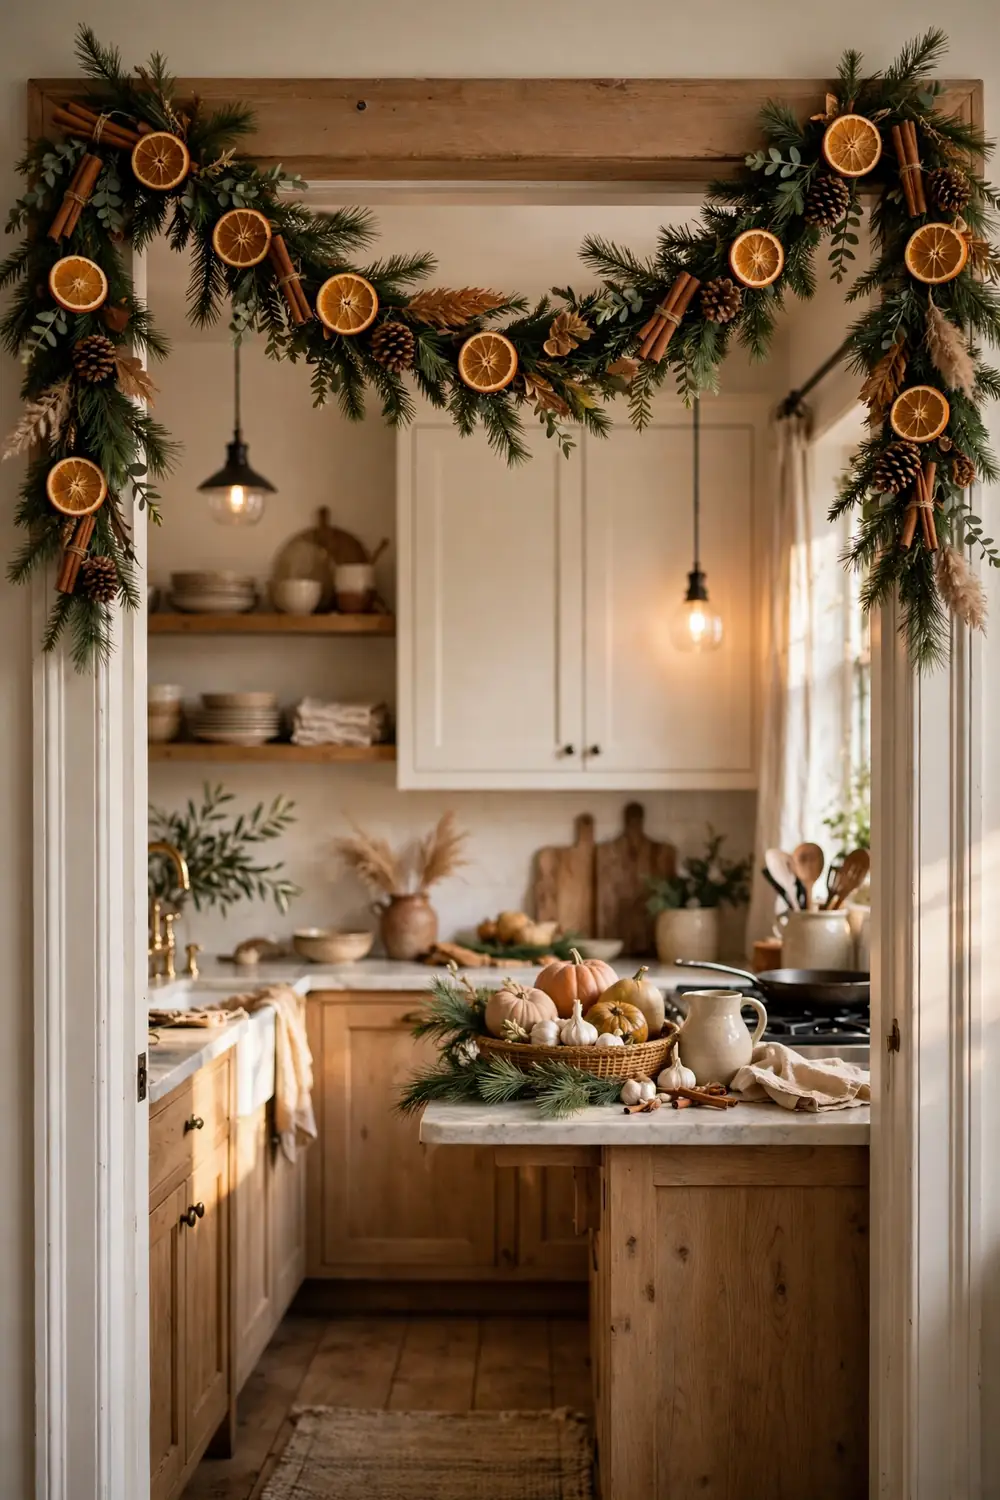
Doorways are the most underused decorating real estate in the kitchen. A garland of dried orange slices, cinnamon sticks, and pine draped across the top of a kitchen doorway or wide cased opening welcomes everyone who walks in with color, texture, and scent. It is the kind of detail guests remember and photograph.
Build the garland on a base of simple pine or cedar, then wire on the oranges and cinnamon bundles at intervals. Hang it with two removable hooks, one on each side of the casing, so it swags gently in the middle. Keep the center of the swag high enough that tall guests do not duck. The scent alone is worth it: every pass through the doorway releases a whisper of orange and spice.
Styling tips
- Hang the swag high enough that nobody has to duck walking through.
- Wire oranges and cinnamon on rather than gluing so the garland survives storage.
- Use removable adhesive hooks rated for the garland’s weight.
- Refresh the scent mid season with a drop of orange or cinnamon essential oil.
16. Create a Bottle Brush Tree Village on Open Shelves
Bottle brush trees are the unsung heroes of Christmas kitchen decor. A collection of them in varying heights and muted colors, classic green, snowy white, blush, and champagne, arranged along open shelves or the top of cabinets, creates a miniature winter village that feels both nostalgic and modern. They are inexpensive, nearly indestructible, and pack flat in January.
Arrange them in loose clusters of three to five, varying the heights, and weave a strand of warm fairy lights through the group. A light dusting of faux snow on the shelf beneath them ties the scene together. Tuck a few tiny houses or a miniature deer among the trees if you like, but honestly a pure forest of bottle brush trees needs nothing else.

Styling tips
- Group trees in odd numbers and vary heights for a natural forest feel.
- Weave one strand of warm fairy lights through each cluster.
- Stick to a muted palette so the collection looks curated, not crafty.
- Dust shelves with a little faux snow or white fabric underneath for a finished base.
Christmas Kitchen Mistakes to Avoid
Even beautiful ideas go wrong when a few common traps sneak in. Kitchens are working rooms first, so the usual decorating rules need a practical filter. Run through this quick table before you call the room done.
| Mistake | Why It Fails | Do This Instead |
|---|---|---|
| Decorating the main prep counter | You will move everything aside the first time you cook, and it will never go back | Style the island end, shelves, and vertical spaces; keep prep zones clear |
| Using real candles near the cooktop | Open flames near heat, grease, and busy hands are a fire risk | Use flameless LED candles anywhere near cooking zones |
| Mixing five different color stories | The room looks busy and accidental instead of festive and designed | Pick one palette and repeat it in at least three places |
| Hanging greenery too low over the stove | Heat dries it out fast and creates a genuine fire hazard | Keep garlands high on the hood and use faux near heat sources |
| Forgetting the room still has to function | Beautiful kitchens that block the sink or fridge get torn down by December 10 | Test every vignette: can you still open every door and reach every tool |
| Skipping the scent layer | Visuals alone miss half the Christmas feeling | Add cinnamon, pine, dried oranges, or a seasonal simmer pot |
Final Thoughts
A Christmas kitchen does not need to be the most decorated room in the house. It needs to be the warmest one. Pick three or four ideas from this list that fit your space, commit to one color story, and let greenery and warm light do the rest. The cookies will taste better, the cocoa will feel cozier, and everyone will end up gathered around the island anyway. That is the whole point of decorating the heart of the home.